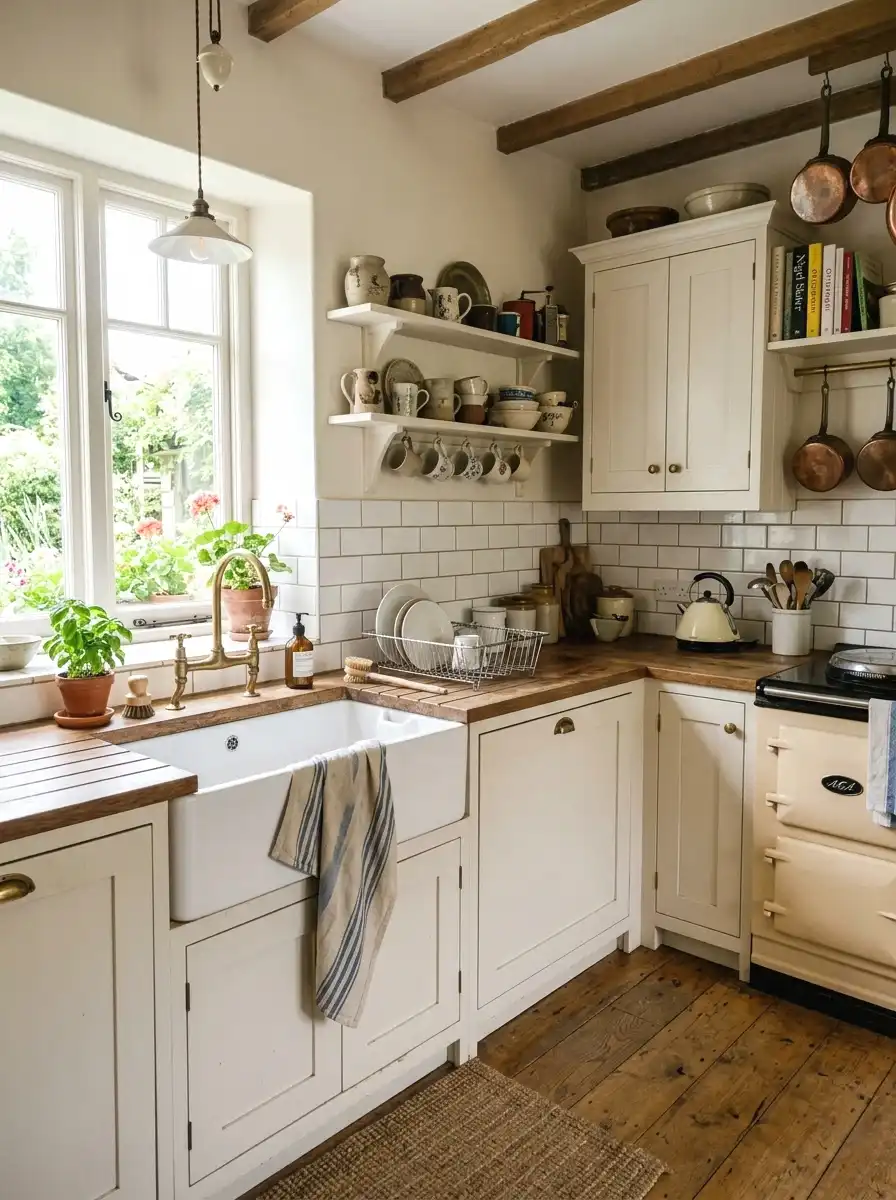
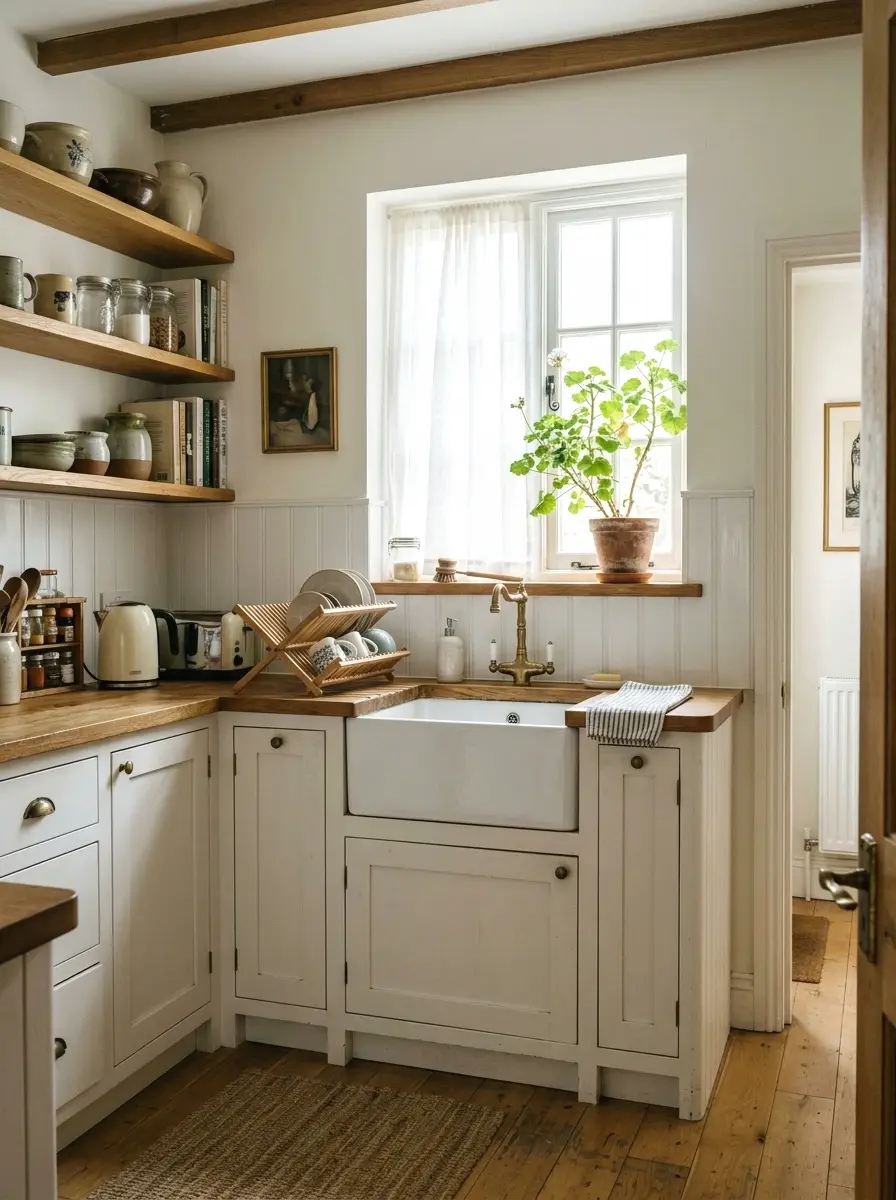
20 Cottage Kitchen Backsplash Ideas Full of Charm and Character
Your kitchen backsplash is tired. You know it. It’s the first thing you notice every morning and the last thing you see when you clean up at night. Maybe it’s a dated beige tile that came with the house, or a blank wall you’ve been staring at for two years telling yourself you’ll fix it “eventually.” That gap between the countertop and the cabinets deserves more attention than it’s getting.
These 20 cottage kitchen backsplash ideas are the result of real research. I looked at what actual homeowners tried, what worked, what they wished they’d done differently, and what got people excited on forums and home design communities. Each idea here covers a different material, budget level, or skill requirement, and most fall somewhere in the $100 to $300 range.
This list is for homeowners and renters with a budget of $100 to $300 who want warmth, character, and a handmade feel without a full renovation. It’s not for anyone trying to do a sleek, modern, high-gloss finish. These results are very much within reach.
If you’re working with even less room to spend, there are some solid ways to stretch a tight remodel budget without sacrificing the finished look.
By the end of this article, you’ll have a clear picture of which backsplash idea fits your kitchen, your walls, and your wallet, so you can actually start this weekend.
What to Know Before You Start Your Cottage Kitchen Backsplash
- Measure your backsplash area before buying anything. Most standard kitchen backsplashes run 15 to 18 square feet.
- Subway tile typically costs $1 to $4 per square foot, so even a budget of $60 can get you started.
- Peel-and-stick tile is renter-safe but needs a flat, clean wall surface or it won’t stick properly.
- Most people forget to buy tile spacers. Without them, grout lines end up uneven and the finish looks rushed.
- Grout color matters as much as tile color. White grout opens things up; grey grout hides grime longer.
- Sealing natural stone and cement tile after installation keeps stains from setting in permanently.
- Budget an extra 10 to 15 percent of tile for cuts, breakage, and mistakes. First-timers often undercount.
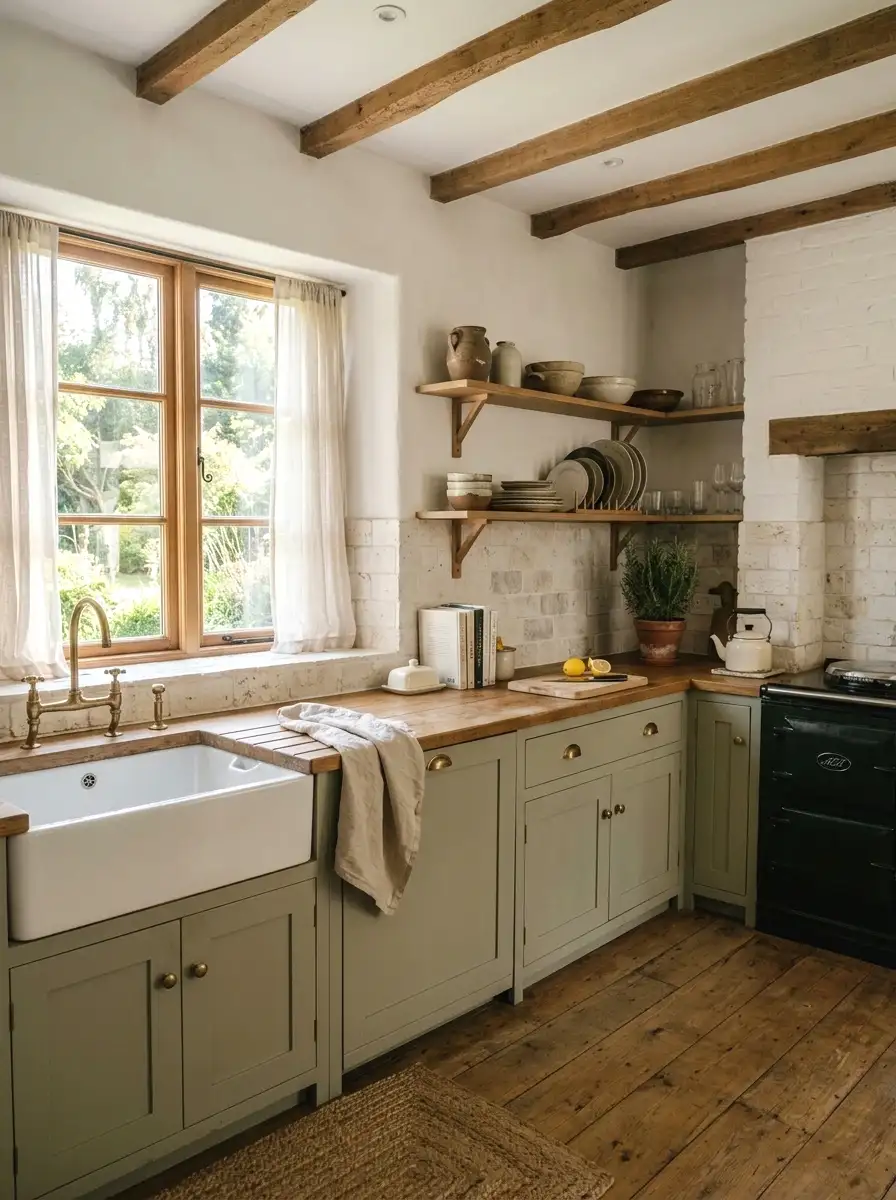
1. Classic White Subway Tile
White subway tile is the backbone of cottage kitchen style, and there’s a reason it keeps coming back. It’s simple, affordable, and gives that slightly old-fashioned feel that makes a kitchen look like it’s been lived in. The 3×6 inch rectangular tile in a brick pattern is the most common version, but even that small layout choice makes a room feel considered and finished.
I’ve seen this done in kitchens as small as 8 square feet and it never looks like a half-measure. Budget $80 to $150 for tile and grout on a standard-sized backsplash. Use an off-white grout instead of bright white for a softer, more worn-in result. That one choice alone shifts the whole look from new-build to cottage.
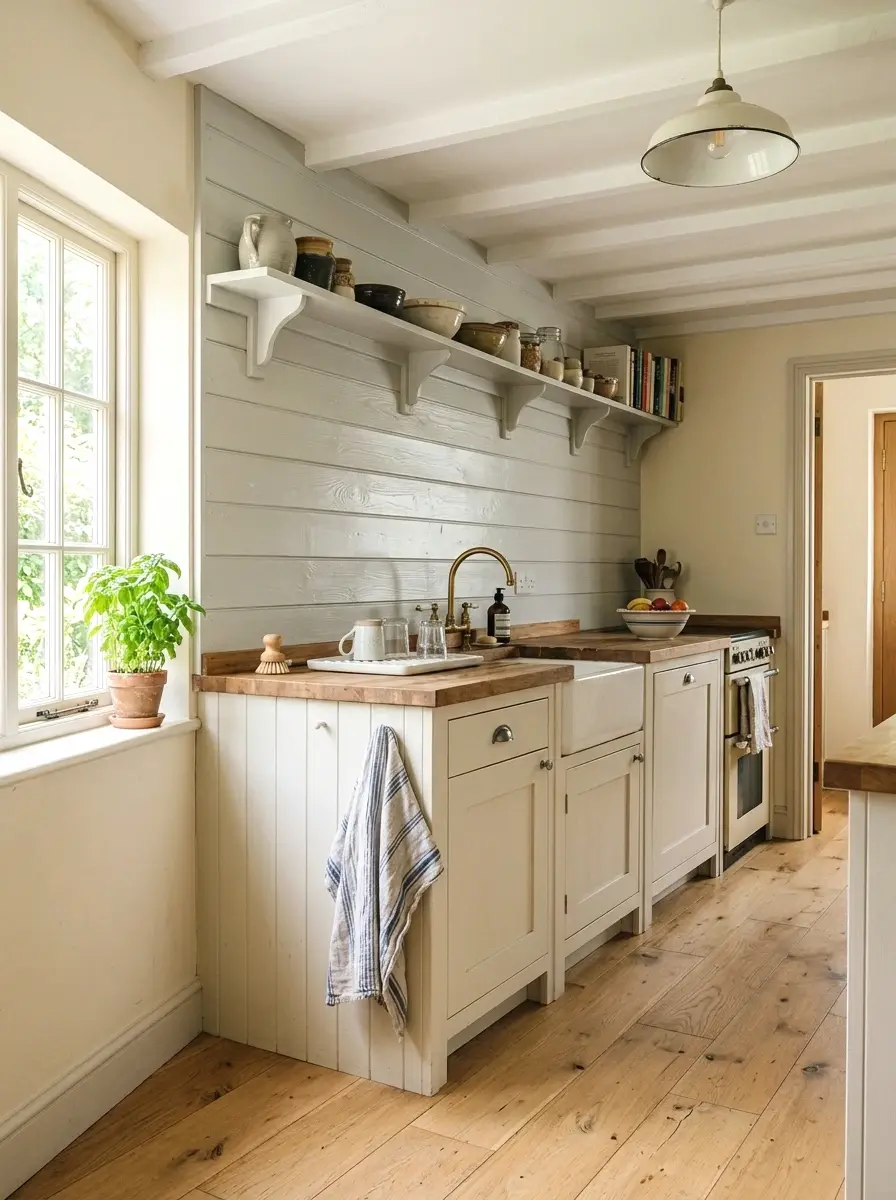
2. Shiplap-Style Beadboard Panels
Beadboard paneling behind the stove or along the full backsplash wall gives kitchens that classic farmhouse-cottage look without touching a single tile. It’s a vertical groove pattern, usually in MDF or PVC, that reads instantly as cottage. You can paint it any color and change it whenever you want. No grout, no tile saw, no special tools.
PVC beadboard panels run about $15 to $30 per panel from most home improvement stores, and a standard backsplash section needs one or two panels depending on size. Prime and paint with a semi-gloss finish so it wipes down easily. I tried this behind my kitchen sink and the whole wall looked finished in an afternoon. Seriously, one afternoon.
More Ideas:


3. Vintage-Style Pressed Tin Tiles

Tin tiles with a pressed, embossed pattern were everywhere in kitchens from the late 1800s to the 1940s, and they’re completely back. The real appeal is the texture. Light bounces off those raised patterns and gives the wall depth you just can’t get from a flat tile. They come in painted finishes or raw metal, and you can install them with adhesive or small nails.
You can find reproduction tin tiles for $2 to $5 per square foot online. A 15-square-foot backsplash runs you around $60 to $90 just for materials. Paint them matte white for a soft cottage feel, or leave them in an aged pewter finish if you want something with a little more edge. (this one is so underrated and I don’t understand why)
If you’re drawn to metal finishes, it’s worth browsing a few more pressed tin tile styles and finishes before you decide on a color.
4. Hand-Painted Talavera Tiles as Accents
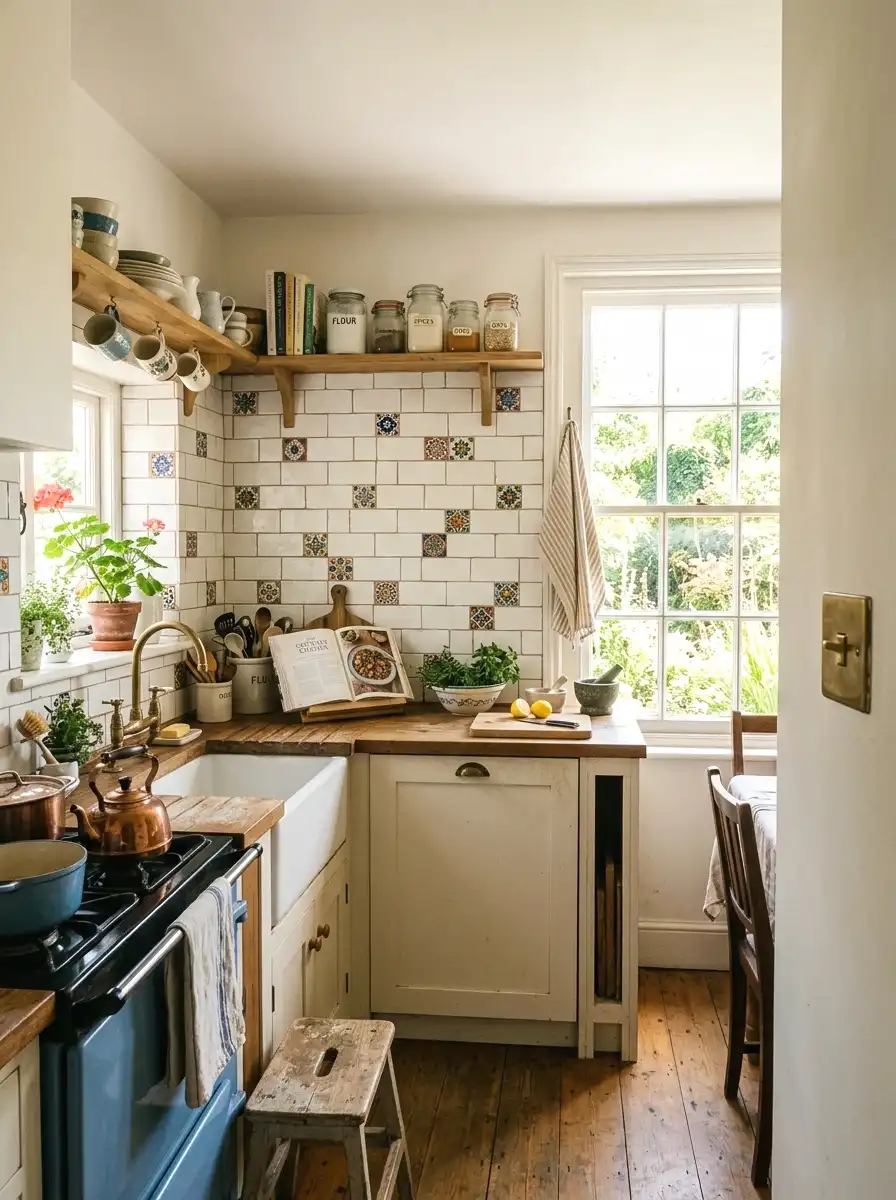
Here’s a way to use pricier tiles without breaking your budget. Talavera tiles are hand-painted Mexican ceramic tiles, usually in bold blue, red, yellow, and white patterns. At $3 to $8 per tile, they’re not cheap. But you don’t need many. Scatter 10 to 15 accent tiles across a field of plain white subway tile and you’ve got a backsplash that looks like it came from a kitchen that’s been collecting beautiful things for decades.
The pattern is intentionally irregular. That’s the whole point. Place them randomly so no two are next to each other. I was skeptical about this one, but when I saw it installed in a friend’s kitchen, it genuinely stopped me mid-sentence. The rest of the backsplash was $1.50 tile. Those scattered Talavera pieces made the whole wall feel hand-assembled.
5. Peel-and-Stick Arabesque Tile
Arabesque tile has that Moroccan arch shape that makes a backsplash feel pulled from a much more expensive kitchen. The peel-and-stick version uses a vinyl top layer over an adhesive backing, and it’s specifically designed for backsplashes. You don’t need grout, a wet saw, or any experience with tiling. Peel, stick, press firmly, done.
Quality peel-and-stick arabesque sheets run $25 to $50 for a pack that covers around 10 to 15 square feet. The whole backsplash project can come in at $60 to $100. It won’t last forever the way ceramic does, but for renters or anyone who wants to try a pattern before committing permanently, it’s a genuinely smart option. Clean the wall with degreaser before you start or the edges will lift within weeks.
6. Reclaimed Wood Planks
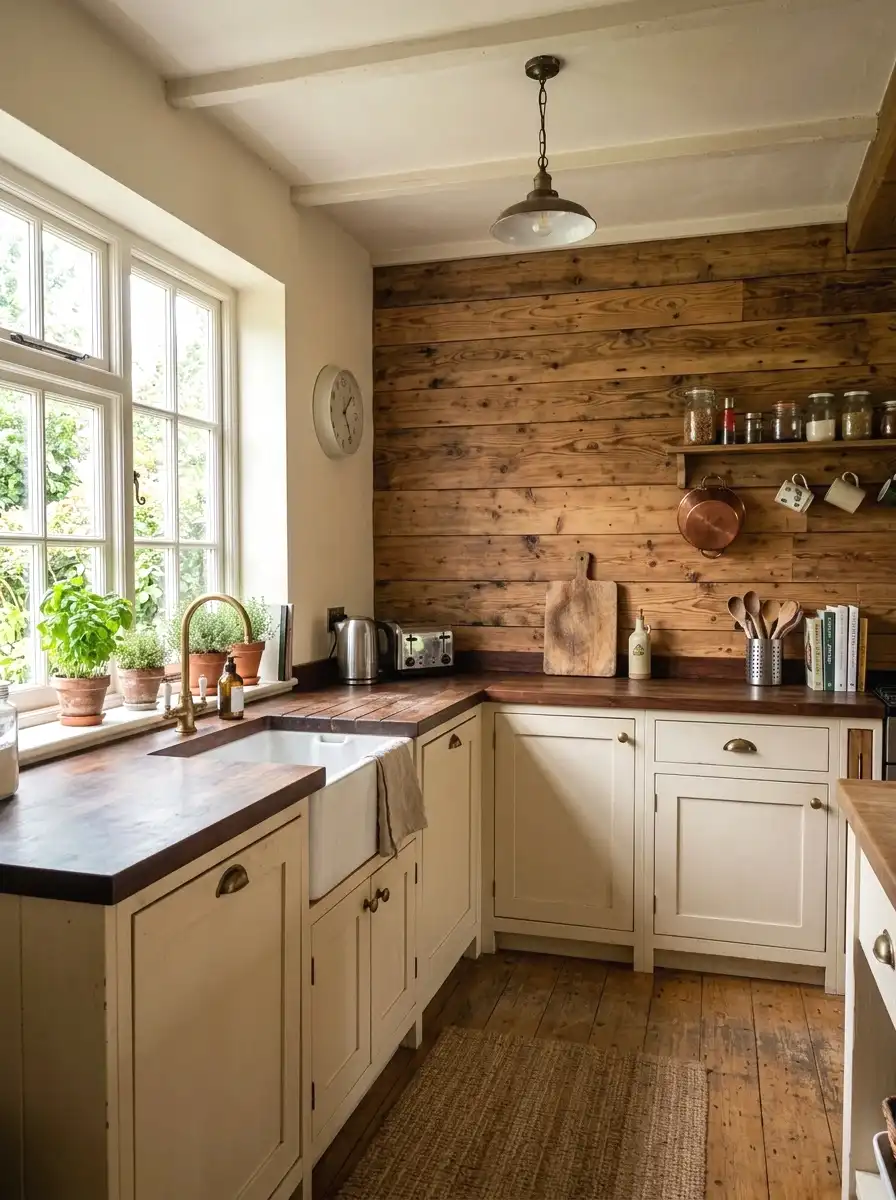
Wood on a kitchen backsplash sounds like a fire hazard, but when it’s installed correctly, away from direct flame and finished with a few coats of polyurethane, it holds up just fine. Reclaimed wood planks in a horizontal or vertical pattern give a kitchen that rough, worn, handbuilt quality that no tile can replicate. The grain patterns and color variation do all the visual work for you.
Salvage yards, Habitat for Humanity ReStores, and even Facebook Marketplace are great sources for reclaimed wood. Budget $50 to $100 for materials depending on how much you need. Sand each plank smooth, seal it thoroughly, and mount with construction adhesive. Keep it away from the stove and dishwasher splash zone and it should last many years. (took me ages to figure out the sealing step, but it’s the most important part)
If you love the raw, worn-in quality of reclaimed wood in a rustic kitchen, there are a handful of other material directions that carry the same energy.
More Ideas:
7. Shaker-Style Board and Batten
Board and batten behind the countertops adds a very specific kind of quiet, structured character. It’s vertical strips of wood at regular intervals over a flat panel, usually painted in one soft color. It’s not as rustic as raw wood and not as fussy as tile. It sits right in the middle and works in both very casual and slightly more polished cottage kitchens.
Use 1×3 inch pine boards spaced about 8 to 12 inches apart over a 1/4 inch MDF backer. Prime everything before painting or the wood grain will bleed through. Total material cost for a standard backsplash section runs about $60 to $120. Paint in a warm cream or soft sage green and the whole thing reads like a kitchen that was carefully and deliberately put together.
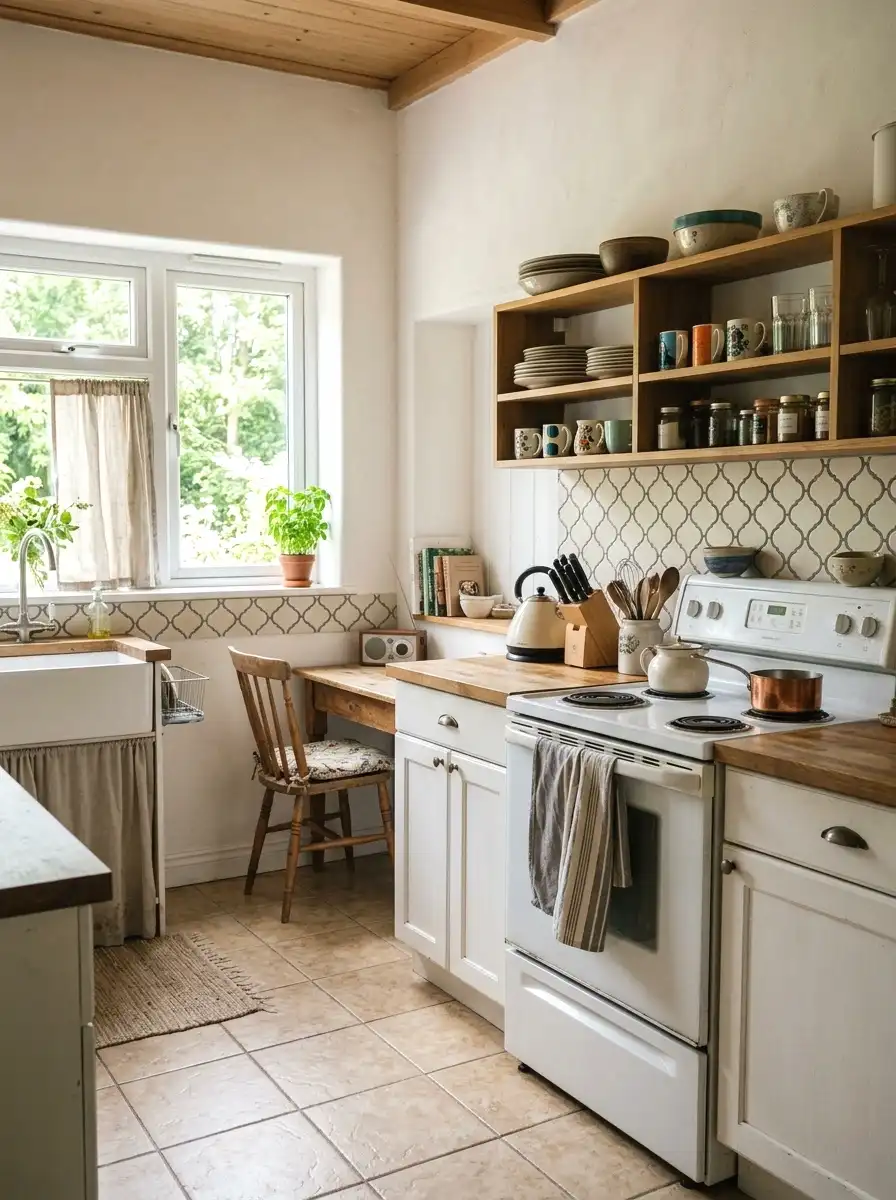
8. Vintage Floral Transfer Tiles
Transfer tiles use a printed image applied to plain white ceramic, giving you the look of hand-painted antique tiles at a fraction of the price. Floral patterns in muted blue-and-white or terracotta-and-cream work especially well in cottage kitchens. They feel pulled from an old English farmhouse or a countryside kitchen in the south of France.
You can find sets of transfer tiles at specialty tile retailers or on Etsy for around $3 to $6 each. Use 20 to 30 tiles as the full backsplash or mix them with plain white subway tile for a layered, collected feel. Install them exactly like regular ceramic tile with standard adhesive. The result is a backsplash that looks like you hunted down each tile individually, even if you ordered them all in one click.
9. Brick Veneer Sheets
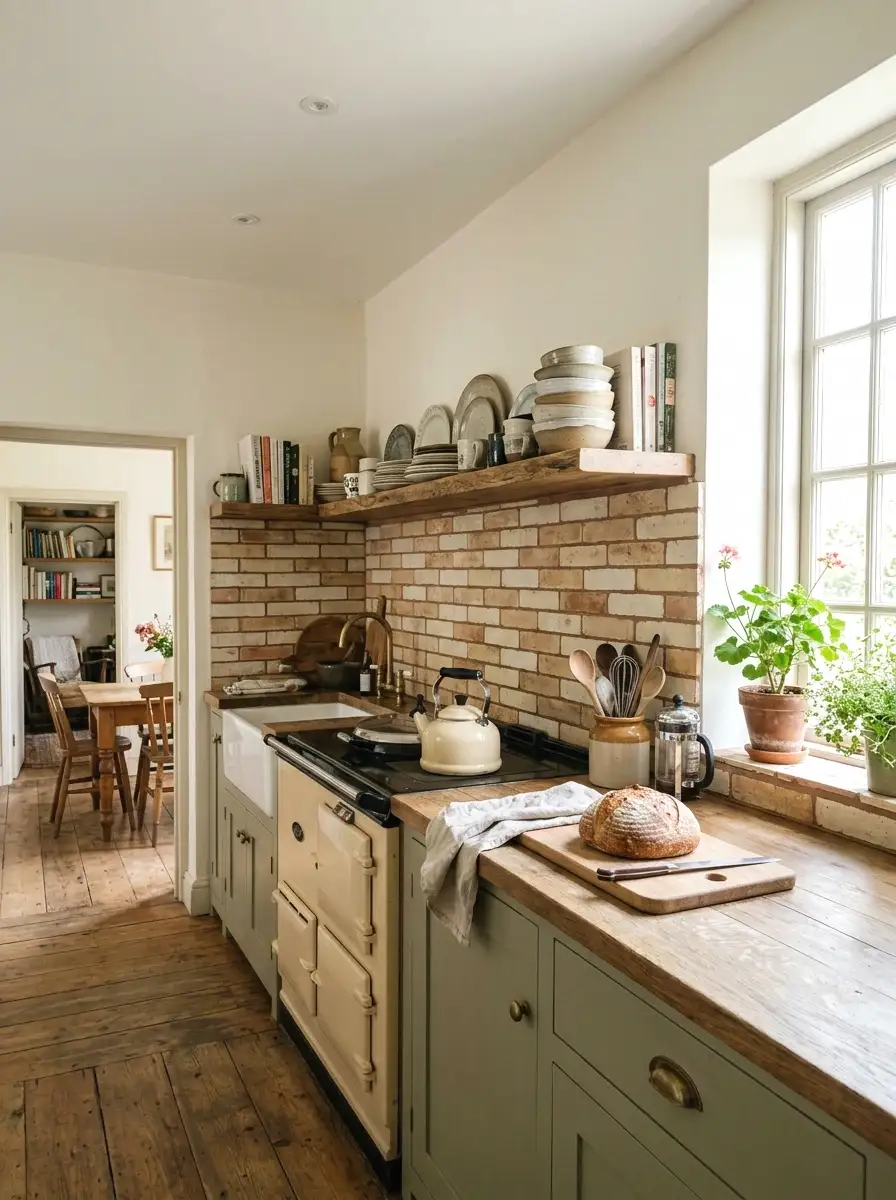
Real exposed brick has a warmth and texture that no painted surface can fake. The problem is that most kitchen walls aren’t brick. Brick veneer sheets fix that. They’re thin slices of real brick material mounted on a mesh backing, so you get the authentic look and texture without any structural work. The color variation in natural brick is what makes it so appealing, and veneer sheets deliver exactly that.
Brick veneer runs $4 to $8 per square foot at most tile and stone retailers. A full kitchen backsplash project comes in around $100 to $180 in materials. Grout in between with a matching earth-tone grout and seal when dry. It pairs really well with open wood shelving and matte black hardware for a cottage kitchen that leans slightly more rustic.
10. Painted Stencil Directly on Wall
If you want to skip installation entirely, a painted stencil backsplash is a real option. You paint the wall in your base color, let it dry, tape a repeating stencil in place, and paint through it with a contrasting or complementary color. Geometric tile patterns, Mediterranean motifs, and simple floral repeats all work well at the cottage scale.
A quality stencil from Cutting Edge Stencils or Royal Design Studio costs $25 to $45. Add in paint and supplies and your total project cost is under $80. The catch is patience. One misaligned stencil placement throws off the whole pattern. Use a level and take your time on the first row. Once you get the hang of the repeat, the rest moves fast and the result is genuinely impressive for such a low cost.
More Ideas:
11. Tongue-and-Groove Pine Boards
Tongue-and-groove pine boards installed horizontally across the backsplash give a kitchen that cabin-meets-cottage quality. The tight fit between boards eliminates gaps, which matters in a kitchen where water and grease are constant realities. Paint them or stain them depending on how warm or how light you want the space to feel.
Pine tongue-and-groove boards are one of the more affordable lumber options at most home improvement stores, running about $1.50 to $2.50 per linear foot. A typical backsplash project uses 30 to 50 linear feet depending on the width and height of the space. Sand smooth, prime, and finish with semi-gloss paint in soft white, pale yellow, or light grey. It’s a very approachable DIY project if you have a miter saw and a few hours.
If this approach appeals to you, there are even more tongue and groove wall treatment ideas that show different paint colors and plank widths in action.
12. Encaustic Cement Tiles
Encaustic cement tiles are cement tiles with patterns pressed into the surface using colored pigment, not glaze. They’re completely matte and the patterns have a flat, almost printed quality that feels old in the best way. Common patterns include geometric repeats, quatrefoil shapes, and simple diamond grids. They suit cottage kitchens that lean slightly more polished and less rough around the edges.
The price point is higher than basic ceramic, usually $5 to $12 per square foot. On a budget of $150 to $200, you can cover most standard-sized backsplashes. Seal immediately after installation and again annually because cement is porous and will absorb oil and grease fast. Worth the extra maintenance step for how much warmth and personality they add.
13. Stacked Stone Panels
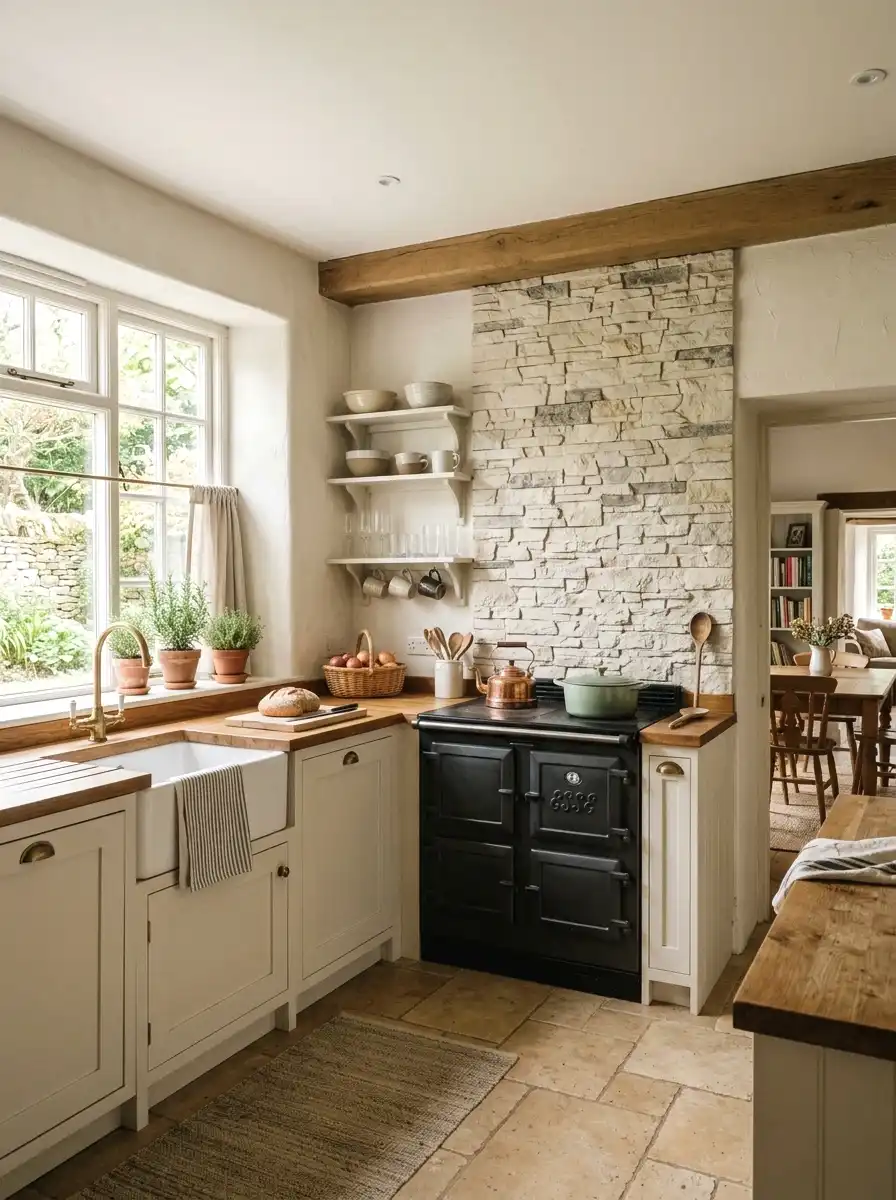
Stacked stone panels bring a raw, natural texture to a kitchen backsplash that nothing else really matches. These are prefab panels of real or manufactured stone set in a tight horizontal stack pattern. They’re heavier than tile and require a strong adhesive, but the installation process is straightforward even for a first-timer.
Manufactured stone panels run $6 to $10 per square foot and are lighter and easier to cut than real stone. A full backsplash project typically costs $120 to $200. Use them in a neutral palette of cream, tan, and grey for a quiet, natural look. This idea works especially well behind a stove as a focal point rather than across the entire backsplash wall.
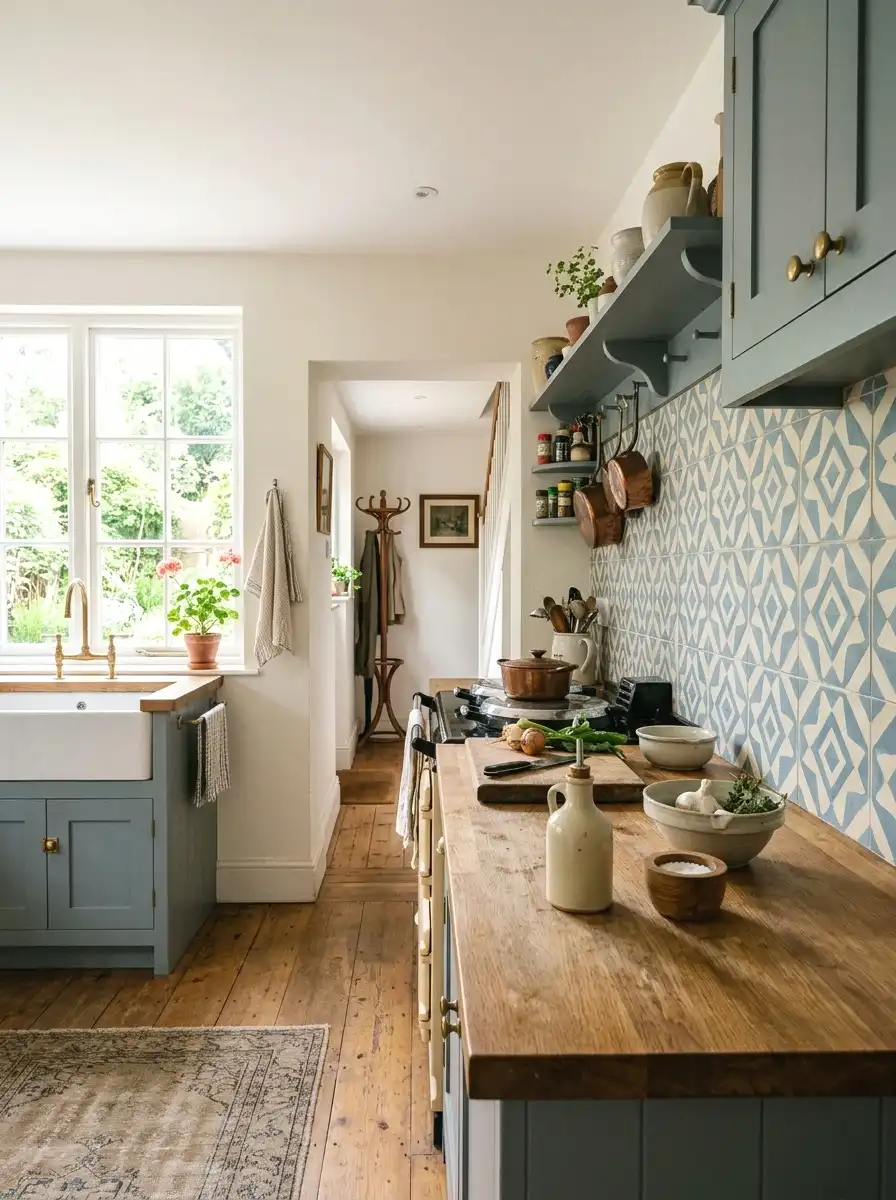
14. Rope-Edged or Scallop Tile
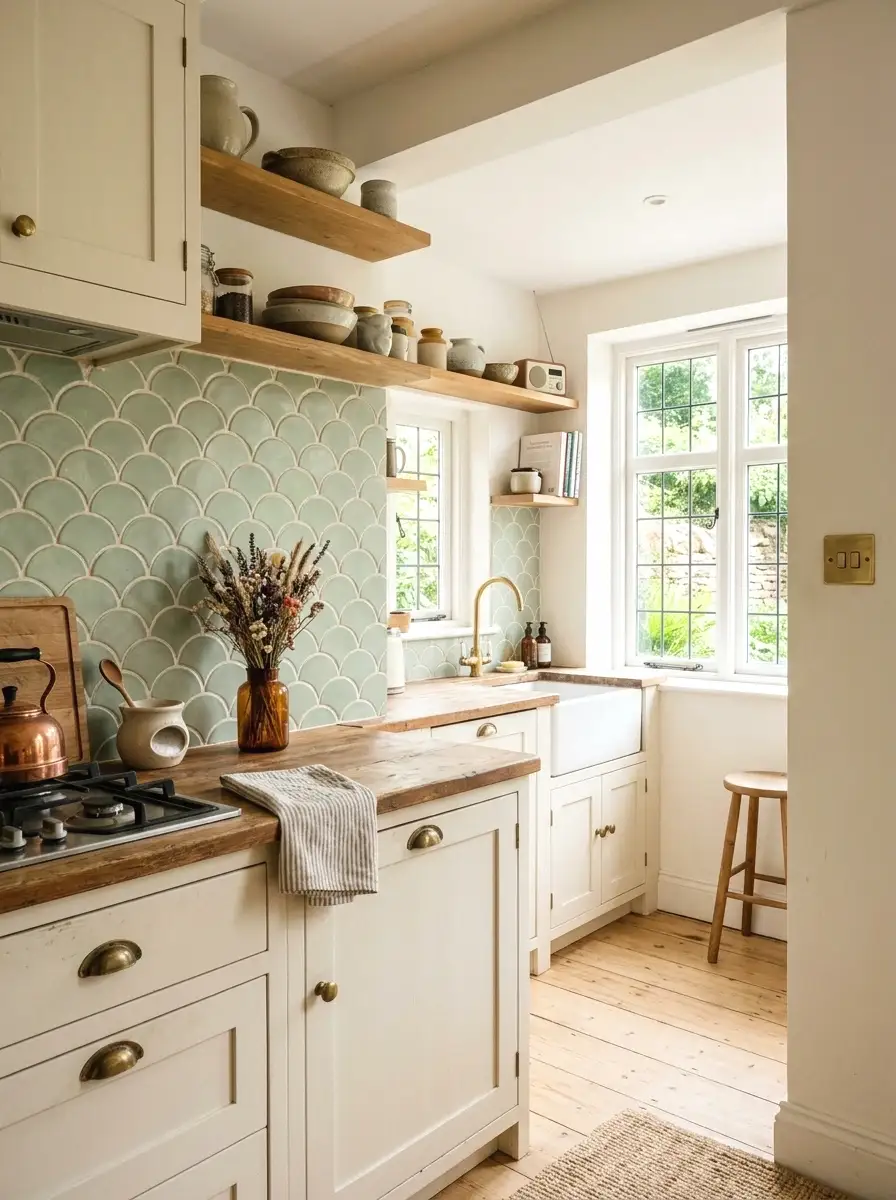
Scallop tile, also called fish scale tile, is a curved overlapping shape that brings a soft, almost organic pattern to a wall. It’s not as popular as subway or arabesque, which means your kitchen won’t look like anyone else’s. Ceramic scallop tiles in soft white, sage green, or pale blue read as vintage and slightly playful, which is exactly the right energy for a cottage kitchen.
Ceramic scallop tiles run $3 to $6 per square foot from online tile retailers. They install like regular mosaic tile on mesh sheets, so the process is the same as any standard tile job. The curved edges are forgiving of small alignment errors in a way that sharp-edged rectangular tiles are not. That alone makes them a friendlier option for first-time tilers who want a pattern that looks great without requiring perfection.
Scallop tile in pale blue or seafoam also opens up some coastal kitchen backsplash directions to explore if you want the look to lean lighter and more airy.
More Ideas:
15. Whitewashed Stone Tiles
Whitewashing a stone tile backsplash involves applying a very thin, diluted white paint to natural stone tiles so the texture and variation shows through but the color becomes lighter and more unified. It softens the look without hiding what makes stone interesting. The result is less rustic than raw stone and more in line with the kind of light, airy cottage kitchen you’d see in a Swedish or French country home.
Start with tumbled travertine or limestone tile at $3 to $6 per square foot. Apply a 1:1 mix of white latex paint and water with a rag, working it into the surface and wiping the excess immediately. The whole process adds maybe an hour to a standard tile installation. Seal after the whitewash dries completely to lock the finish in place.
16. Antique Mirrored Glass Tile
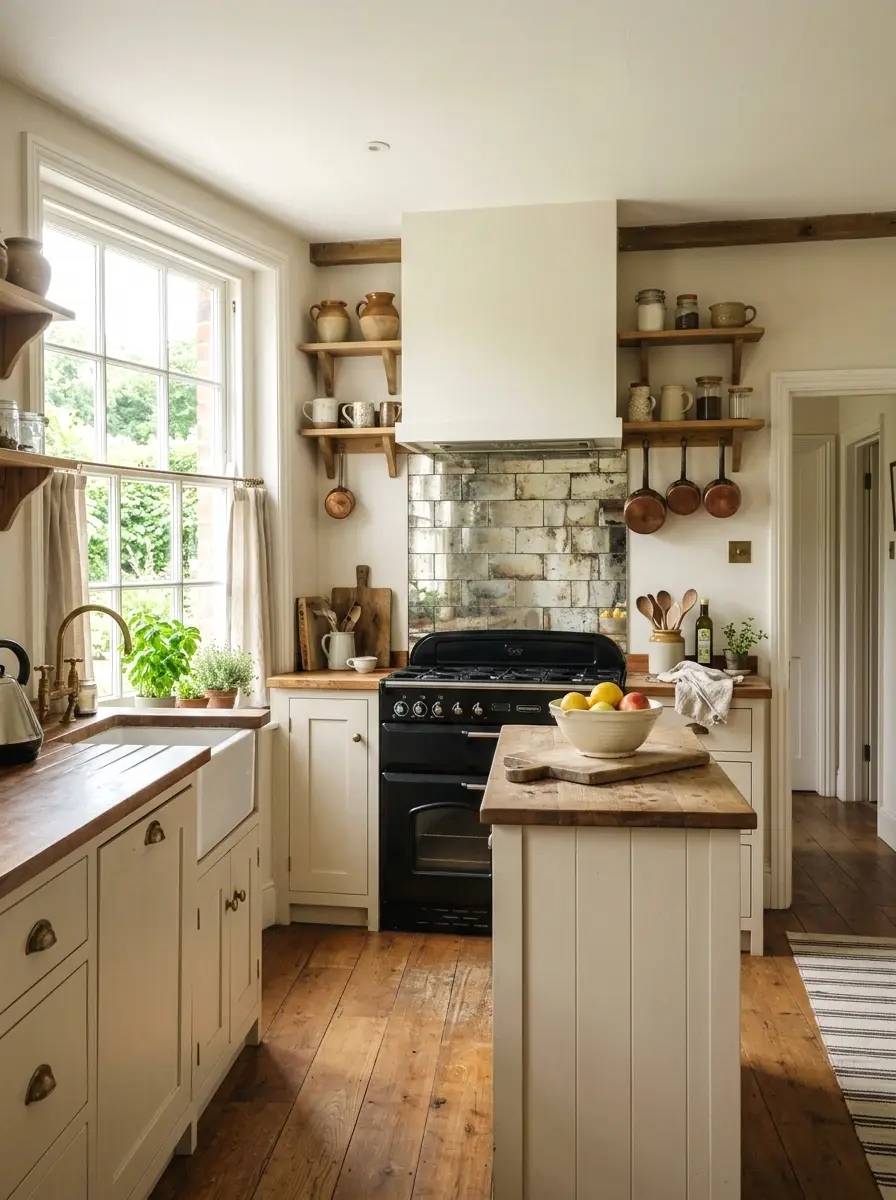
Mirrored tiles in a backsplash bounce light around a small or dark kitchen in a way that actually makes a functional difference. Antique mirror glass has a slightly aged, foxed finish that looks soft and old rather than sharp and modern. It’s the kind of material that reads as something you found at an estate sale, not something you bought at a home improvement store.
Antique mirror mosaic tiles run $8 to $15 per square foot, making this one of the higher-cost options on this list. On a $150 to $200 budget, you can cover a focused section like the stove surround rather than the full backsplash. That limitation actually works in your favor. A framed section of antique mirror behind the stove becomes the focal point of the entire kitchen.
17. Painted Shiplap or Planks in Sage Green

Painted shiplap in a soft sage green is one of those combinations that looks like it was always there. It suits a cottage kitchen the way nothing else does because it’s both natural-feeling and structured. The horizontal lines of the shiplap add width to smaller kitchens, and the sage color reads warm without being heavy.
When I tried this in my own kitchen nook as a test wall, the whole room shifted. It stopped looking like a rental and started looking like somewhere someone actually chose to live. Use 1×6 shiplap boards with a 1/4 inch reveal between them, painted in a matte sage such as Behr’s Mountain Sage or Sherwin-Williams Retreat. Materials for the average backsplash section run $70 to $110 all in.
If you want to see how sage green holds up in a farmhouse kitchen setting before committing to a full wall, it helps to look at finished examples first.
18. Zellige Moroccan Tiles
Zellige tiles are hand-cut Moroccan clay tiles with an uneven, slightly irregular surface and a glossy glaze that creates depth when light hits them. No two tiles are exactly the same. That variation is what makes a zellige backsplash look like it was assembled over time by someone who genuinely cared about what they were doing. It’s a very specific kind of richness that mass-produced tile can’t replicate.
Authentic zellige tiles run $12 to $20 per square foot, which puts a full backsplash project at $200 to $350. If that’s above your budget, use them only as an accent strip or focus on a 6 to 8 square foot section behind the stove. Even a small area of zellige has an outsized effect on how the whole kitchen reads. Worth every penny if you can make the numbers work.
Pairing zellige with the right countertop makes a real difference, and there are some backsplash and countertop combinations that work particularly well together.
More Ideas:
19. Embossed Victorian-Style Tile
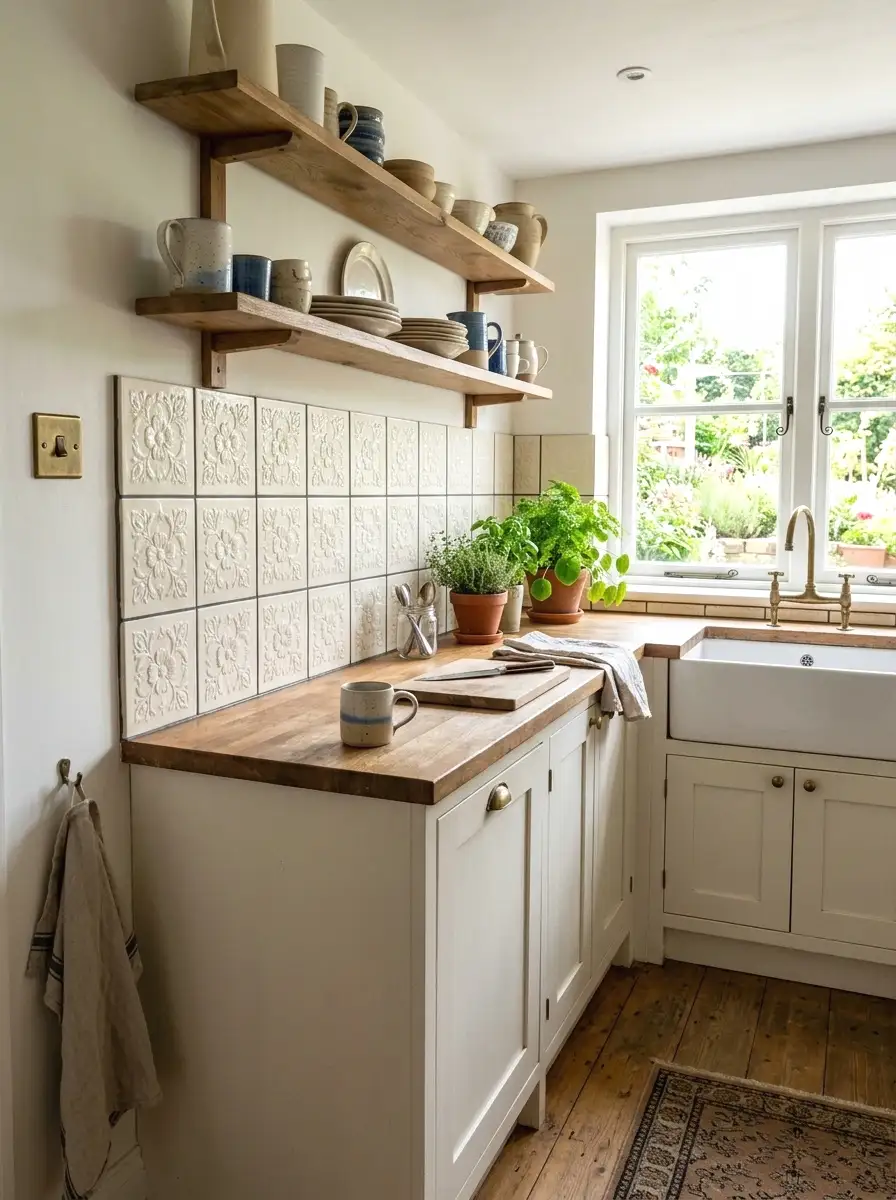
Victorian-style embossed tiles have a raised surface pattern, often floral, geometric, or rope-edged, that casts small shadows and gives the wall a three-dimensional quality. They show up a lot in older British and New England cottage kitchens and have that combination of precision and decoration that feels genuinely old-fashioned. Usually available in single colors or two-tone combinations.
These tiles run $4 to $8 per square foot from specialty tile shops and some online retailers. For a standard backsplash, budget $80 to $150. White or cream with a contrasting grout in dark grey reads Victorian. A single muted terracotta or sage green version reads more relaxed and French country. Either way, the embossed surface means the tile works hard even in a plain, solid color.
20. Simple Painted Brick Pattern
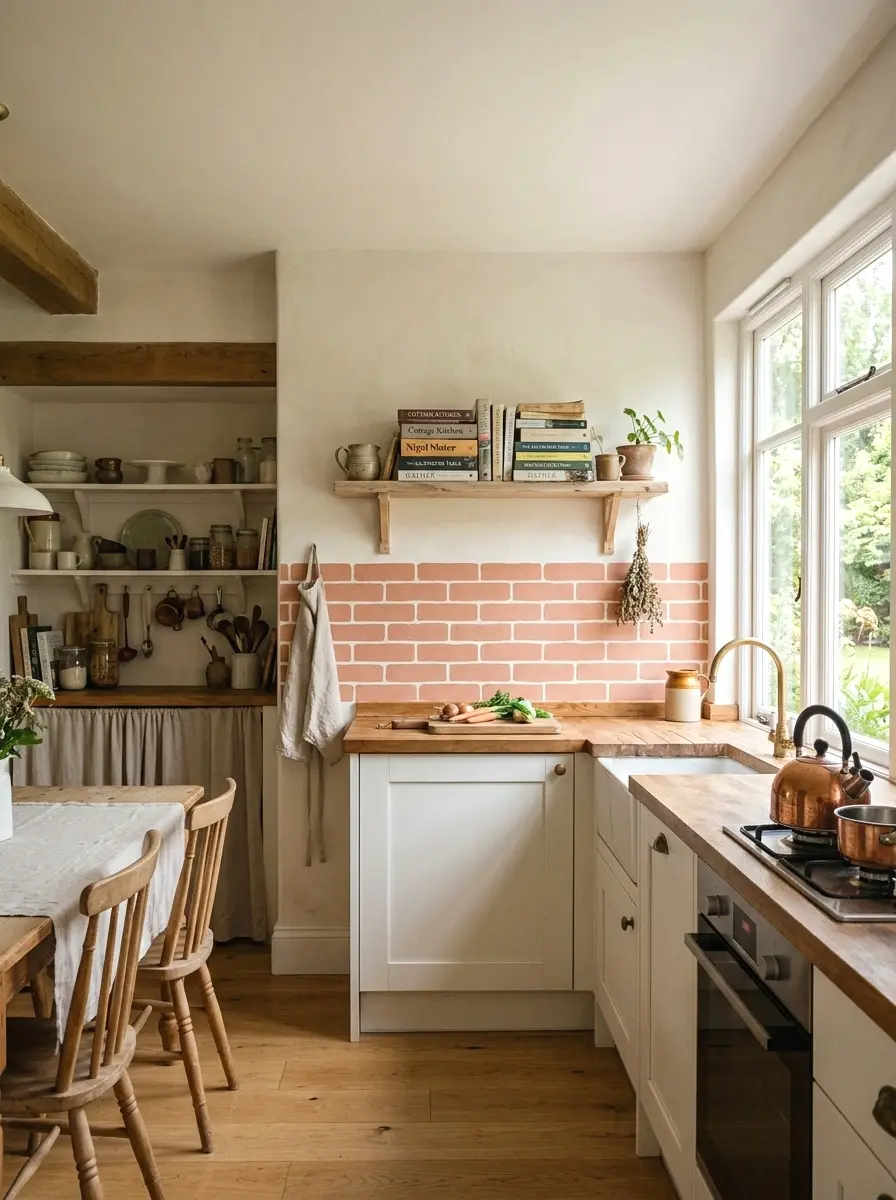
The simplest idea on this list is also one of the most effective. Tape off a brick pattern directly on your wall using low-tack painter’s tape and paint the mortar lines in a slightly darker shade than the wall, or paint the “bricks” in a soft terracotta while leaving the “mortar” lines white. It reads as a real backsplash from a normal viewing distance and costs almost nothing.
Total project cost is usually under $40. A roll of 3/4 inch painter’s tape costs about $5 and a quart of paint is $15 to $20. Use a small sponge roller for the brick color sections to get slight texture variation and avoid a totally flat look. And honestly, the reveal when you peel the tape back and see crisp mortar lines is one of those small moments that makes a DIY project genuinely satisfying.
Final Thoughts on Cottage Kitchen Backsplash Ideas
You came here with a backsplash that wasn’t working. You’re leaving with 20 real options at real price points, from a $40 painted brick pattern all the way up to handmade zellige tile. The through-line across all of them is the same: cottage style is about warmth, texture, and the sense that someone made a deliberate choice. It doesn’t require expensive materials. It requires the right materials used with intention.
Pick one idea that fits your budget this week. If you rent, go peel-and-stick or stencil. If you own, the subway tile or shiplap approaches give you the most long-term payoff. Start with what you have and build from there. One section done is better than the perfect plan stuck in your head.
And if you want to keep browsing before you decide, there are more kitchen ideas at real price points that cover different styles and material types.
If you want more room-by-room ideas at prices that make sense, homelypop.com has a lot more content covering real homes with real constraints.