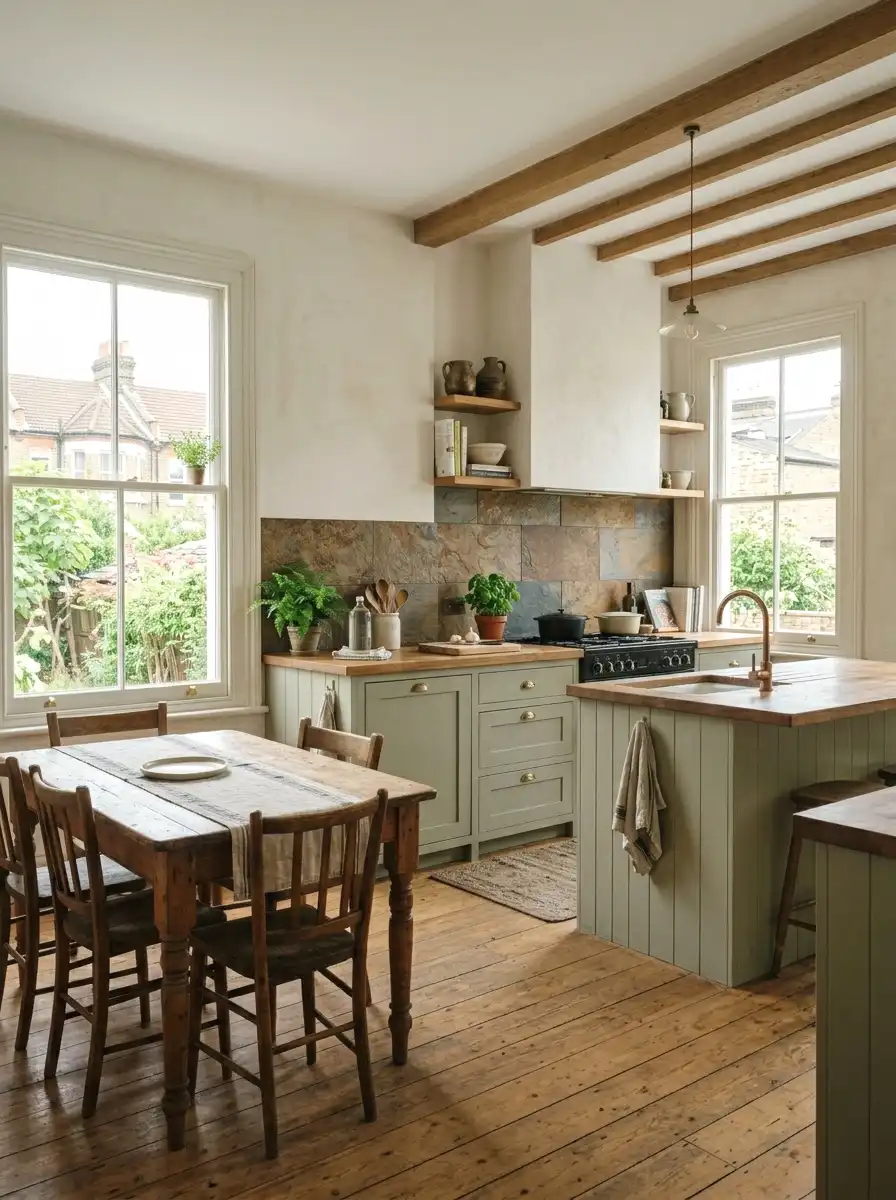
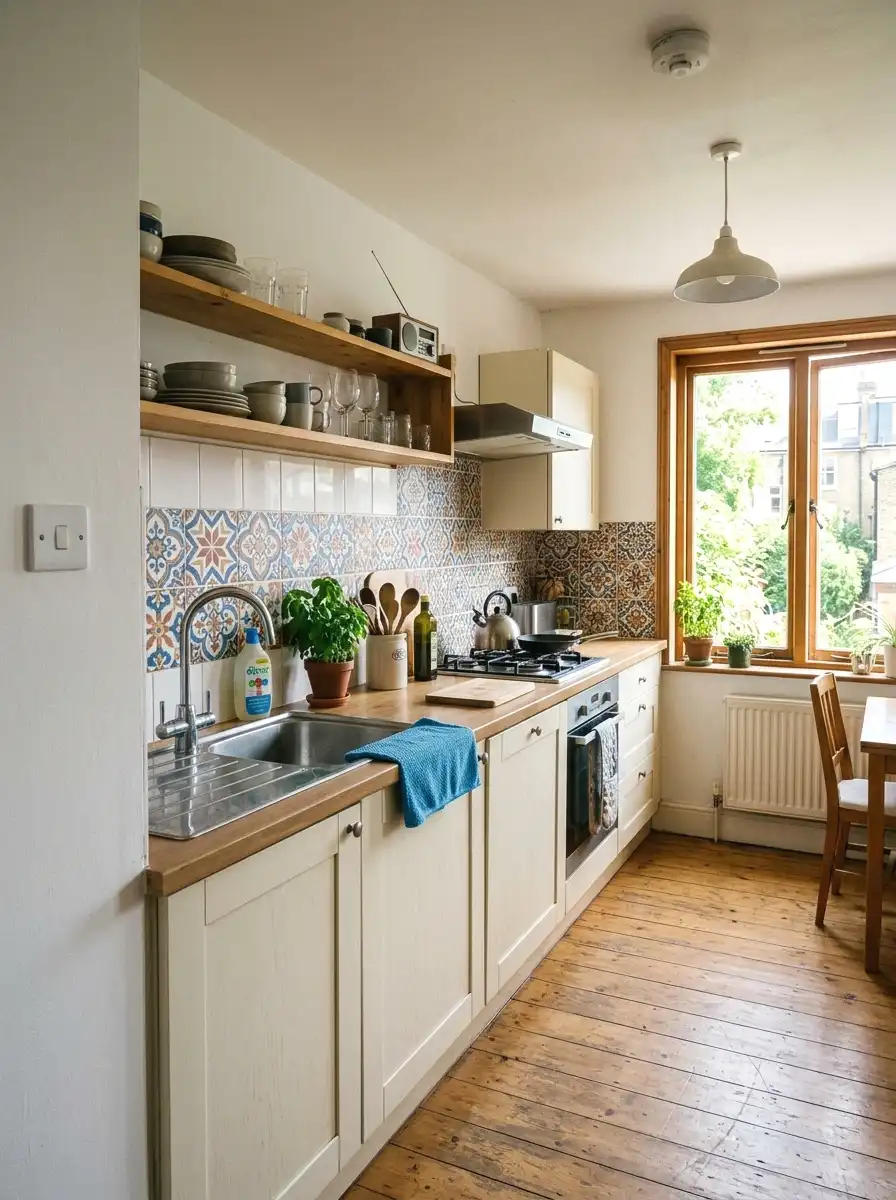
21 DIY Backsplash Ideas on a Budget That Look Expensive
Your kitchen feels almost right. The counters are clean, the appliances work, but that bare wall between the counter and cabinets is just sitting there looking unfinished. You’ve seen the tile jobs on Instagram and the price tags that come with them. It’s discouraging. Totally fine to feel stuck here.
Here’s the thing though: I’ve gone through 21 backsplash ideas that actually work for real kitchens with real money limits. Each one was picked because it solves something specific, whether that’s a rental restriction, a tight weekend budget, or just not wanting to deal with grout lines forever. Some of these cost under $30. A few run up to $150 if you want something more permanent.
This list is for people working with $100 to $300 and a kitchen that needs help now. If you’re planning a full renovation with a contractor, this isn’t your list. But if you want something that looks like you spent real money without actually doing that, you’re in the right place.
If you’re specifically working with a smaller kitchen, there are plenty of ways to stretch a tight renovation budget without sacrificing the final look.
By the end, you’ll have a clear plan, a real budget number, and at least one idea you can start this weekend.
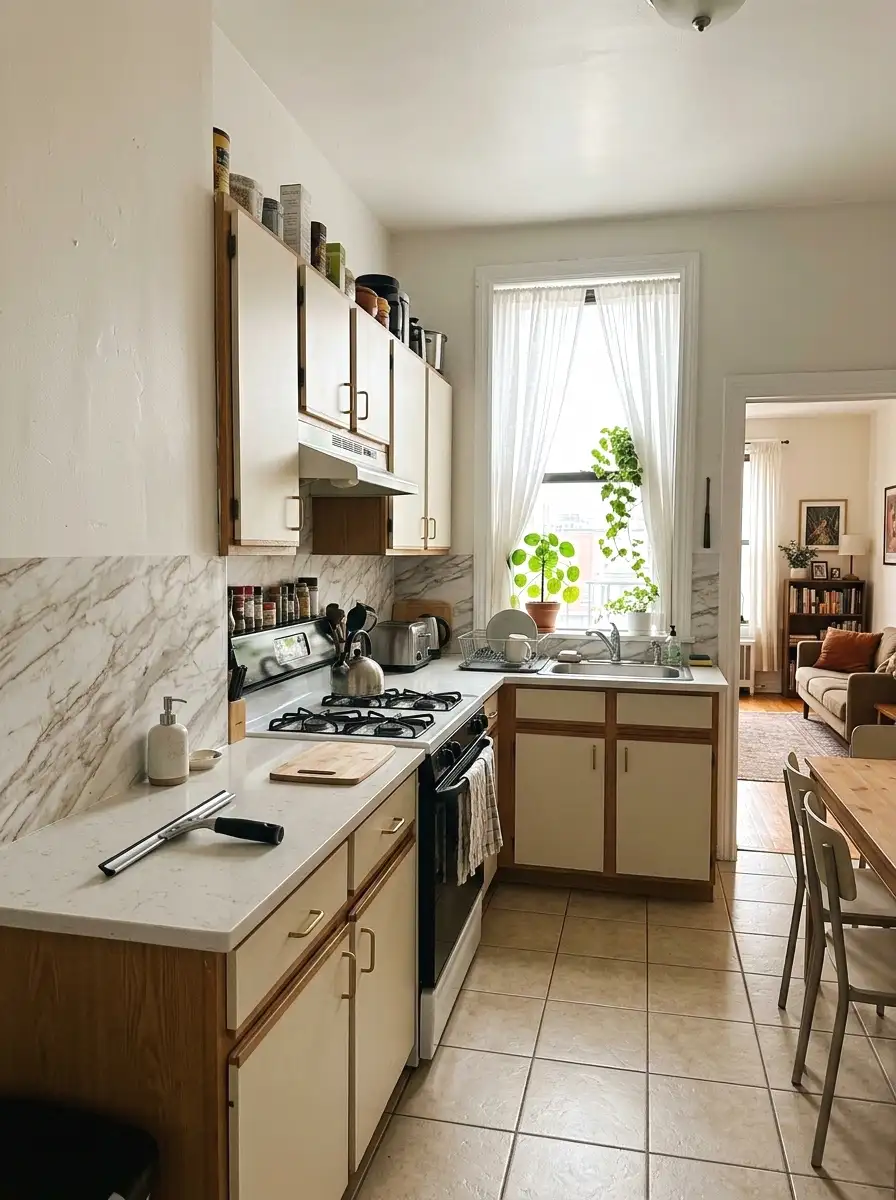
What to Know Before You Start a DIY Backsplash
- Measure twice: most kitchen backsplash areas run 15 to 20 square feet, which changes your material cost a lot.
- Peel-and-stick tiles require a clean, primed surface or they’ll curl at the edges within weeks.
- Real tile grout costs $8 to $15 per bag and covers roughly 50 square feet, so budget for it separately.
- Renters: always check your lease before any adhesive hits the wall, even “removable” products.
- Most people forget outlet covers. Remove them before tiling or your edges will look rough.
- Skipping a level tool is the most common first-timer mistake. A $5 bubble level fixes crooked rows.
- Sealed surfaces last years longer. One coat of grout sealer ($10) makes a big difference over time.
1. Peel-and-Stick Tile Panels
Peel-and-stick panels are probably the most searched backsplash fix right now, and honestly they’ve gotten way better in the last two years. The new ones have a thicker base layer that mimics real tile texture really well. You can find them in subway, herringbone, and even zellige-look patterns. Most sets cover 10 to 12 square feet and run $25 to $60 depending on the brand.
When I tried this in my own space, the install took about two hours for a standard 15-square-foot section. The key is wiping the wall with isopropyl alcohol first and letting it fully dry. Skip that step and the corners start peeling within a month. These work especially well in rental kitchens where you need something that comes off clean.
2. Painted Brick Pattern
So here’s one that looks way more involved than it is. You paint the wall a base color, let it dry, then use painter’s tape to mask off horizontal brick lines, about 2.5 inches apart. Paint the lines in a contrasting color and peel the tape while the paint is still slightly wet. The result is a clean, graphic brick pattern that costs almost nothing.
Total cost is usually under $20 if you already own some paint. The tape is the only real expense. Choose a light base with a warm terracotta or cream-colored line, and it reads like a real textured backsplash from a few feet away. Two coats of clear matte sealer after finishing makes it kitchen-safe and wipeable.
More Ideas:


3. Beadboard Panels
Beadboard is that classic wainscoting material with thin vertical ridges running up and down. A 4×8 sheet at a home improvement store runs about $25 to $35, and one sheet is usually enough to cover a standard backsplash area with some left over. You can cut it with a utility knife and a straight edge, no power tools needed.
Paint it in a semi-gloss so it cleans up easily. White or off-white looks really nice in most kitchen styles, but a soft sage green is a great option if you want something that stands out a little. Use construction adhesive to attach it directly to the wall, and finish the edges with thin trim molding for a polished look.
4. Vinyl Sticker Tiles
Vinyl sticker tiles are different from peel-and-stick panels. These are thinner, more like a decal, and they’re specifically designed to go over existing tile or flat walls. They come in Moroccan, geometric, and subway designs. A pack of 24 tiles usually runs $15 to $30 and covers about 6 square feet, so you’ll likely need two or three packs.
They’re best for renters or anyone who might want to change things up again in a year or two. (This one is so underrated for apartments.) The install is simple, just peel, stick, and smooth out any air bubbles with a credit card. They don’t love steam or direct heat, so keep them away from the stovetop area and they’ll hold up much better.
5. Shiplap Boards
The shiplap look, those horizontal wood planks with a thin gap between them, has been popular for a few years and it still works really well in kitchens. You can buy pre-cut shiplap boards or just rip down thin plywood strips yourself. Either way, the material cost runs about $40 to $80 for a standard backsplash section.
Prime the wood before installing, and use two coats of semi-gloss paint after. White is classic. A pale grey or warm linen color also works well. The gaps between planks are part of the look, so don’t try to fill them. Seal everything with a waterproof topcoat spray because kitchens get humid and splashy and raw wood won’t survive that without protection.
If you like the wood plank direction, there are more horizontal plank ideas worth considering that use similar installation techniques with slightly different textures.
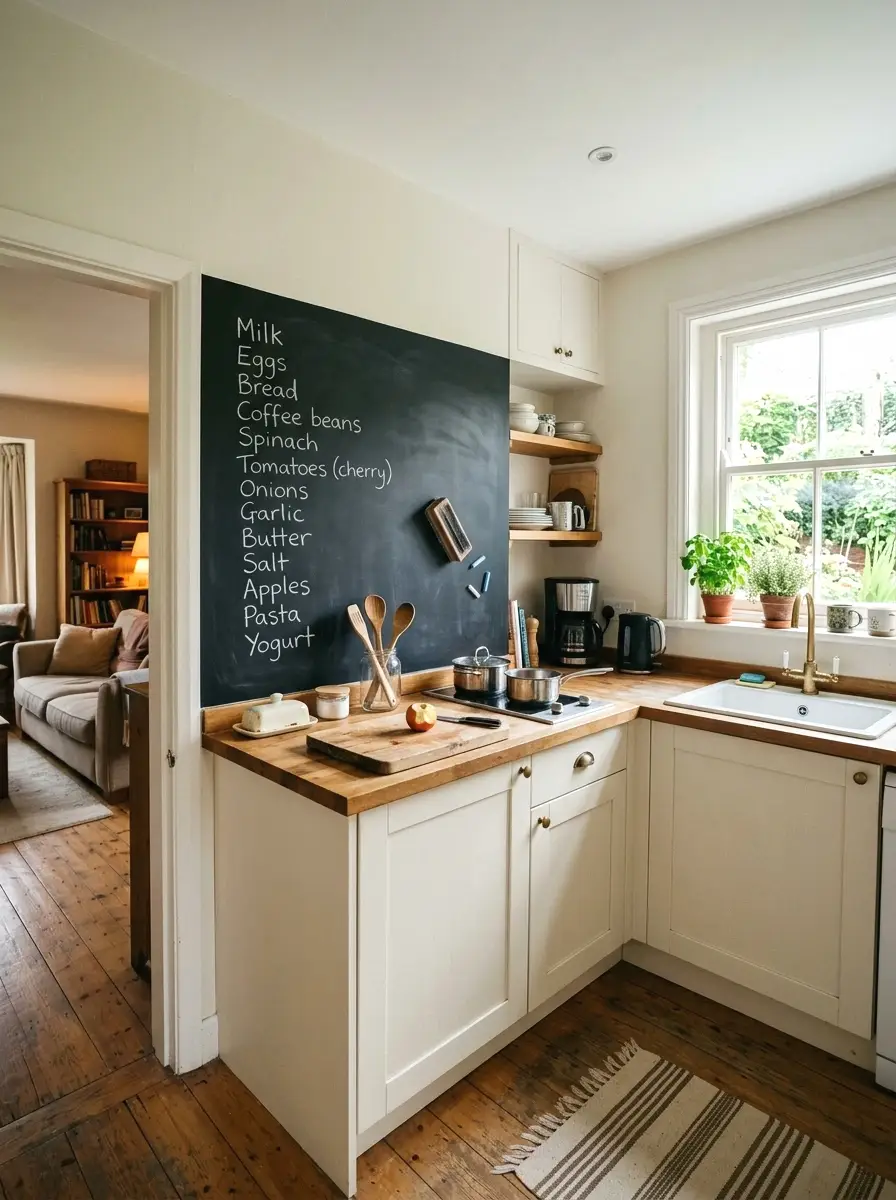
6. Chalkboard Paint Panel
A chalkboard backsplash sounds gimmicky but it’s genuinely practical in a kitchen. You can write your grocery list, weekly menu, or recipe notes right there on the wall. Chalkboard paint runs about $12 to $18 for a quart, and one quart easily covers a full backsplash area with two coats.
The color is almost always matte black or dark slate grey, which actually looks really sophisticated in a lighter kitchen. Let it cure for three full days before writing on it, otherwise the chalk sticks permanently. Prime the surface first if the wall has any sheen. Once it’s cured, it wipes clean easily with a damp cloth and lasts for years.
More Ideas:
7. Groutable Peel-and-Stick Tile
This is the upgraded version of basic peel-and-stick. These tiles have real grout joints built in, so once you apply real sanded grout between the pieces, the final look is genuinely close to a tile job. The tiles run about $4 to $7 per square foot, and a 15-square-foot backsplash will cost you roughly $60 to $105 in material.
The grout step is what makes the difference. It fills in any slight unevenness and gives the surface a matte, textured finish that photos well and holds up to cleaning. I was skeptical about this one but the results honestly surprised me. The total project lands somewhere around $80 to $130, which is a fraction of what a full tile job costs.
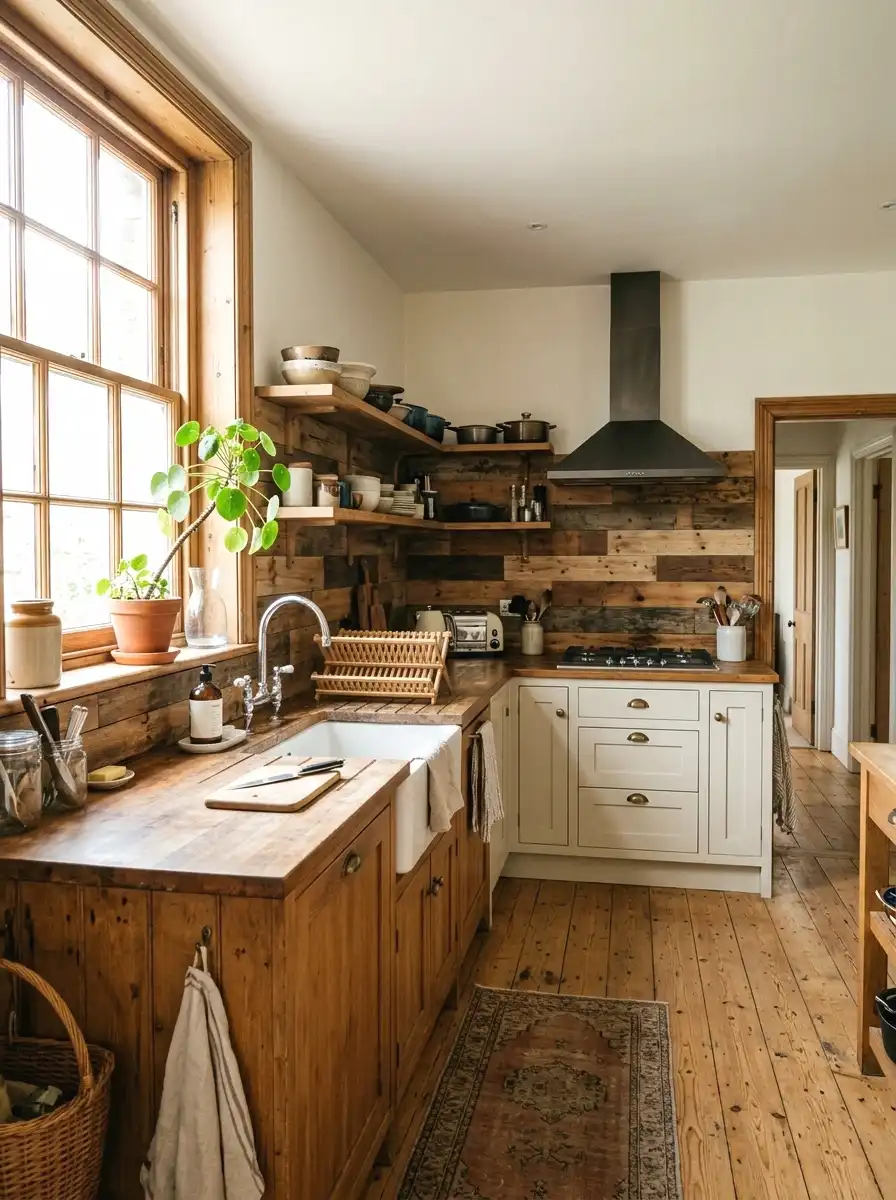
8. Reclaimed Wood Planks
Reclaimed wood brings a lot of warmth and character to a kitchen, and you can often find pieces for free or very cheap from salvage shops, Facebook Marketplace, or construction site giveaways. Sand the surfaces smooth, check for any rough splinters, then apply a food-safe wood sealer before installing. The whole material cost can run as low as $0 if you source well, or up to $60 for nicer pieces.
Mount the planks with construction adhesive or small finishing nails. Alternate the lengths so the seams don’t line up, which makes it look more like real reclaimed material and less like a kit. The sealer step is non-negotiable here. Raw wood in a kitchen will absorb grease and stains within weeks and it’ll never look clean again.
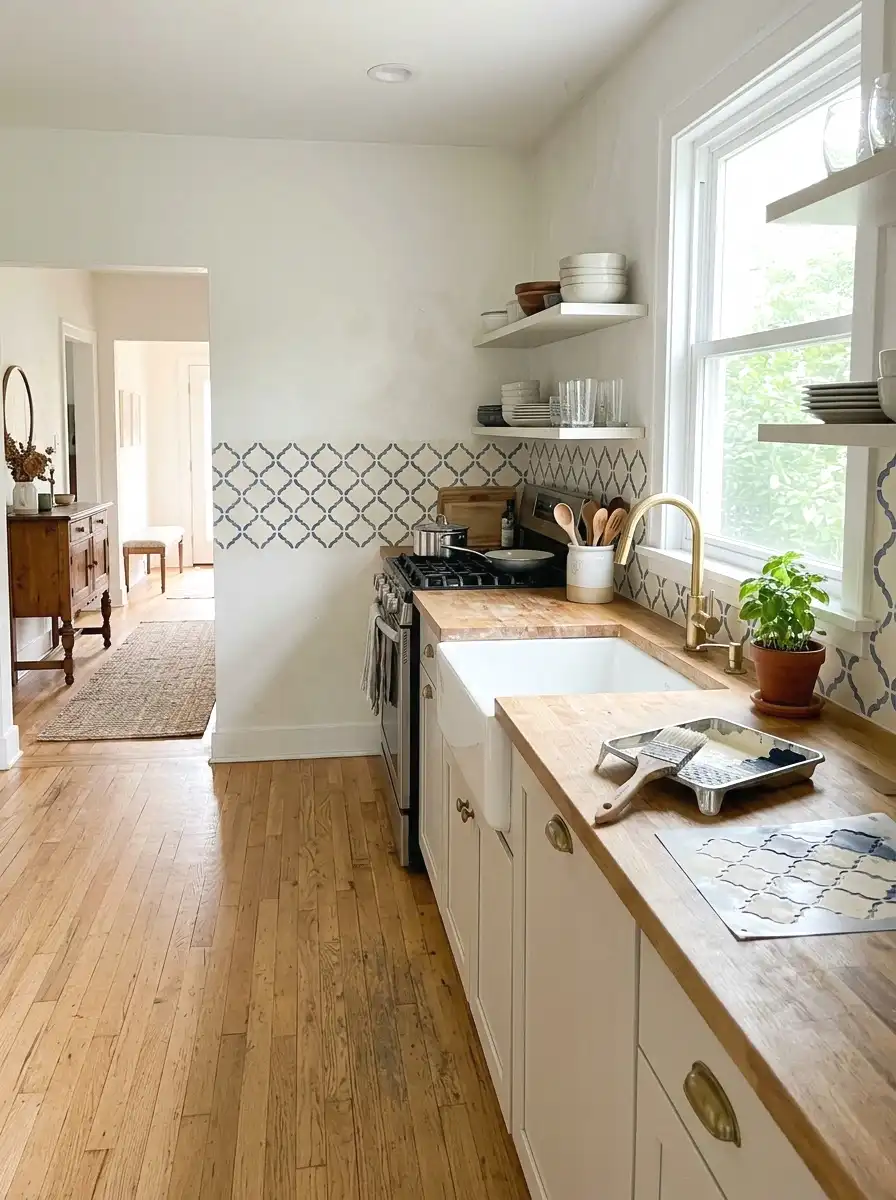
9. Stenciled Tile Pattern
Here’s a fun one that takes a little patience but the results are really impressive. You paint your existing wall or backsplash a solid base color, then use a repeating tile stencil to paint a pattern on top. Stencils run $15 to $30 online. The paint cost depends on what you already have, but you’re usually looking at one small sample pot per color.
The key is loading your brush or roller lightly so the paint doesn’t bleed under the stencil edges. Use a pouncing motion instead of brushing. Morrocan, geometric, and Spanish tile patterns all look really nice done this way. Seal the finished wall with a water-based topcoat and it will wipe clean just like painted tile.
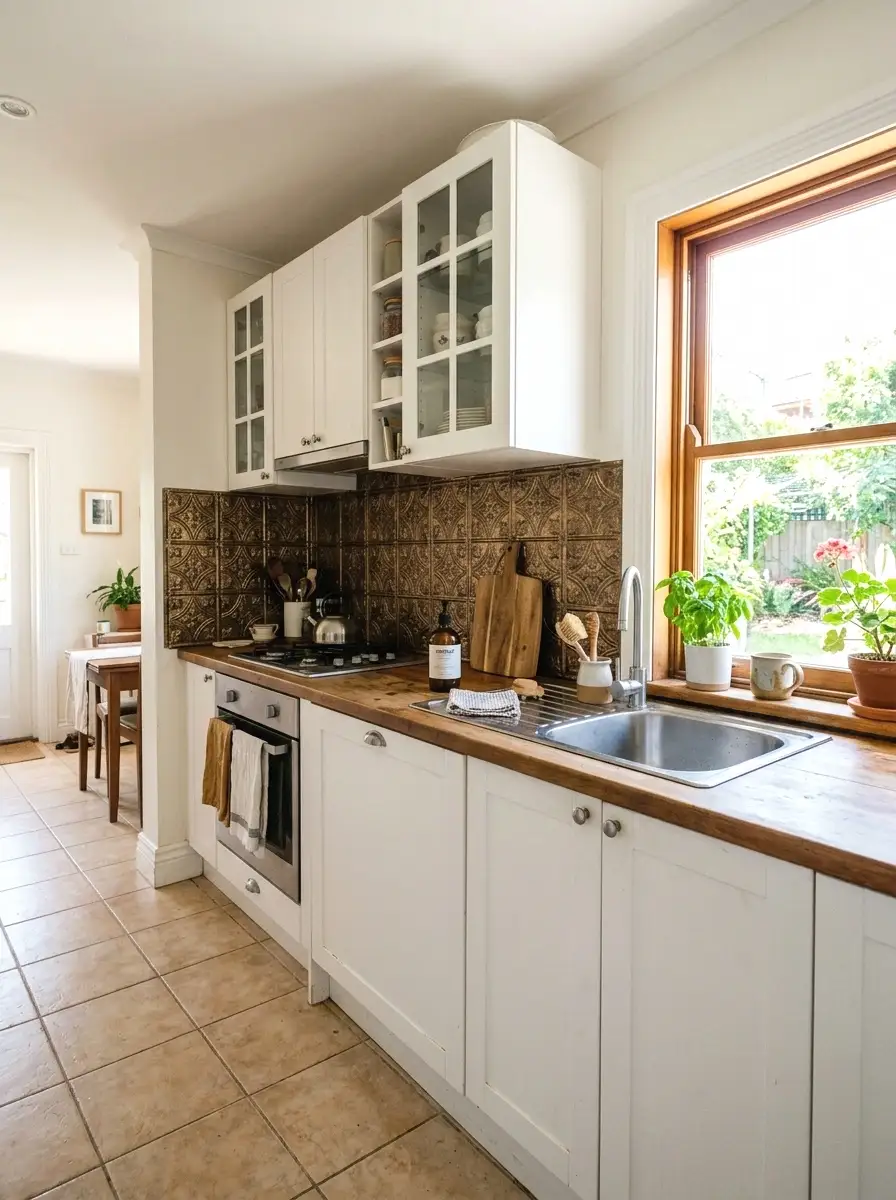
10. Tin Ceiling Tiles
Tin ceiling tiles are those pressed metal panels with raised geometric or floral designs, and they’re not just for ceilings. Mounted as a backsplash, they look old-fashioned in a good way. You can find them at specialty home stores or online for about $2 to $5 per tile. A standard backsplash takes roughly 20 to 30 tiles depending on the tile size you choose.
They come in a raw metal finish and can be painted any color, which means you can match them to your kitchen. A flat black or antique bronze look is really good in a rustic or industrial kitchen style. Use construction adhesive to mount them, and press firmly for a full minute after each one. (Took me ages to figure this out, but pressing longer makes a real difference in how they set.)
If you want to explore more pressed metal finishes for rustic kitchens, there are several variations that go beyond the standard ceiling tile shape.
More Ideas:
11. Mirror Tiles

Mirrored tiles make a kitchen feel bigger and brighter, which is a big deal in small spaces. They reflect light back into the room and make the whole area feel less boxed in. A pack of 12-inch mirror tiles runs about $20 to $40 at most home improvement stores, and they usually come with self-adhesive backing already applied.
Clean the wall thoroughly before sticking them. Any grease or dust and they won’t bond well. Arrange them in a straight grid for a clean modern look, or offset them in a brick pattern for something a little softer. The edges can be sharp so wear gloves during install. A simple row of three or four tiles above the counter, rather than a full floor-to-ceiling installation, often looks better and costs less.
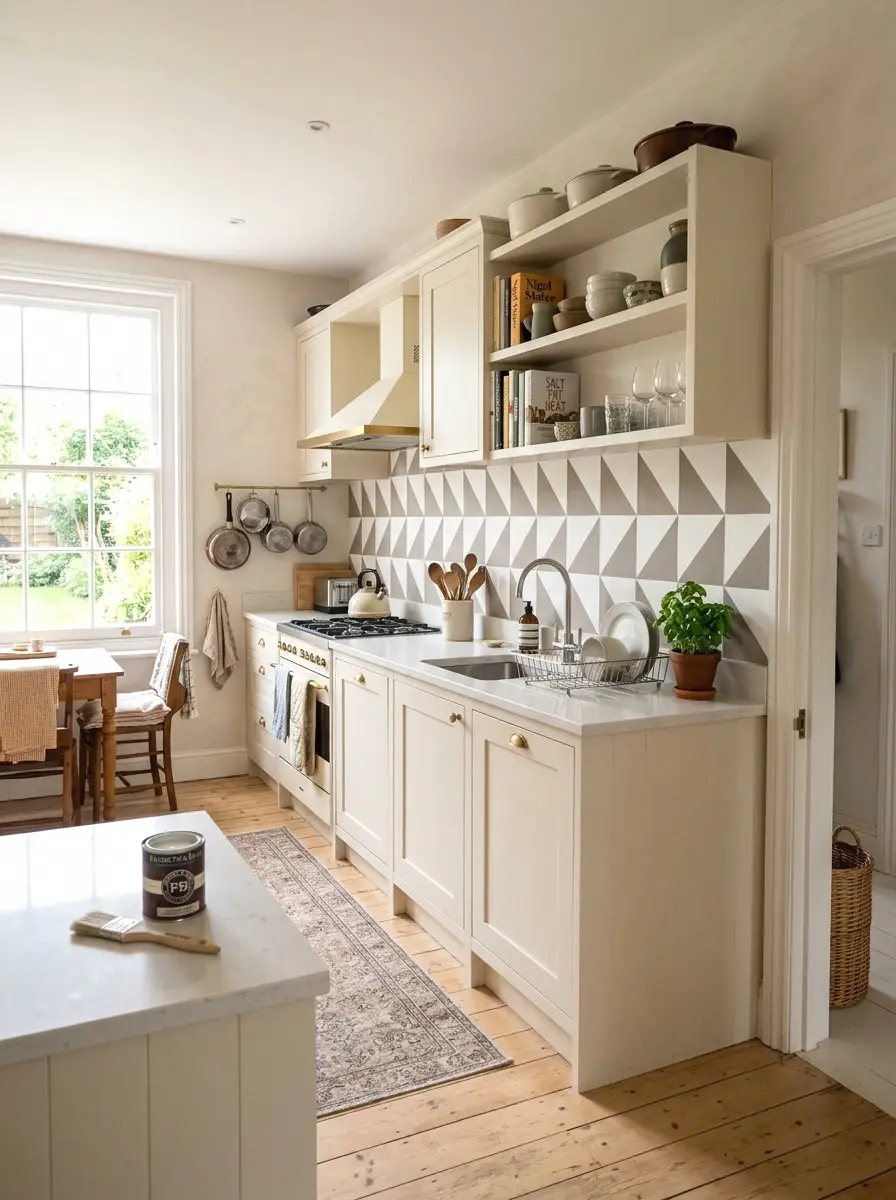
12. Painted Geometric Pattern
A painted geometric backsplash is one of the most budget-friendly options on this list because it requires no materials beyond paint and tape. Pick two colors, lay out a repeating triangle, diamond, or hexagon grid using painter’s tape, paint in the shapes, peel the tape, and you’re done. The whole thing costs $10 to $25 depending on whether you need to buy paint.
The tricky part is getting your tape lines even. Use a ruler and a light pencil mark as a guide before laying the tape. A level helps a lot here too. Simple two-tone patterns like white and warm grey or navy and cream look really clean and modern. Seal the finished pattern with a clear semi-gloss for a wipeable surface.
13. Mosaic Glass Tile Sheet
Glass mosaic sheets, the kind where small tiles are pre-mounted on a mesh backing, give you a real tile finish at a manageable cost. They run about $5 to $12 per square foot, and a standard backsplash project will land around $75 to $180. It’s at the higher end of this list but it’s real tile, real grout, and it will outlast every other option here.
The install is more involved than peel-and-stick, but it’s doable on a weekend. Spread tile adhesive with a notched trowel, press the sheets in, let it set overnight, then grout the next day. The glass catches light in a way that looks really expensive. Subway glass in a soft white or pale blue is especially good in a kitchen.
For anyone ready to go beyond the DIY options, there are backsplash patterns that use real tile at a range of price points.
14. Wallpaper Backsplash
Peel-and-stick wallpaper works surprisingly well as a backsplash in lower-heat areas of the kitchen. Keep it away from directly behind the stove, but above a sink or on a side wall it’s a really easy way to add pattern and color. Peel-and-stick rolls run $15 to $40 and most standard backsplash areas use one to two rolls.
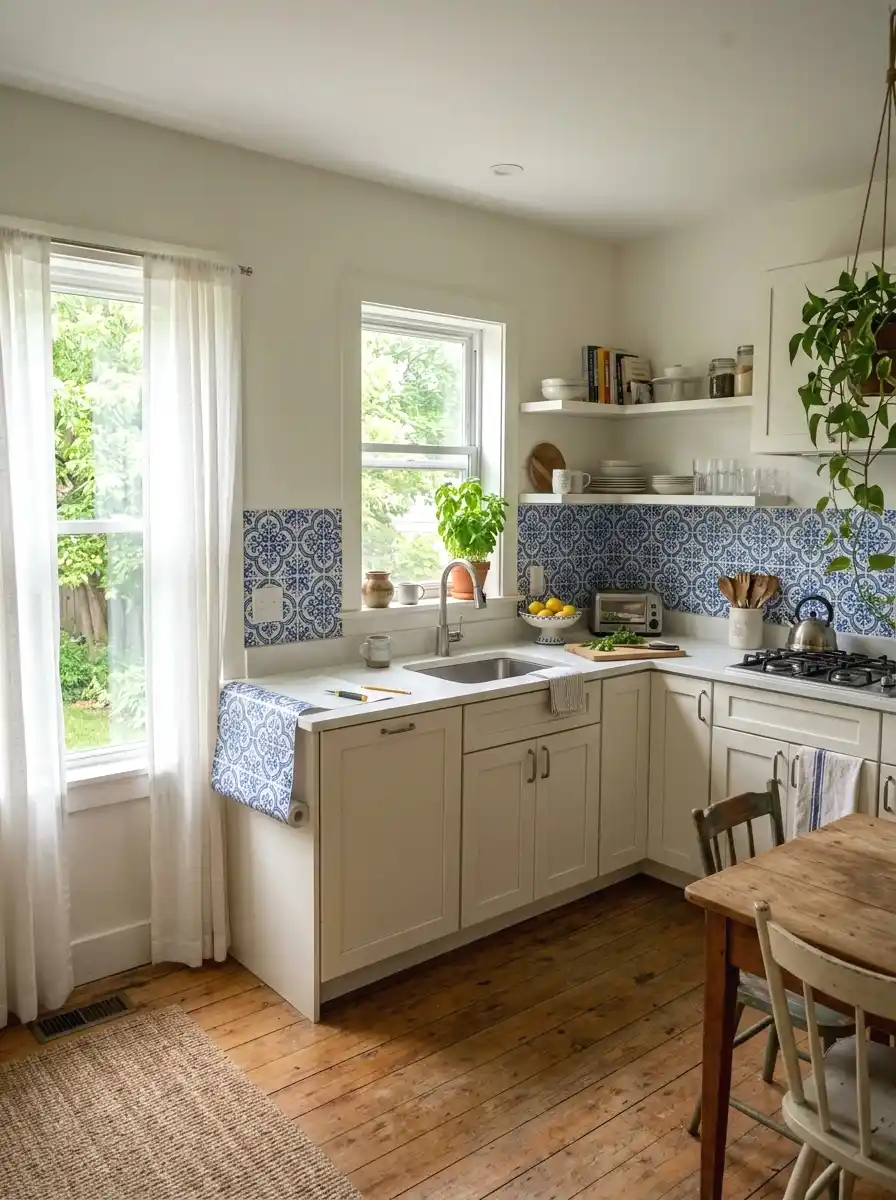
Look for wallpaper with a wipeable surface coating, usually described as “washable” or “vinyl-coated” in the product listing. Patterns that mimic Zellige tile, which is the slightly uneven handmade Moroccan tile with a shiny glaze, or classic blue-and-white Portuguese tile designs are extremely popular right now for a reason. They look really good and they’re simple to hang.
If you’re drawn to that look, coastal and blue-and-white kitchen styles make great use of these patterns across the whole room.
More Ideas:
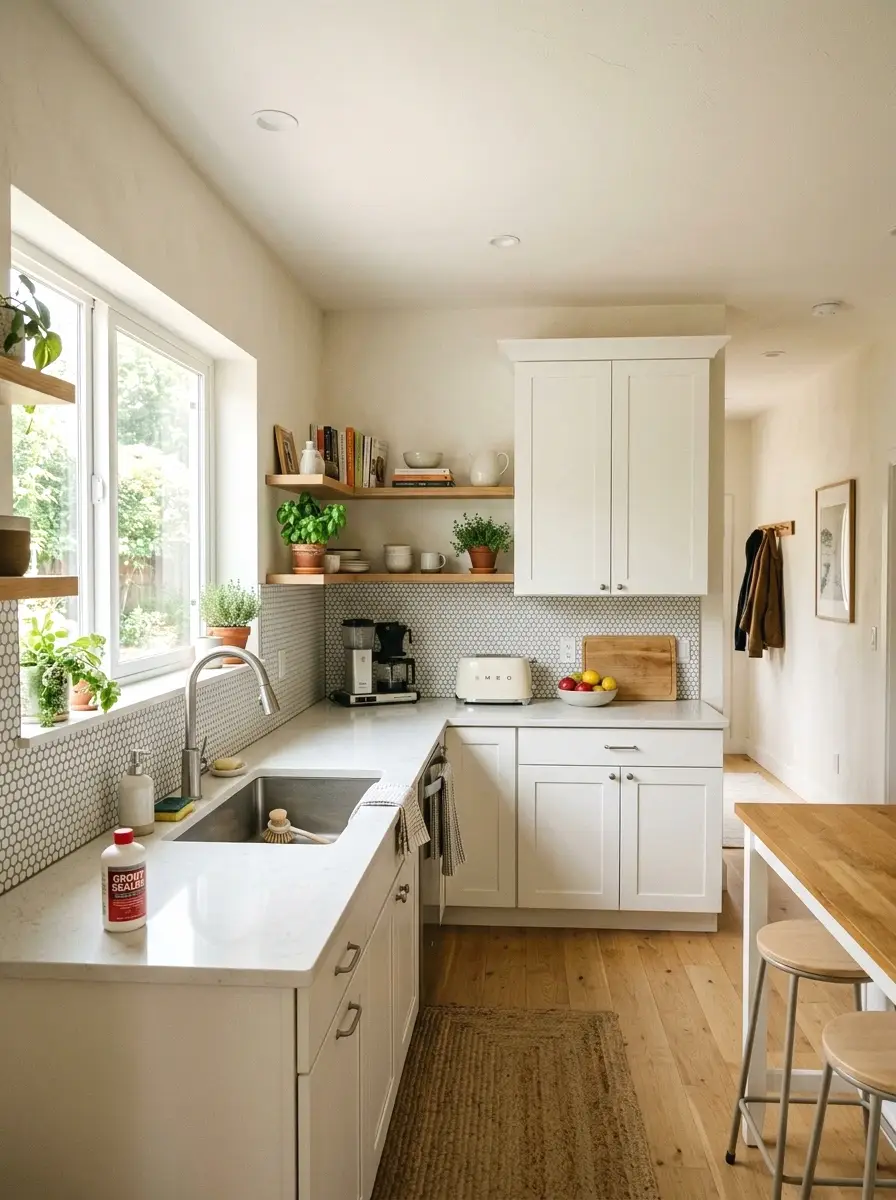
15. Penny Tile
Penny tiles are those small, round tiles about the size of a coin, and they come in sheets on a mesh backing just like mosaic tiles. They have a really distinctive, retro look that works in both older homes and modern kitchens. Material cost runs about $4 to $8 per square foot, so plan for $60 to $120 total for most backsplash areas.
White penny tile with dark grey grout is a classic combination. Black penny tile with white grout looks bold and graphic. The grout color choice makes an enormous difference here, more than almost any other tile type. Use unsanded grout for the small joints. Because the grout lines are so tight and numerous, use a sealer once everything is dry to keep them from staining.
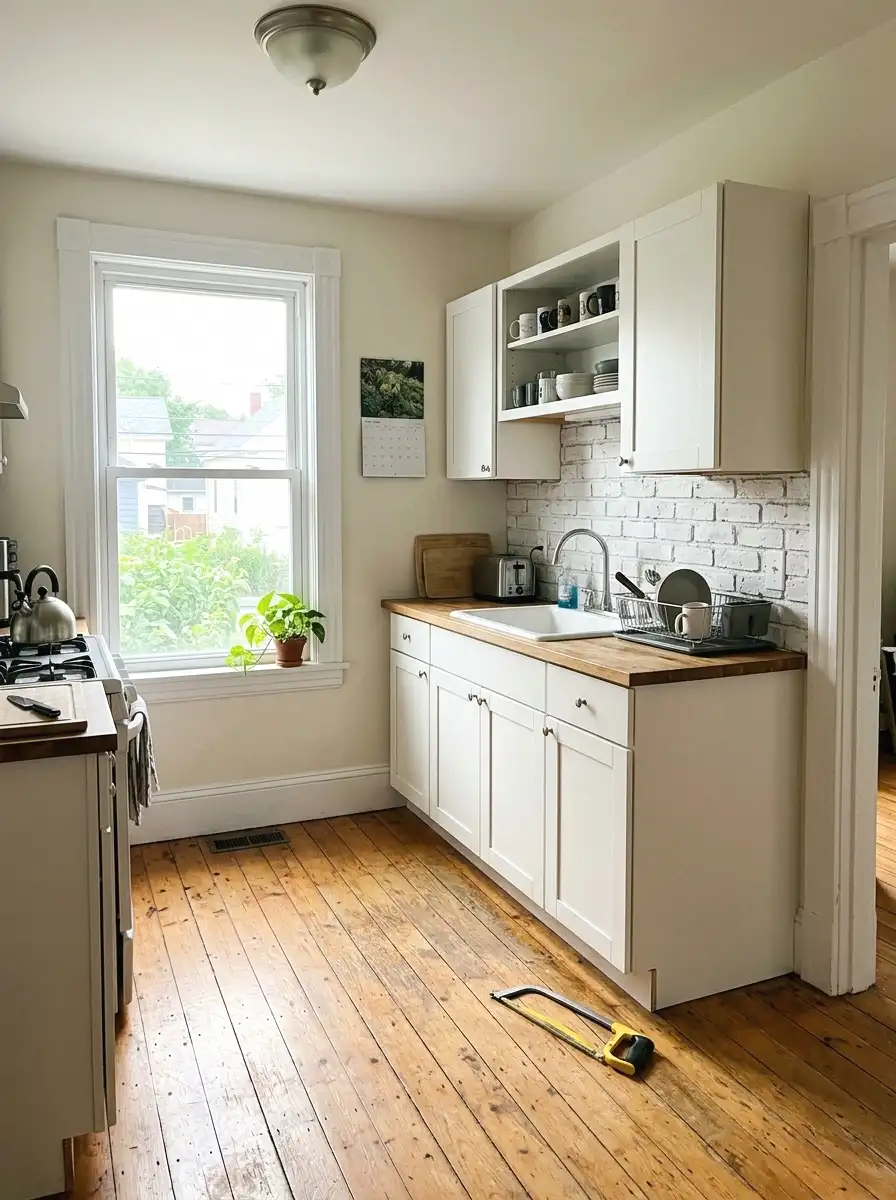
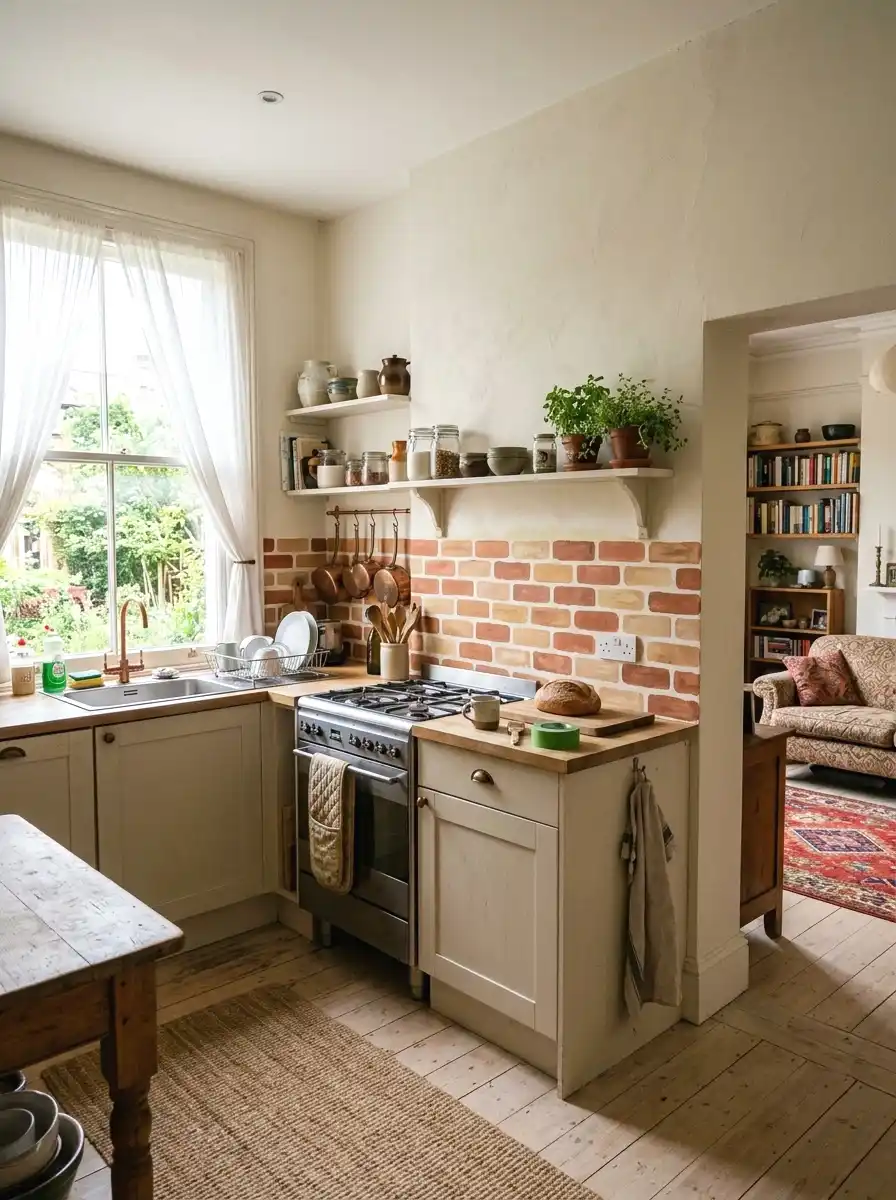
16. Faux Brick Panels
These are thin lightweight panels molded to look exactly like brick. They’re usually made from high-density polyurethane foam and weigh almost nothing. A 4×8 panel covers 32 square feet and costs about $50 to $80. One panel is more than enough for most kitchen backsplash installations with material left over.
You can paint them before or after install. Raw brick red is obvious but white-painted “whitewashed brick” looks really nice in a modern farmhouse kitchen. Use construction adhesive to mount them directly to the wall. Cut with a regular hacksaw if you need to trim around outlets. The texture is convincing enough from normal viewing distance that people do a double take.
If you’re leaning into that aesthetic overall, modern farmhouse kitchen design ideas can help you pull the whole room together beyond just the backsplash.
17. Contact Paper
Contact paper is the most budget-friendly option on this whole list. A roll costs $8 to $20 and covers several square feet. It comes in marble, subway tile, wood grain, concrete, and dozens of other looks. It’s completely removable and leaves no residue, which makes it a go-to for renters or people who just want to try something without commitment.
The install needs patience. Measure and cut your piece first, then start from one edge and smooth as you go to avoid air bubbles. A squeegee or old credit card helps. If a bubble forms, lift the edge carefully, reposition, and smooth again. Contact paper won’t fool anyone up close, but in photos and from across the kitchen, a good marble or tile-look print is actually really convincing.
18. Removable Tile Stickers Over Existing Tile

If your kitchen already has tile but it’s ugly, outdated, or just the wrong color, tile stickers are a rental-friendly fix that goes directly over the existing surface. No removal, no mess. They’re sized to fit standard 4×4 inch tiles and come in packs. A full set for 20 tiles runs about $20 to $40.
Clean the existing tile really well first, especially around grout lines where grease builds up. The stickers won’t stick properly over any residue. Spanish, Mediterranean, and blue-and-white geometric patterns all work well here and give an older kitchen a completely different feel without doing any actual work to the tiles underneath. This is one of the fastest transformations on this list.
More Ideas:
19. Shiplap Herringbone Pattern
Regular horizontal shiplap is already good. But if you cut the same boards at 45-degree angles and lay them in a herringbone pattern, you get something that looks genuinely high-end. It’s the same material cost as regular shiplap, around $40 to $80, just a little more cutting involved.
The key measurement here is keeping your angle consistent. Set a miter saw to 45 degrees and cut all your pieces at once. Lay the pattern on the floor first to check how it looks before mounting anything. Painted white in semi-gloss with a waterproof sealer, this pattern behind a kitchen sink looks like something from a design magazine. It’s one of the higher-effort options here but the payoff is real.
20. Stone Veneer Sheets
Stone veneer sheets are thin slices of real stone or a very convincing composite, mounted on a flexible backing. They give a natural stone or slate look without the weight or cost of actual stone tile. A 4-square-foot sheet runs about $20 to $35, so a 15-square-foot backsplash will cost roughly $75 to $130.
The look is earthy and natural, which works well in kitchens with wood tones, black hardware, or a generally organic style. Mount them with strong construction adhesive. Because the surface is already textured and varied, there’s no grouting required, which saves time and money. Seal with a stone sealer once installed to prevent staining from cooking oils and splashes.
For more texture-forward options in this direction, there are rustic kitchen backsplash options to browse that lean into natural materials the same way.
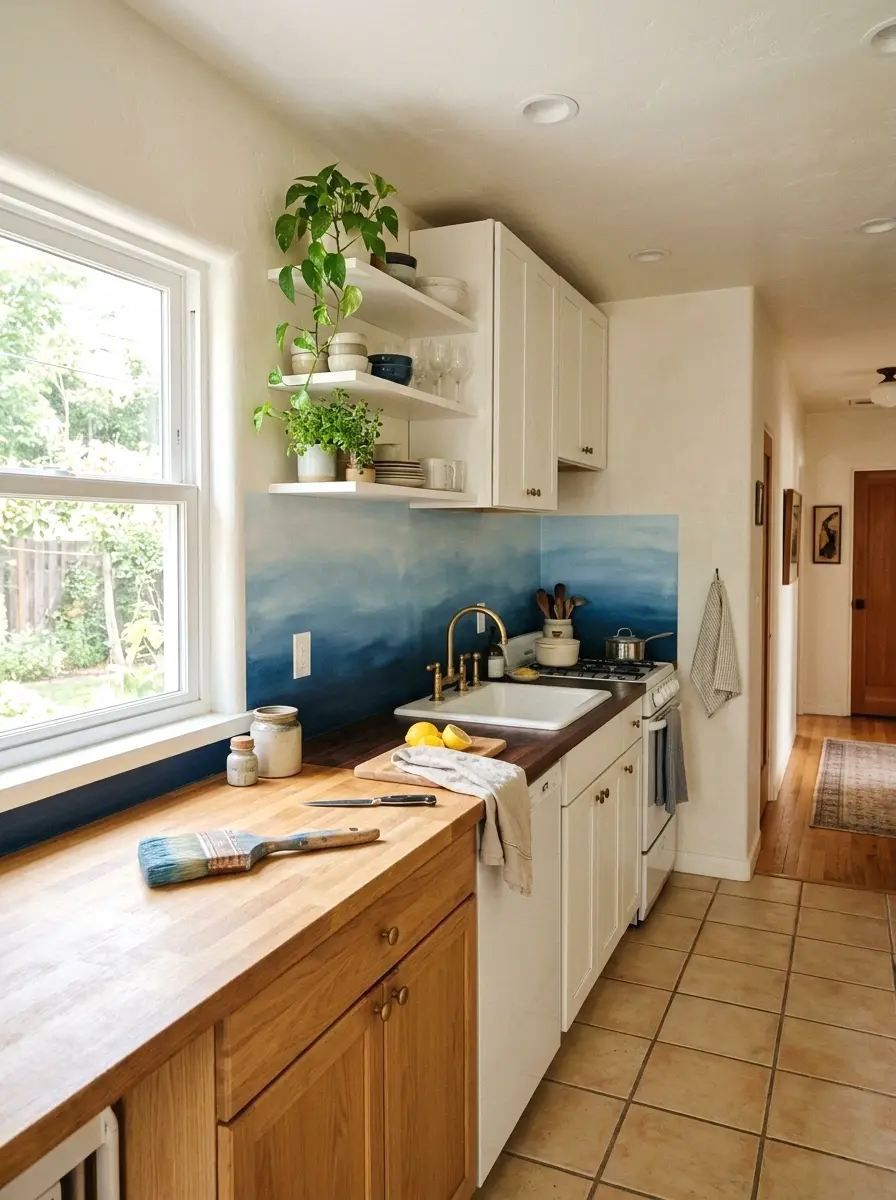
21. Painted Ombre Wall
An ombre backsplash, where one color gradually fades into another from top to bottom or side to side, is one of the more unexpected ideas on this list and it almost always looks great. Pick two colors from the same family, a deep navy and a soft sky blue, or a warm terracotta and a pale blush. One quart of each color costs about $8 to $12 at most stores.
If you’re still working out your color direction, kitchen wall color ideas that help narrow down the palette can make the ombre choice feel less overwhelming.
Apply the darker color at one end and the lighter at the other, then blend them together in the middle while both are still wet using a dry brush or a damp sponge. There’s no tape needed and the technique is more forgiving than it sounds. It doesn’t need to be perfect because an ombre effect is inherently organic. Seal it with a clear semi-gloss so it cleans up easily and the colors stay true.
Final Thoughts on DIY Backsplash Ideas on a Budget
You’ve got 21 real options in front of you, most of them under $100, a few going up to $150 or $180 for the real-tile versions. The common thread through all of them is that the surface preparation matters more than the material itself. Clean walls, a level line, and the right sealer will make a $20 contact paper backsplash look better than a poorly installed tile job.
Start small if you’re not sure. Pick one section of your kitchen, not the whole thing. Try a peel-and-stick panel or a painted stencil pattern this weekend and see how it feels. You don’t have to commit to the whole wall on day one. One section is enough to tell you if the look works in your space.
If you want to keep the momentum going after the backsplash, there are budget home projects organized by room that tackle the rest of the kitchen the same way.
If you want more ideas like this, homelypop.com has a full library of budget home projects organized by room and price range. Worth bookmarking if you’re working through a kitchen refresh one step at a time.