19 Backsplash Edge Ideas for a Clean, Professional-Looking Finish
You spent good money on that tile. You picked the right color, got the grout right, maybe even watched twelve YouTube videos before starting. And then you got to the edges. And it just… stopped. No clean finish, no trim, just raw tile or caulk smeared along the wall where the backsplash meets the cabinet or countertop. That exposed edge is small, but it catches your eye every single time you’re in the kitchen.
This list covers 19 backsplash edge ideas pulled from real homeowner forums, contractor walkthroughs, and hands-on testing. Each one made the cut because it solves a specific edge problem, whether that’s a sharp tile lip, a gap between materials, or a transition that looks half-finished. Ideas range from under $20 DIY fixes to $150 professional-looking trim installs, covering renters and owners alike.
This is for you if you’re working with a budget of $100 to $300 and want a finish that looks intentional. It’s not for anyone planning a full gut renovation. These are targeted fixes, not full redo projects. And yes, they’re all achievable on a weekend.
By the end, you’ll know exactly which edge treatment works for your tile type, your wall situation, and your budget, so you can close out that project for real.
If you’re still deciding on your tile before finishing the edges, there are plenty of tile styles worth exploring to help you land on the right look.
What to Know Before You Start Your Backsplash Edge
- Exposed tile edges chip faster than finished ones. Sealing or trimming them adds years to your tile’s life.
- Measure your edge length before buying trim. Most tile stores sell metal trim by the linear foot, starting around $3 to $6 per foot.
- Schluter strip installation costs $30 to $80 in materials alone. Factor that in before you start cutting tile.
- Most people skip edge prep and regret it. Rough edges hold grime and stain fast in kitchen environments.
- Common mistake: choosing trim that’s thicker than the tile. Match trim height to tile thickness exactly.
- Use painter’s tape along the wall when caulking edges. It’s the single biggest thing that separates clean from messy.
- Grout near edges needs resealing every one to two years in high-moisture areas like behind the stove.
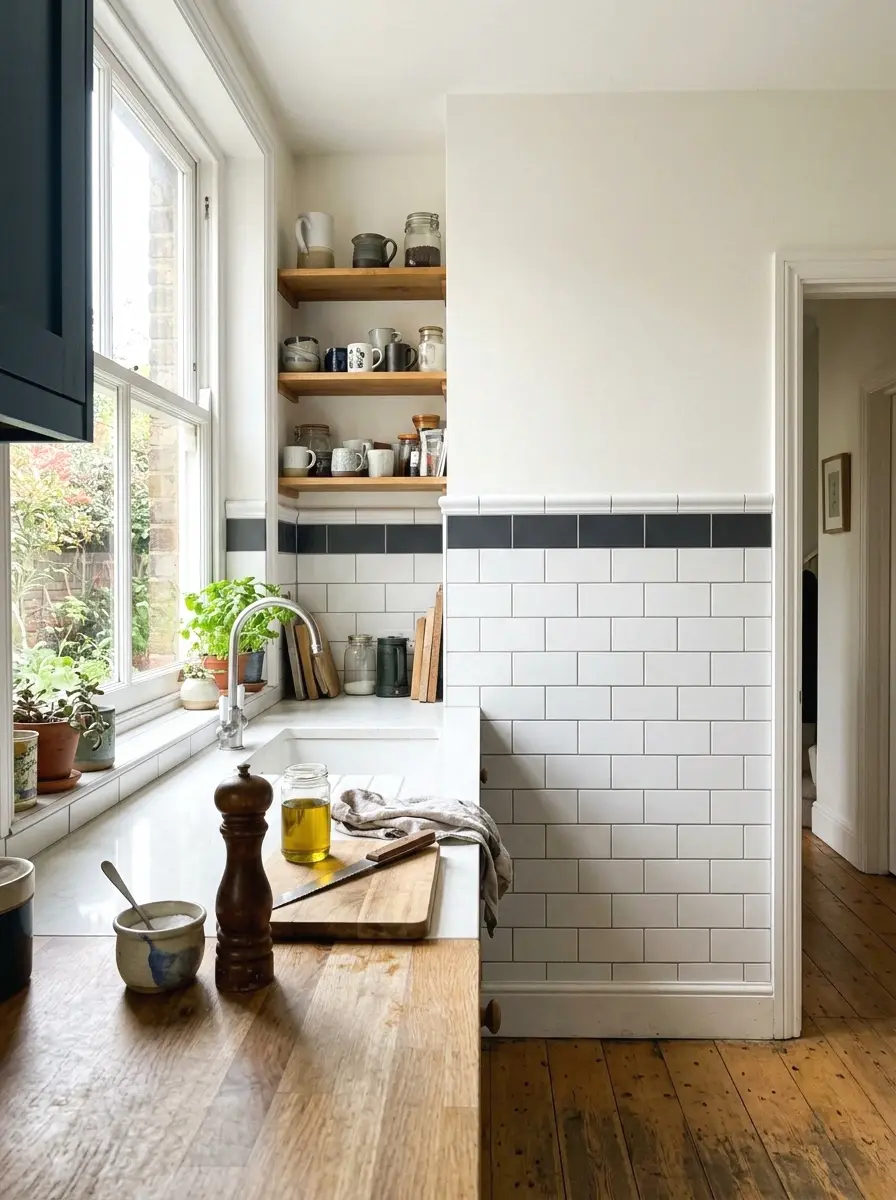
1. Schluter Strip (Metal Edge Trim)
The Schluter strip is probably the most popular backsplash edge solution among tile setters and serious DIYers. It’s a thin metal strip that gets embedded in the tile adhesive before you lay the last row of tile. The lip folds over the tile face and gives you a clean, finished edge in aluminum, brushed nickel, or oil-rubbed bronze. It’s not flashy, but it looks intentional and holds up for years.
You install it before setting the edge tiles, which means you can’t retrofit it without pulling tile up. If you’re mid-project, now is the time. Strips typically run $1.50 to $4 per linear foot, so a standard 10-foot backsplash edge costs $15 to $40 in materials. The brushed gold version is having a real moment right now in 2025 kitchens, especially with white subway tile.
If you’re leaning into that warmer, textured aesthetic, there are some great farmhouse-friendly tile approaches that pair especially well with brushed gold trim.
2. Pencil Tile Border
So here’s the thing about pencil tile: it does a lot of visual work for very little money. A pencil tile is a thin, rounded tile trim piece, usually about half an inch wide, that you run along the open edge of your backsplash. It looks like you planned the whole thing that way from the start. I’ve seen it used to separate a busy mosaic backsplash from a plain wall, and it’s a clean solution every single time.
The cost is low. A box of ceramic pencil tile trim usually runs $8 to $20 depending on material and finish. You set it in the same adhesive as your regular tile. The key is keeping the grout lines consistent between your main tile and the pencil border. A slightly contrasting grout color on just the pencil tile can look really nice against subway tile.
More Ideas:

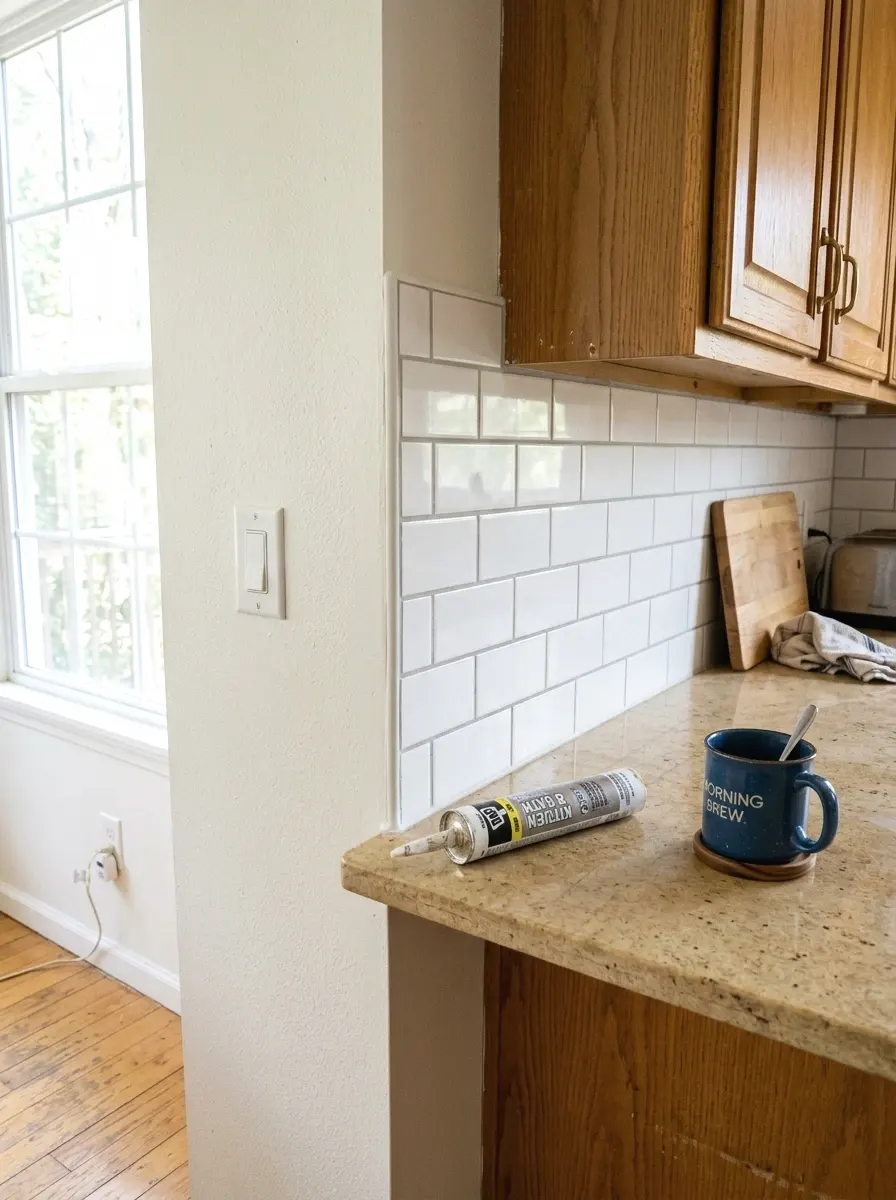
3. Caulk-Only Edge Finish
You’d be surprised how good a caulked edge can look when it’s done right. This one is entirely DIY, costs maybe $6 to $10 in materials, and is the fastest option on this list. The trick is prep. Clean the edge of the tile thoroughly, tape both sides of the joint with painter’s tape, apply a thin bead of color-matched caulk, and tool it smooth with a wet finger before it skins over.
Where people go wrong is skipping the tape and trying to freehand it. That’s where you get the lumpy, smeared look. Done properly with tape, the line is sharp and even. Use a sanded caulk in a grout-matching color for the most seamless look. This works best on straight, short edges rather than long runs or corners.
4. Bullnose Tile Edge

The bullnose is the classic. It’s basically a tile that has one finished, rounded edge instead of a raw cut edge. You use it as your last row or your edge cap along any open side of the backsplash. It gives a soft, finished profile that doesn’t require any metal or additional trim. Tile stores typically stock bullnose pieces that match popular tile lines, though custom orders are sometimes needed.
When I tried this in my own space, I found matching the bullnose exactly to my field tile was the hardest part. If your tile is from a discontinued line, finding a match can be nearly impossible. Budget $1 to $5 per piece depending on size and material. For a standard run, expect to spend $20 to $60. Porcelain bullnose pieces tend to hold up better than ceramic in high-steam areas.
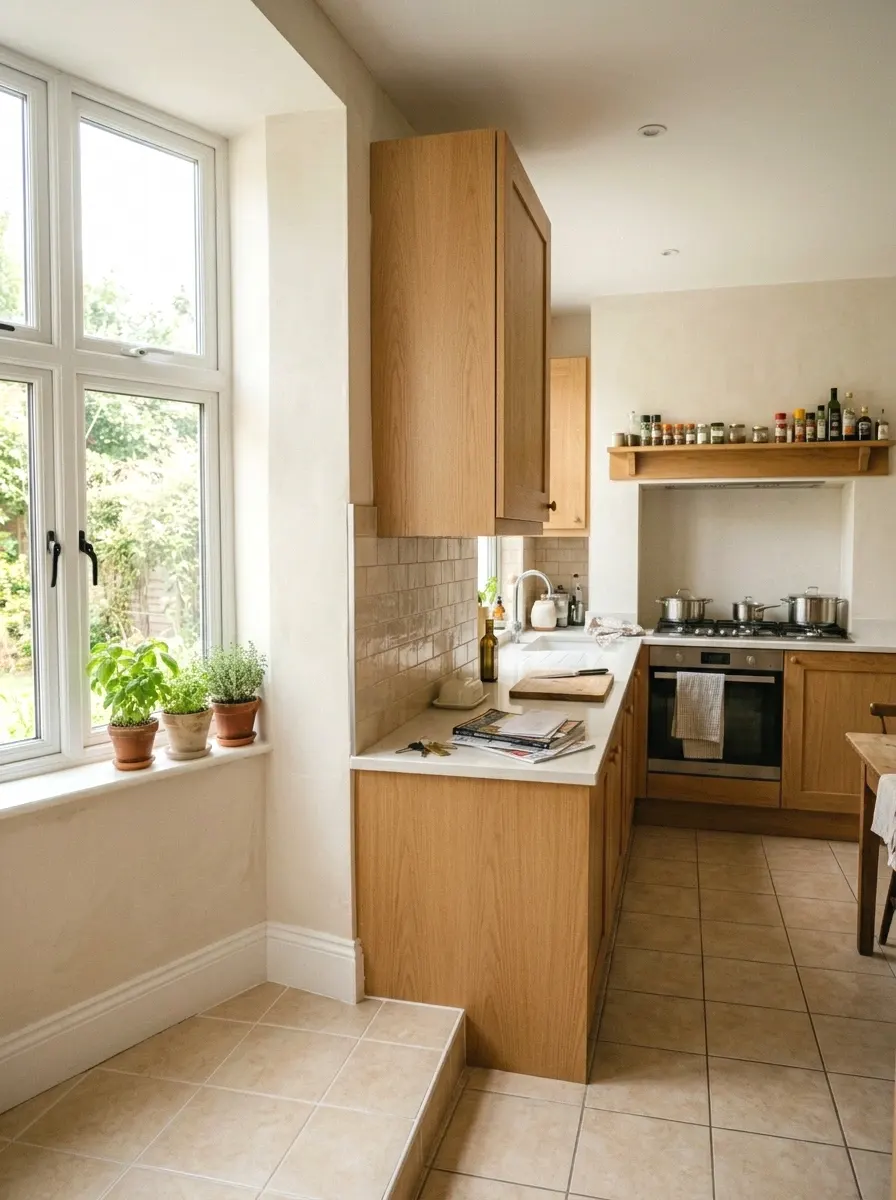
5. Wood Edge Trim
Wood edge trim sounds counterintuitive in a kitchen, but sealed properly it looks really warm and intentional next to tile. You cut a thin strip of hardwood or MDF, sand it smooth, paint or stain it to match your cabinetry, and glue or nail it along the raw edge of the backsplash. This one works especially well where the tile meets the side of a cabinet or window frame.
The key is sealing. Two coats of polyurethane or a cabinet-grade lacquer on the wood before installation will protect it from moisture and cooking grease. Unfinished wood trim is cheap, typically $5 to $15 for a standard length. Add paint or stain cost and you’re looking at $20 to $40 total. This is one of those details that makes a kitchen feel less builder-grade and more thought-out.
6. Metal Tile Edge Strip (Peel and Stick)

This is the renter-friendly version of the Schluter strip. Peel-and-stick metal edge trim is a thin aluminum or stainless strip with an adhesive backing. You press it along the raw edge of existing tile, and it covers the exposed grout line and rough edge without any adhesive, thinset, or tile removal. It’s not permanent, but it looks surprisingly clean when it’s properly aligned.
You’ll find these in brushed nickel, matte black, and chrome finishes on Amazon and most big-box stores, usually $15 to $35 for a pack that covers 6 to 10 linear feet. Press the strip firmly and run a squeegee or flat card along it to get full adhesion. Honestly, the matte black version against white subway tile is one of my favorite budget-friendly finishes right now. (took me ages to figure out this existed)
For anyone going that route, it fits right into the backsplash ideas for modern kitchens that are leaning heavily into monochrome palettes this year.
More Ideas:
7. Tile Capping with a Contrasting Color
Instead of a trim piece, you use a tile in a different color or finish as the cap along the edge. One row of a contrasting tile creates a deliberate border that frames the backsplash and makes the edge look finished by design. A white tile field with a charcoal or terracotta edge cap, for example, looks really intentional rather than unfinished.
This approach costs almost the same as extending your field tile but adds a lot more character. You’ll need 10 to 15 extra tiles for a typical run, usually $15 to $40 depending on material. Plan the contrast carefully. A very loud color difference can look busy, while a subtle shift in tone or finish (matte vs. satin, for example) looks polished without being distracting.
8. Corner Bead for Outside Corners
Outside corners are where most backsplash edge problems happen. Raw tile corners chip, look uneven, and catch grease and grime. A corner bead is a metal or PVC strip that covers both exposed sides of an outside corner in one piece. It’s designed exactly for this situation and makes the corner look sharp and finished instead of raw and rough.
Corner beads are inexpensive. Metal ones run $3 to $8 per piece at tile stores. You set them in thinset the same way you’d set edge trim, pressing both wings into the adhesive before grouting over them. The result is a clean 90-degree corner that won’t chip. (this one is so underrated) Most people have never heard of corner beads and just caulk over the corner instead, which never looks great long-term.
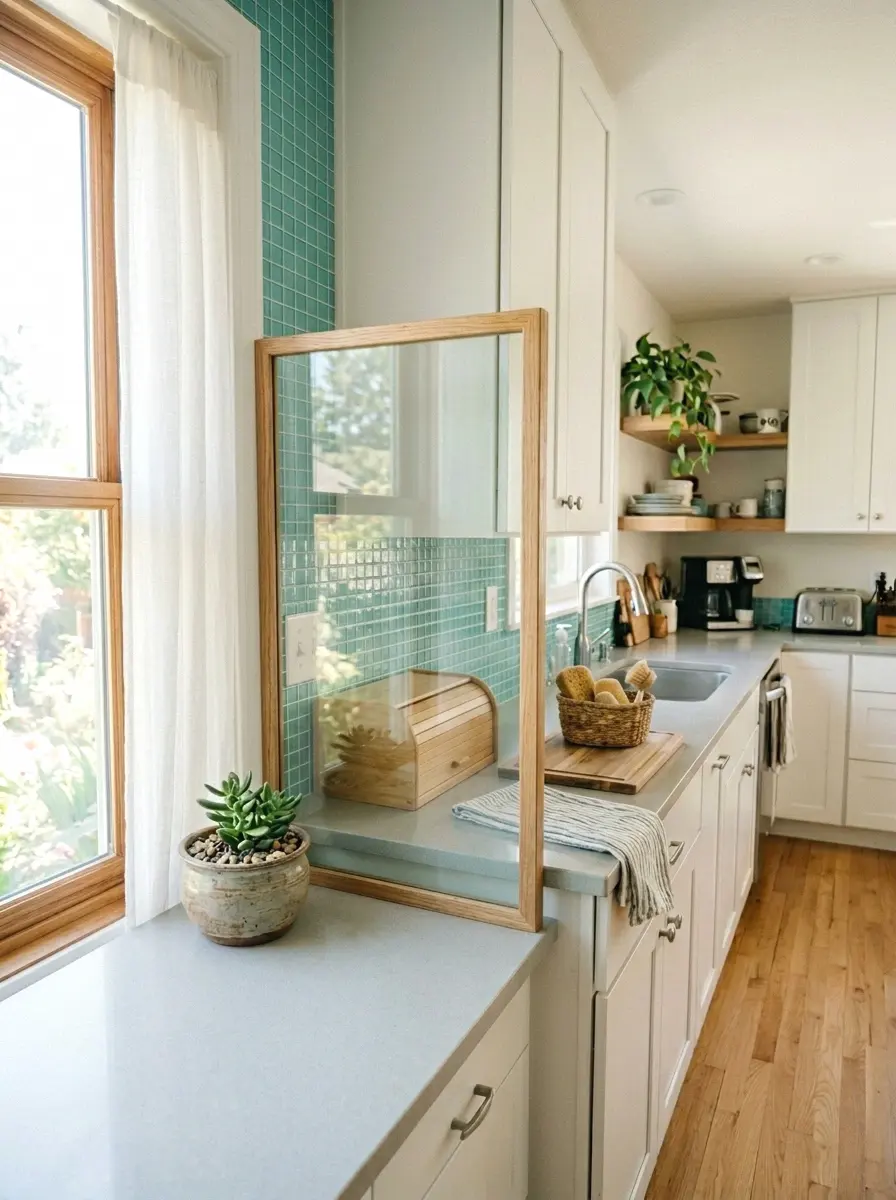
9. Beveled Mirror Strip Edge
A thin strip of beveled mirror along the backsplash edge is one of those ideas that sounds too fancy but actually costs very little. You can find pre-cut mirror strips in 2-inch or 3-inch widths at craft stores or online, and a simple clear construction adhesive holds them in place. The bevel catches light and adds depth to the edge without adding bulk.
This works best in kitchens with good natural light. In a dark kitchen, it can feel a little cold. But in a bright space, that reflective edge adds something that’s hard to replicate with paint or metal. Expect to spend $20 to $50 for enough strips to finish a standard 8 to 10-foot run. Cut with a glass scorer and a straight edge if you need custom lengths, or order pre-cut strips to avoid that step.
10. Grout Line Extension
Sometimes the cleanest edge finish is one that doesn’t add anything at all. If your tile is set near a wall or cabinet edge, you can extend the grout line right to the wall surface and seal it with a matching caulk. The result looks like the tile was always meant to end there. It only works when the edge is genuinely flush with an adjacent surface, but when it does work, it’s zero-cost and looks really clean.
The mistake people make here is using regular grout to fill the joint at the wall. Grout cracks. That joint where tile meets wall or countertop needs to be caulk, not grout, because those two surfaces move slightly at different rates. Use a sanded caulk that matches your grout color exactly. Mapei and Custom Building Products both make color-matched caulk for most of their grout lines, and it usually runs $8 to $12 per tube.
More Ideas:
11. Tile Listello Strip
A listello is a decorative border tile, usually 2 to 4 inches tall, that runs horizontally or vertically to frame the backsplash area. It’s different from pencil tile because it’s wider and often has texture, pattern, or mixed material. Running a listello along the top edge of your backsplash turns the raw finish into a built-in design feature.
You’ll find listellos in ceramic, glass, and natural stone, priced anywhere from $5 to $25 per linear foot. They’re set in thinset like any other tile. The visual weight they add can be a lot in a small kitchen, so I’d suggest keeping the pattern simple if your field tile is already busy. In a plain white subway tile kitchen, a geometric or slightly textured listello edge is a genuinely good-looking detail.
If you’re still sorting out what goes on the counter below it, there’s a solid breakdown of countertop and backsplash pairings that can help you make that call before you set the listello.
12. PVC Tile Trim
PVC trim is the budget-friendly, moisture-proof alternative to metal edge trim. It comes in most of the same profiles as aluminum Schluter-style strips, including straight edge, corner, and cove profiles. It’s softer than metal so it won’t ding or scratch countertops or cabinets near the edge, and it’s easier to cut with basic tools.
The downside is that it looks slightly less premium than metal up close. In a painted or lower-budget kitchen, that difference is hard to notice. In a high-end material kitchen with marble or handmade tile, it can look a little out of place. But for most people doing a practical kitchen backsplash, PVC trim at $1 to $2.50 per linear foot is a very sensible choice. A full 12-foot run comes in around $12 to $30.
13. Natural Stone Edge Cap
If you’re working with a natural stone tile backsplash, the most natural-looking edge finish is a stone edge cap in the same material. A stone cap is basically a tile cut with one polished edge, so when you place it at the open side of the backsplash, the finished face sits flush and the edge has a natural, smooth profile. It reads as part of the tile design, not as an afterthought.
Matching stone edge caps to your field tile is much easier than matching ceramic bullnose to ceramic tile, because natural stone is usually sold as a full line with trim pieces included. Expect to pay $4 to $12 per linear foot for stone edge pieces. Marble edge caps tend to be at the higher end. Travertine and slate are more affordable. Seal all stone edge pieces with a penetrating stone sealer after grouting.
If your backsplash is going in next to a lighter stone counter, there are some quartz surface options to consider that hold up well in similar high-moisture conditions.
14. Tile Niched Into Drywall
Here’s one that takes more planning but pays off visually. If the backsplash is going up against a section of drywall that hasn’t been finished yet, you can notch a channel into the drywall so the edge of the tile sits inside the wall instead of on top of it. The tile face ends up flush with the wall surface, and the edge is completely hidden.
This only works before drywall finishing or during a full tile redo, so it’s not a retrofit option. But if you’re planning ahead, it’s worth knowing. The technique is called a tile reveal or tile inset. It requires cutting a clean channel in the drywall, setting the last row of tile into it, then taping and plastering over the channel edges. No trim needed. Total extra cost is minimal, mostly your time.
More Ideas:
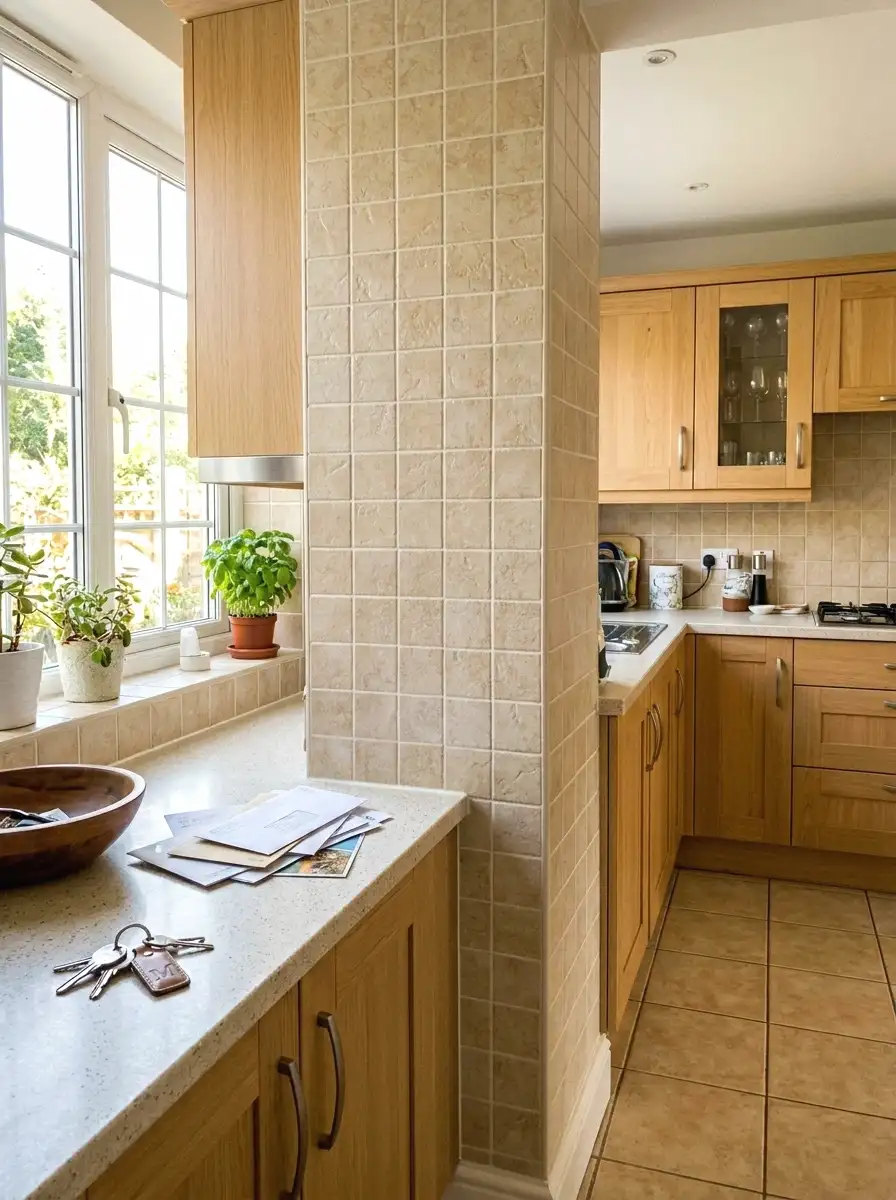
15. Cove Base Tile at the Bottom Edge

The bottom edge of a backsplash, where tile meets countertop, gets overlooked a lot. A cove base tile has a curved bottom profile that creates a gentle radius where the tile meets the horizontal surface below it. It’s easier to clean than a sharp right-angle corner and it looks more finished than just grouting the joint.
Cove base tiles are sold specifically for this purpose and are available in ceramic and porcelain to match most tile lines. They typically run $2 to $6 per piece. You set the cove piece as your bottom row before filling in the field tile above it. The caulk joint between the cove base and the countertop should still be flexible caulk, not grout, to allow for movement. This is a detail most people skip and most tile pros include.
16. Glass Tile Edge Piece
Glass tile has its own edge challenge because cut glass edges are sharp and show the raw glass color rather than the face color. Glass tile manufacturers typically offer edge pieces with one factory-finished, polished edge specifically for this. Using the manufacturer’s own edge piece gives you a color-matched, smooth finish that looks like the tile design extends all the way to the wall.
I was skeptical about this one but glass edge pieces really do make a difference in how finished a glass tile backsplash looks. The factory polished edge has a depth to it that a cut edge just doesn’t. Glass edge pieces cost $3 to $10 each, and you need one per exposed tile in the last row. For a typical 8-foot run of 3-inch glass tiles, you’re looking at around 30 pieces, so budget $90 to $120 for the edge alone.
17. Painted Accent Border
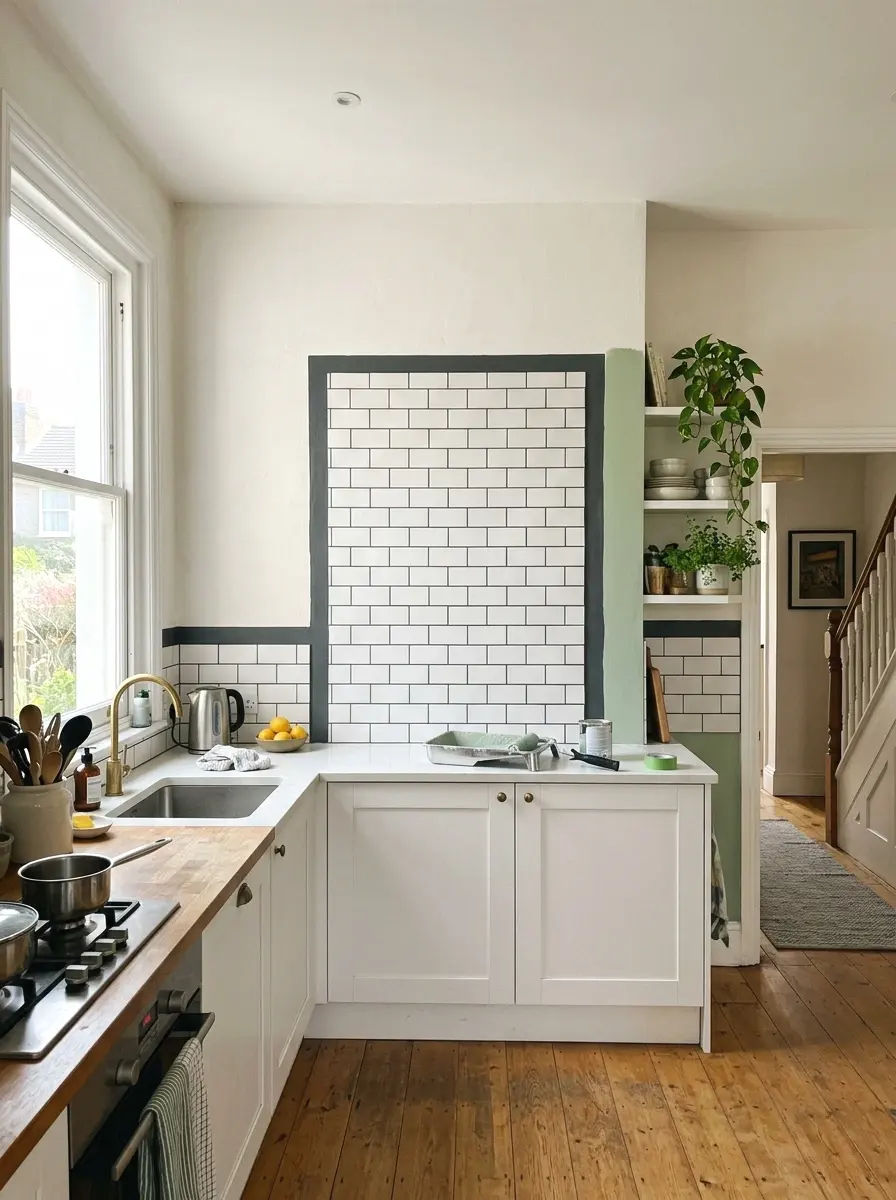
This is the option that costs almost nothing and gets underused constantly. Instead of adding tile trim, you paint a 2-inch to 3-inch stripe along the wall at the edge of the backsplash in a contrasting color. It creates a visual frame that makes the tile look like it ends by design. It works especially well where the backsplash meets an open wall, like between upper cabinets.
Use a high-quality eggshell or semi-gloss paint so it’s wipeable. Tape the edge of the tile carefully with painter’s tape, and tape the wall to keep the stripe edge sharp. A small foam roller gives a smoother finish than a brush. Total cost for this idea is $10 to $25 for paint and supplies. In a modern or two-tone kitchen, this approach looks really sharp and people always think it was planned from the start.
If this kind of paint-based fix appeals to you, it slots in nicely alongside other low-cost kitchen refresh ideas that don’t require pulling anything apart.
18. Metal Channel Strip at Cabinet Junction
Where the backsplash meets the side of a cabinet, the junction is often a problem spot. Tile doesn’t always end flush with the cabinet face, and caulking that gap can look sloppy. A small metal channel strip, sometimes called a J-channel or tile edge channel, slides over the raw edge of the tile and presses against the cabinet face, creating a tight, finished line between the two surfaces.
These are sold in 8-foot lengths for about $10 to $25 at tile and building supply stores. They come in aluminum, stainless, and brass-finish options. The channel grips the tile edge without adhesive in most cases. It’s a removable solution for renters who need to restore the original state when they leave. Measure the channel depth against your tile thickness before buying, since these come in multiple depths.
For renters thinking about other non-permanent ways to update the space, there are some wall color choices that shift a room without touching a single tile.
More Ideas:
19. Epoxy Grout Edge Seal
This is more of a finishing step than a trim piece, but it belongs on this list because it’s the single best thing you can do for any exposed tile edge you’re not covering with trim. Standard sanded or unsanded grout is porous and stains fast along edges. Epoxy grout is non-porous, chemical-resistant, and nearly impossible to stain once it cures. Applying epoxy grout specifically to the last row of tiles and the exposed edge joint locks in a durable, clean finish that stays that way.
The trade-off is cost and working time. Epoxy grout is $20 to $50 for a small batch and it sets fast, so you need to work in small sections. It’s also harder to clean tools after working with it. But for a high-traffic kitchen edge near the stove or sink, it’s worth every penny. A sealed epoxy edge can go 10-plus years without needing attention. That’s a return on investment that cheap caulk can’t touch.
If you want the whole surface — not just the edge — to hold up that long, it’s worth looking at durable finishes that last for years on both the backsplash and the counter below it.
Final Thoughts on Backsplash Edge Ideas
You came in with a tile project that looked unfinished, and now you’ve got 19 real options to close it out. The main themes here are: protect the exposed edge from chips and moisture, create a visual finish that looks intentional, and pick the method that fits your timeline and budget. Most of these ideas cost under $50. A few cost more but last much longer.
Start with your edge type. Is it an outside corner, a straight run ending mid-wall, or a junction against a cabinet? Pick the idea that matches that specific situation. Don’t overthink it. Buy the trim, tape the line, set it once.
If you want more ideas like this for real kitchens with real budgets, homelypop.com has a lot more where this came from.
For a style that leans warm and textured rather than sleek, there are more ideas for real kitchen spaces that take a rustic approach to the whole backsplash.