20 Bathroom Laundry Remodel Ideas for the Kitchen on a Real Budget
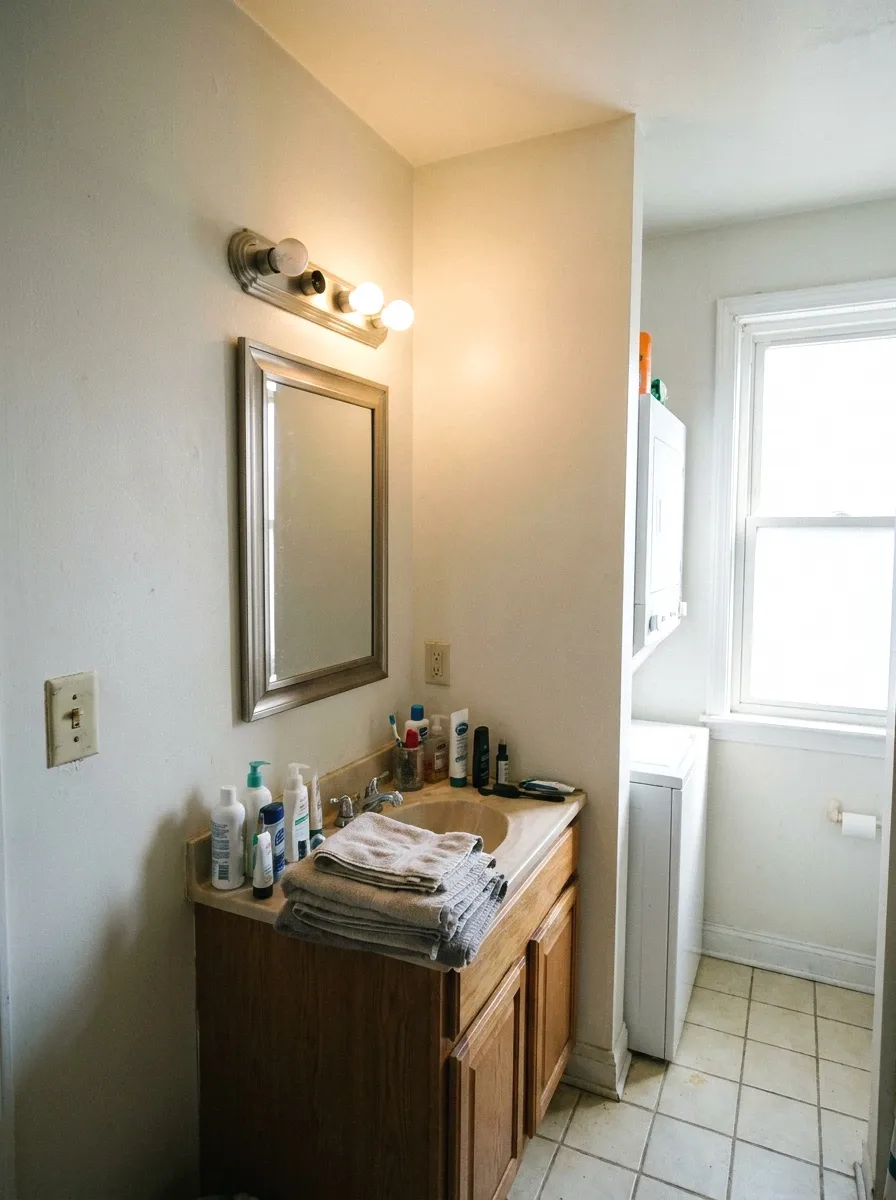
Your bathroom and laundry space are pulling double duty, and right now they’re doing neither job well. The clutter is real. The wasted space is real. That feeling of walking in and immediately wanting to walk back out. That’s real too.
This list covers 20 ideas pulled from real homeowner projects, Reddit threads, and Houzz discussions. I looked at what actually worked in small combo spaces, not just what looks nice in a staged photo. Each idea was chosen because it solved a specific problem, fits a $100 to $300 range, and doesn’t require a contractor.
This is for renters and owners working with tight square footage and tighter budgets. If you’re planning a full gut renovation with a designer, this isn’t that. But if you want real results without blowing your savings, these ideas are achievable this month.
By the end, you’ll have a clear, prioritized plan to make your bathroom laundry space actually work for you.
If you’re still figuring out your layout, it helps to look at combo room layouts that actually work before you start buying anything.
What to Know Before You Start a Bathroom Laundry Remodel
- Measure your ceiling height before buying any shelving. Many combo spaces run low.
- Budget at least $50 for moisture-resistant hardware. Regular wood swells fast in humid rooms.
- Most people overlook ventilation. A $25 humidity-sensing fan prevents mold on everything you install.
- Don’t tile over damaged drywall. Fix the wall first or your new finish won’t last.
- Combo spaces under 60 sq ft need vertical storage, not horizontal. Floor space is gone.
- Peel-and-stick tiles average $1.50 to $3 per square foot, making a floor refresh under $80 for most spaces.
- Washing machine vibration loosens wall-mounted shelves over time. Use anchors rated for 50 lbs minimum.
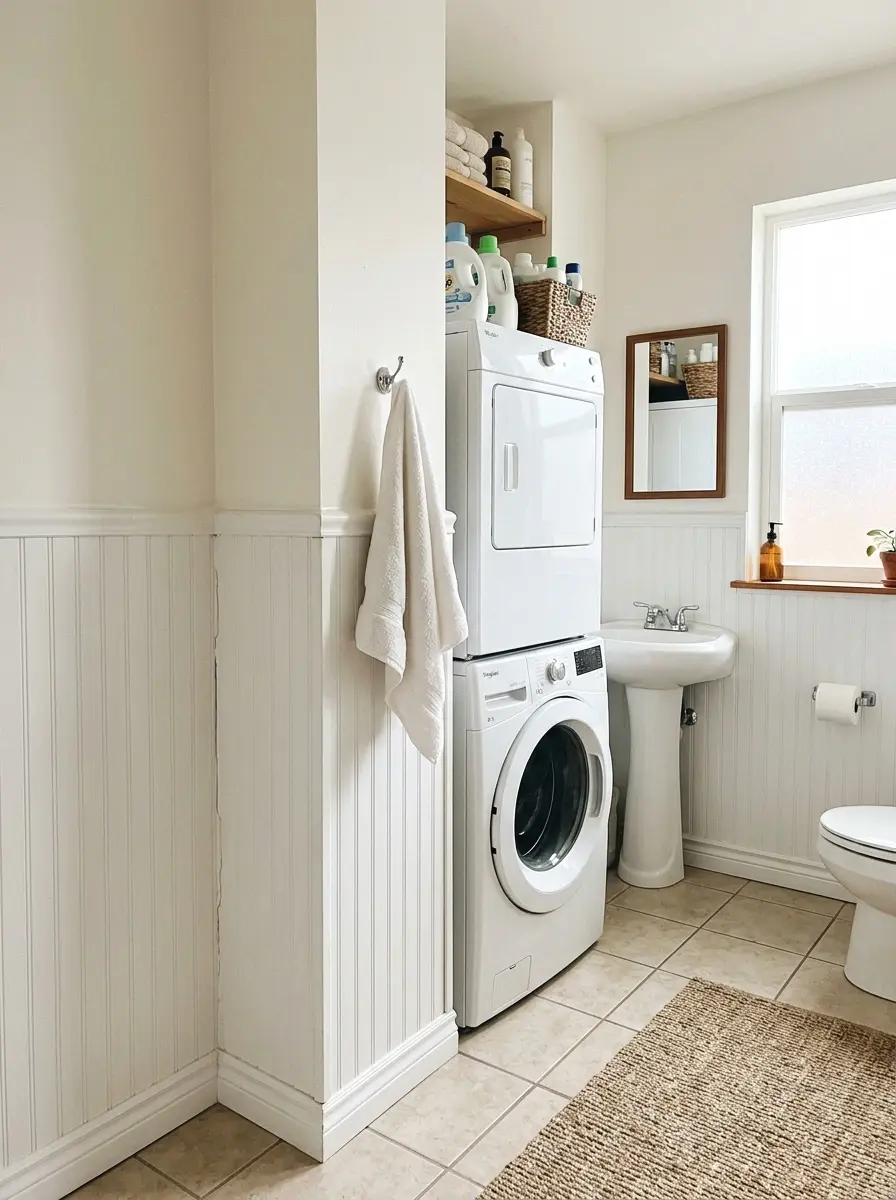
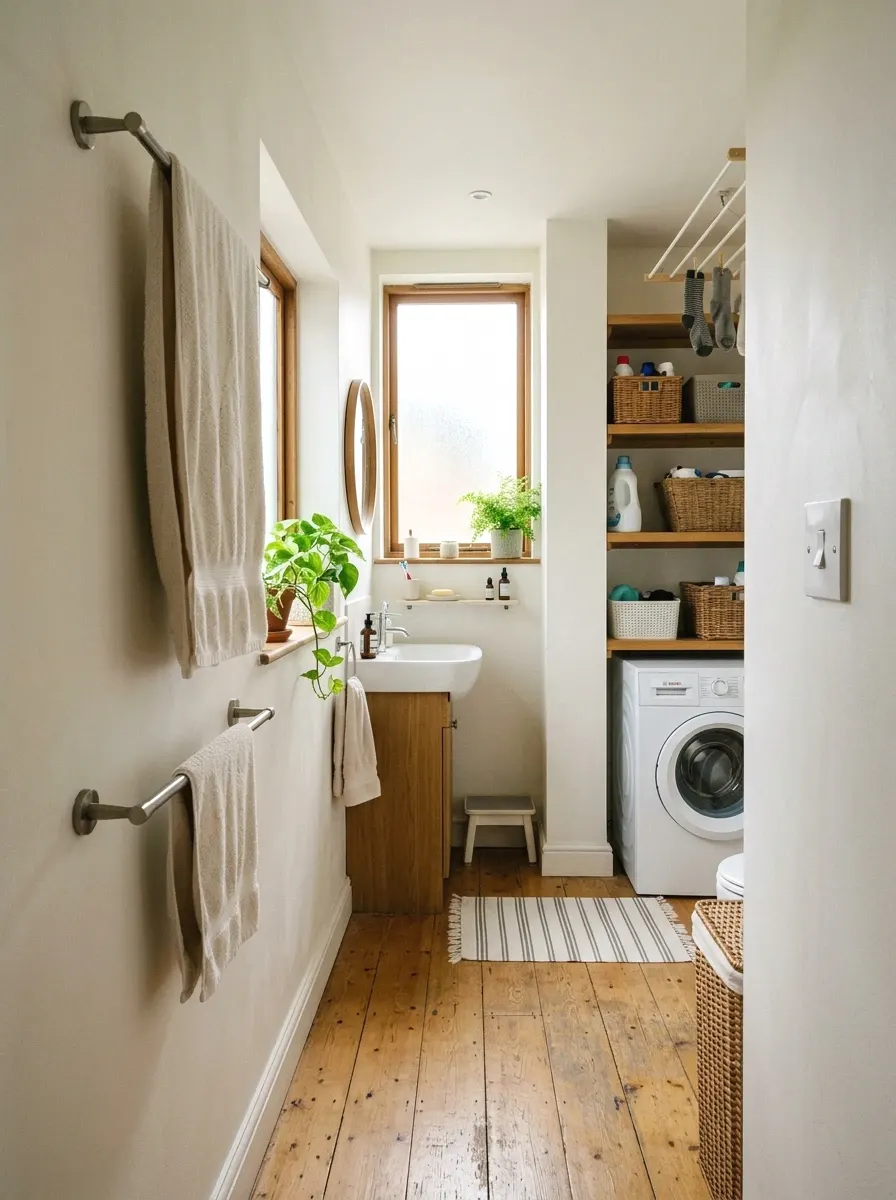
1. Install a Floating Shelf Above the Washer
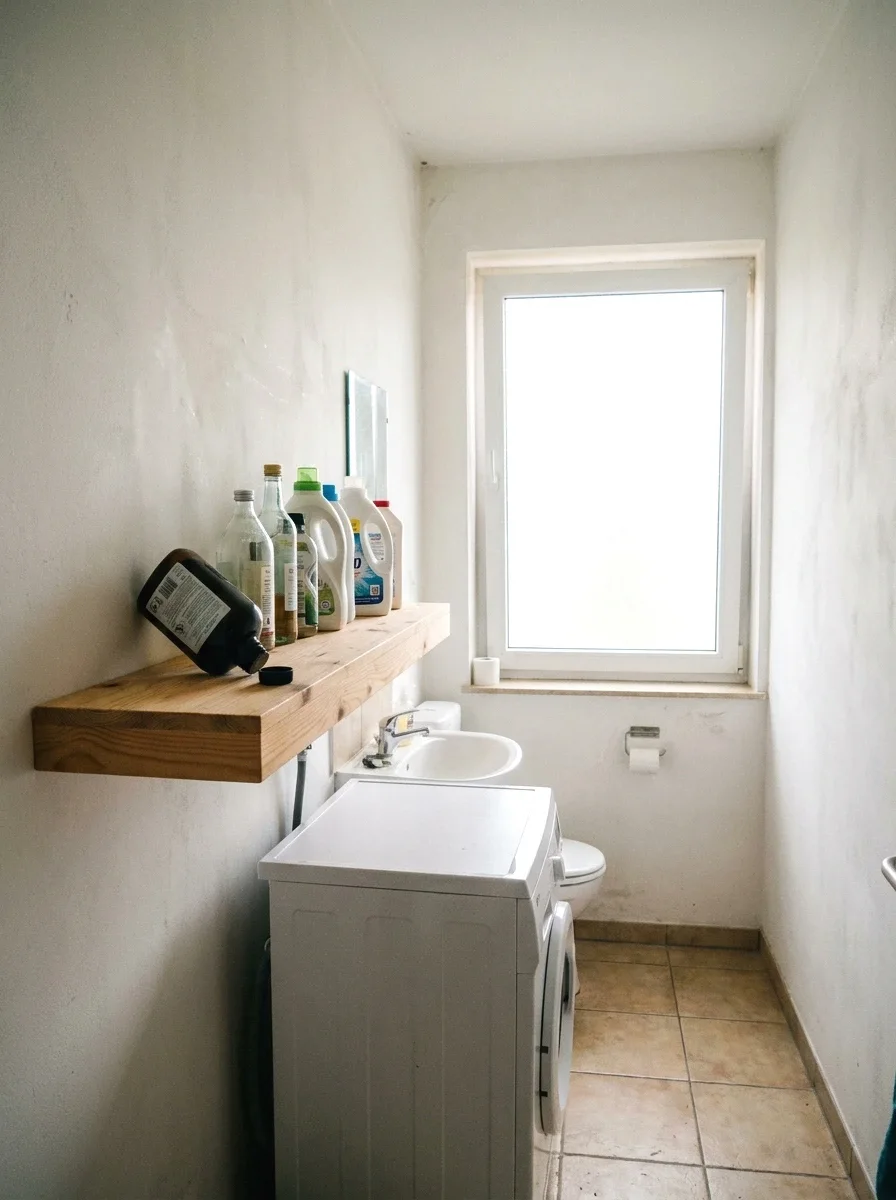
The space above your washer is basically wasted right now. A floating shelf changes that fast. I’m talking a simple 24 to 36-inch wooden shelf mounted with heavy-duty wall anchors, positioned about 18 inches above the machine lid. It gives you a landing spot for detergent, dryer sheets, and whatever else always ends up on the floor.
You can buy a premade floating shelf kit at any hardware store for $25 to $45. Go with moisture-treated wood or a melamine-coated board so steam doesn’t warp it over a few months. It takes about 45 minutes to install with a drill and a level. Honestly, one of the most useful things I’ve put in a small laundry space.
For more vertical shelf setups worth copying, there are plenty of configurations that work well in tight laundry spaces.
2. Use a Tension Rod for Hanging Clothes
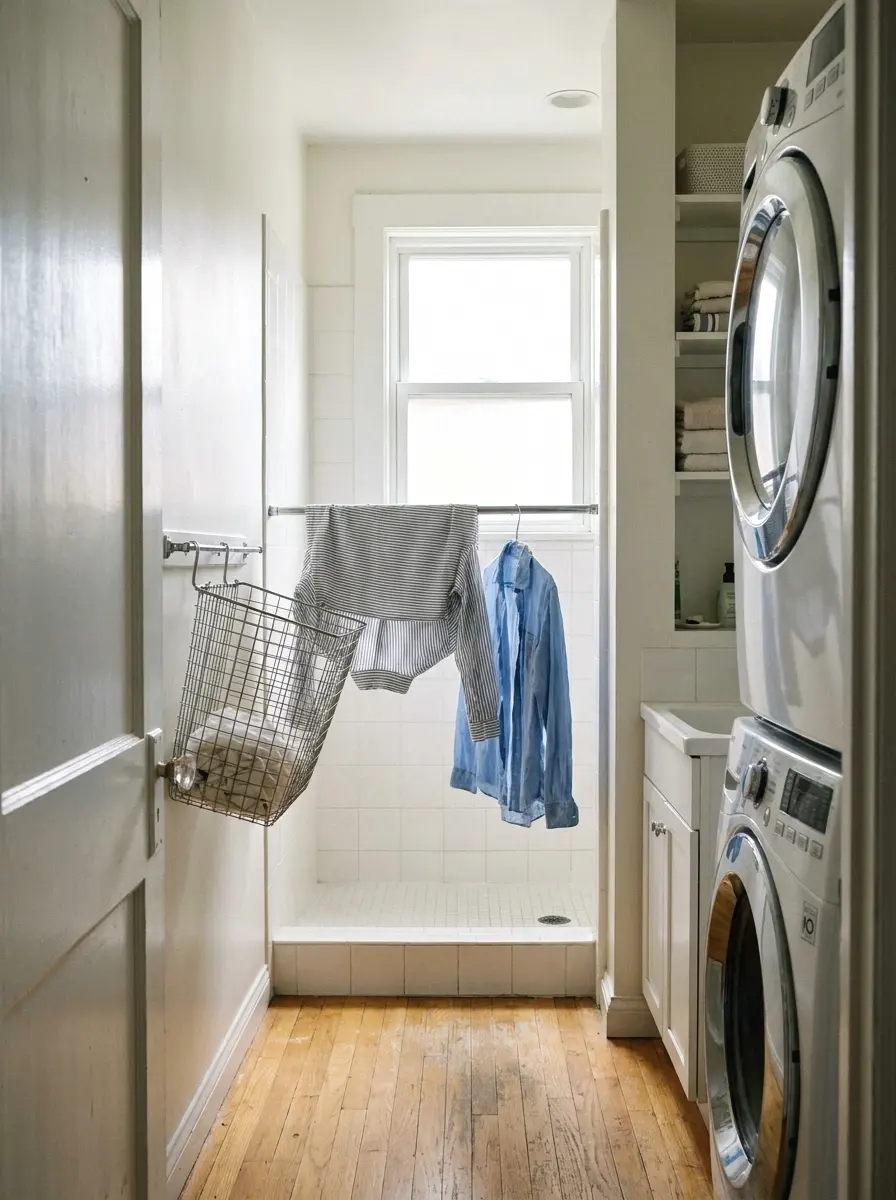
Here’s something most people don’t think of until they’re desperate for space. A tension rod installed across an alcove or between two walls gives you an instant hanging bar for clothes that need to air dry. No drilling, no damage, and it costs about $12 to $20 at most stores.
Position it at a height that clears your washer or dryer top. Look for a rod rated for at least 20 lbs since wet clothes are heavier than you’d think. You can pull it down and tuck it away when not in use, which is a huge plus in a small room. (This one is so underrated.)
If you want to go further with hanging solutions for small laundry spaces, there are a few clever setups that go beyond the basic tension rod.
More Ideas:


3. Add a Peel-and-Stick Backsplash Behind the Sink
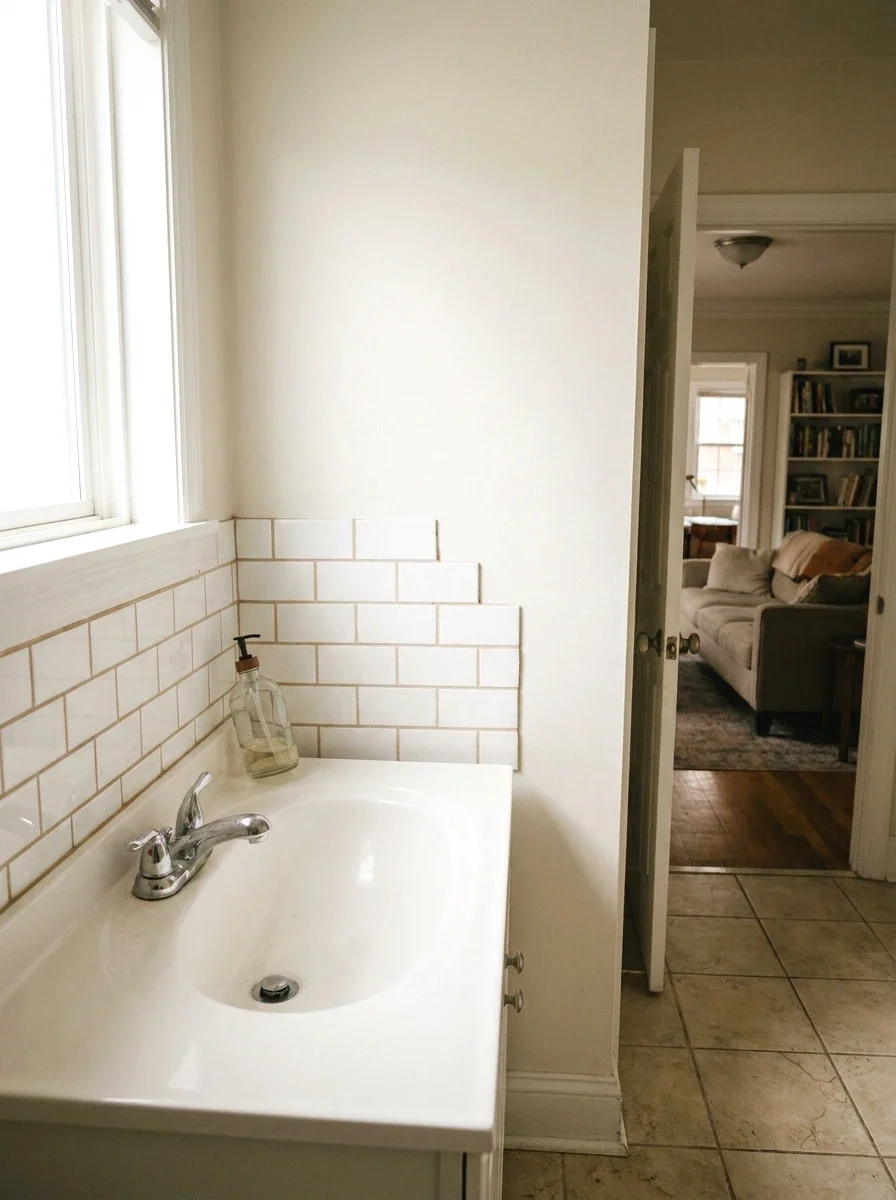
The wall behind your sink takes the most water splatter, and after a few years it looks rough. A peel-and-stick tile panel fixes it without any grout or adhesive mess. You’re looking at roughly $30 to $60 for enough panels to cover a standard 24 by 36-inch area behind a sink.
Go with subway tile or a small hex pattern in white or cream. Both hold up visually in a small room and don’t compete with everything else going on in the space. Wipe the wall clean and dry before applying, and use a credit card to press out any air bubbles. It holds well in humid rooms if you prep the surface right.
If you’re drawn to the look, there are more tile styles worth exploring that translate well from kitchens into bathroom walls.
4. Swap Your Vanity Light Bar
Bad lighting in a bathroom laundry combo makes the whole room feel smaller and more depressing than it needs to. A new vanity light bar runs $40 to $90 at most hardware stores, and replacing one is a 30-minute job if you’re comfortable turning off the breaker and swapping wires.
Go for a fixture with a warm white bulb, around 2700K to 3000K color temperature. That range makes the room feel clean without that harsh blue-white glow that makes everything look sterile. A matte black or brushed nickel finish is easy to match and holds up in moisture-heavy environments without rusting.
5. Mount a Slim Cabinet Between Studs
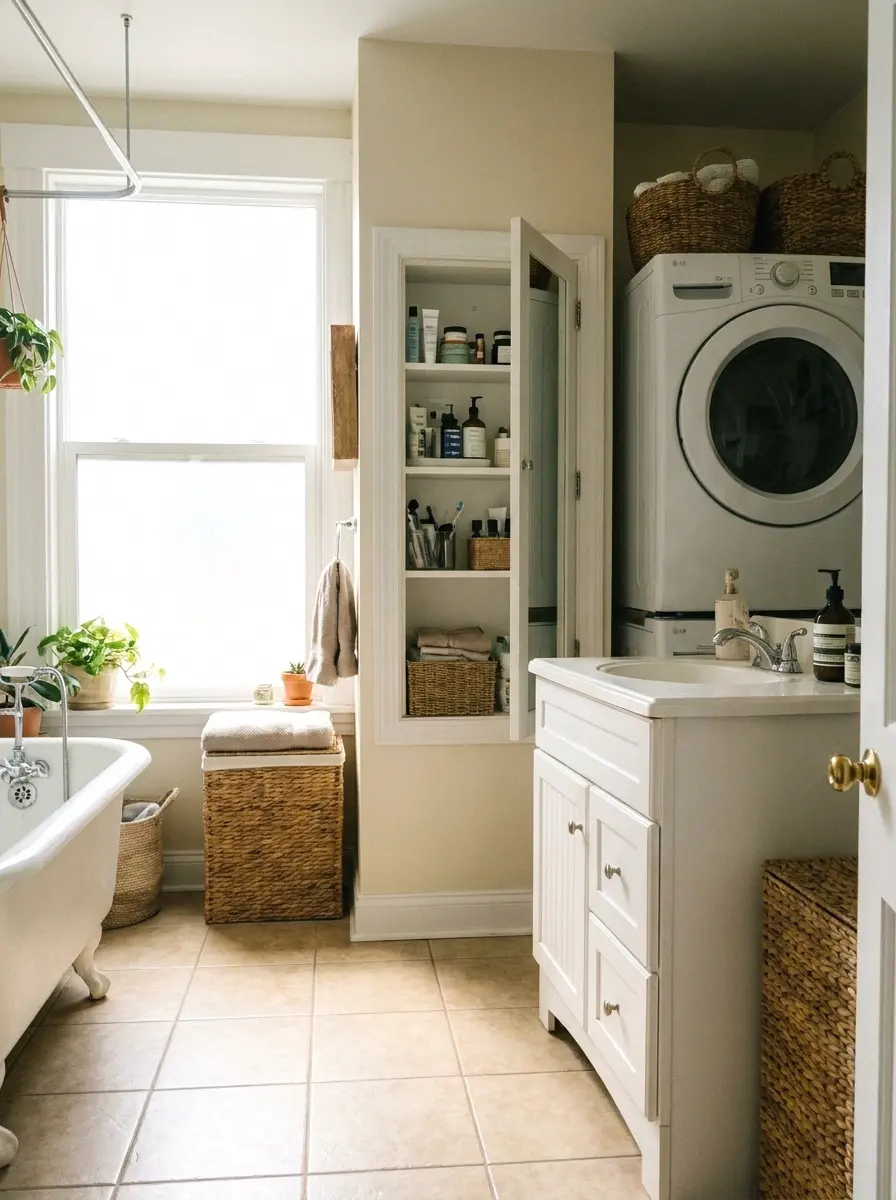
If you’ve got a wall between two studs that’s just sitting there doing nothing, you can cut into it and install a recessed cabinet. This is one of those ideas that looks like a major renovation but is actually a weekend project for an intermediate DIYer. The cabinet sits flush with the wall and gives you 3 to 4 inches of hidden storage depth.
Premade recessed medicine cabinets run $60 to $130 and fit standard 14.5-inch stud spacing. You store toiletries, small cleaning bottles, and bathroom extras without using any floor space at all. When I tried this in my own space, it freed up an entire shelf I’d been using just to hold overflow. Worth every minute.
If you’re painting the cabinet before mounting, there’s good guidance on cabinet colors that hold up well in humid rooms.
6. Replace Plastic Hooks with Sturdy Wall Hooks
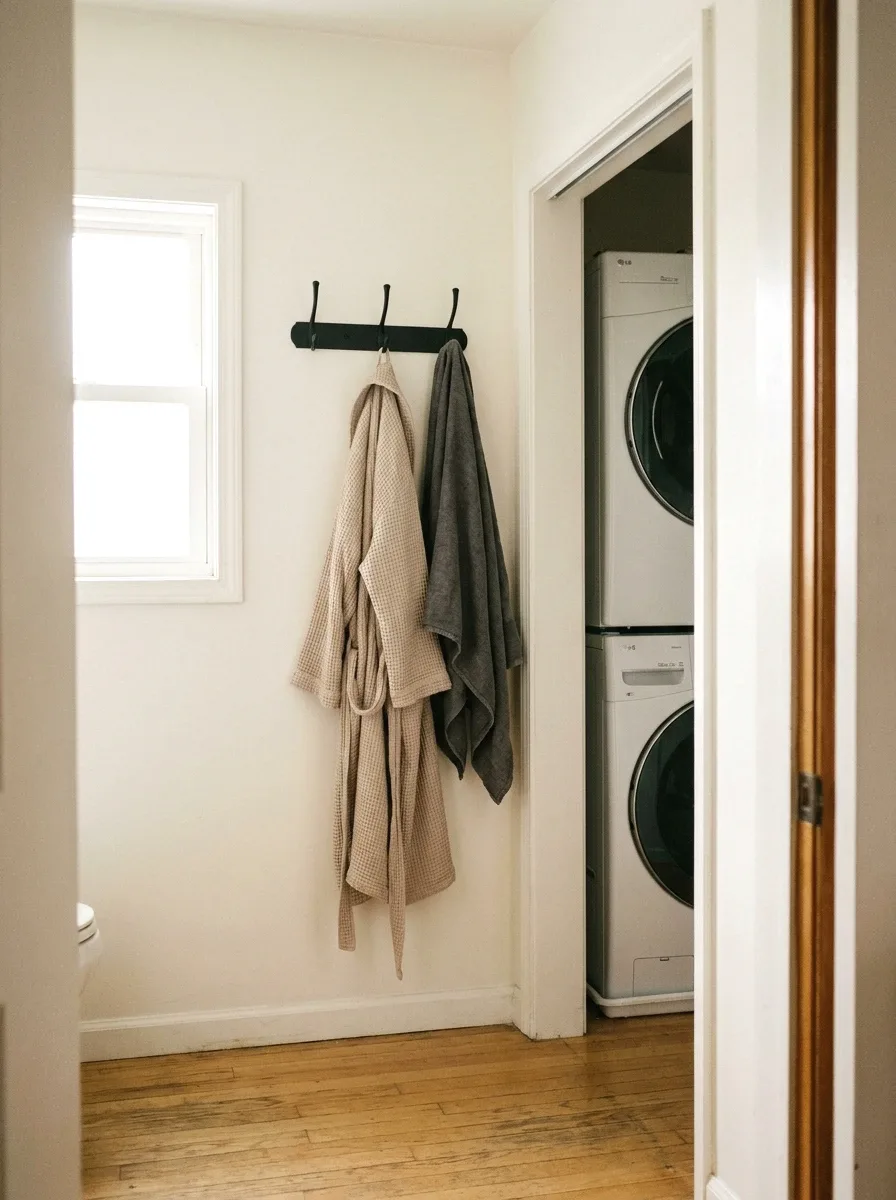
The plastic hooks that come with most bathroom organizers fail fast. The adhesive strips let go, especially in humid rooms, and suddenly your robe is on the floor at 6am. Real wall hooks, the kind you drill in with proper anchors, cost $15 to $35 for a set of three to five and last years without issue.
Look for brushed brass or matte black finishes in a simple rounded shape. They work in almost any room style and don’t look like hardware store leftovers. Drill into studs where possible, but if you’re going into drywall, use toggle bolt anchors rated for at least 25 lbs each. That’s enough for robes, towels, and a reusable laundry bag.
More Ideas:
7. Add a Rolling Laundry Cart with Shelves
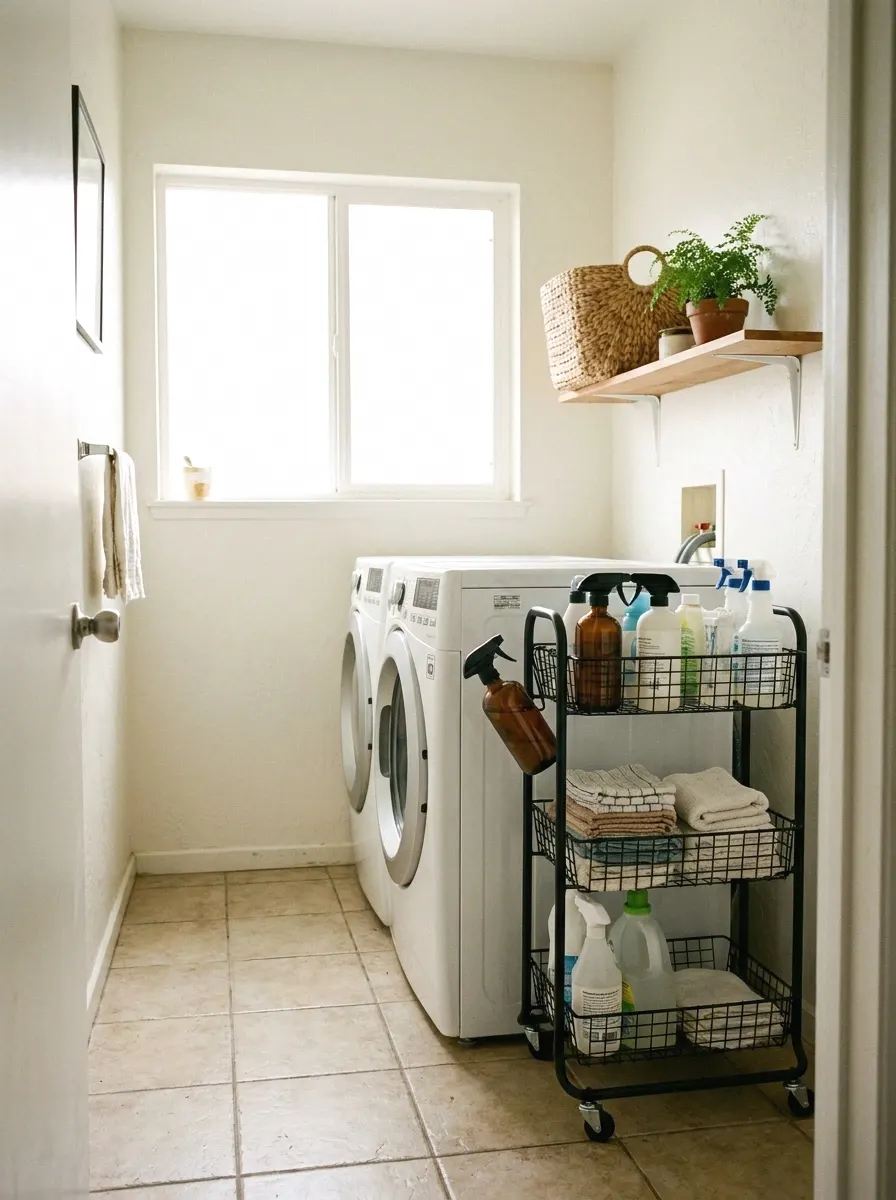
A rolling cart earns its spot in any bathroom laundry combo by doing two things at once. It holds your cleaning supplies and gives you a surface to fold small items without turning your washer top into a permanent staging area. Look for a three-tier wire or solid-shelf cart, about 13 inches wide, which fits in most narrow spaces.
These run $35 to $65 and are easy to move when you need to access the back of the washer or dryer. The rolling base is key because combo rooms get rearranged more than regular bathrooms. Metal wire styles let air circulate so damp items don’t sit in a sealed space and get musty. Simple, practical, and actually useful every single day.
8. Paint the Ceiling a Darker Shade
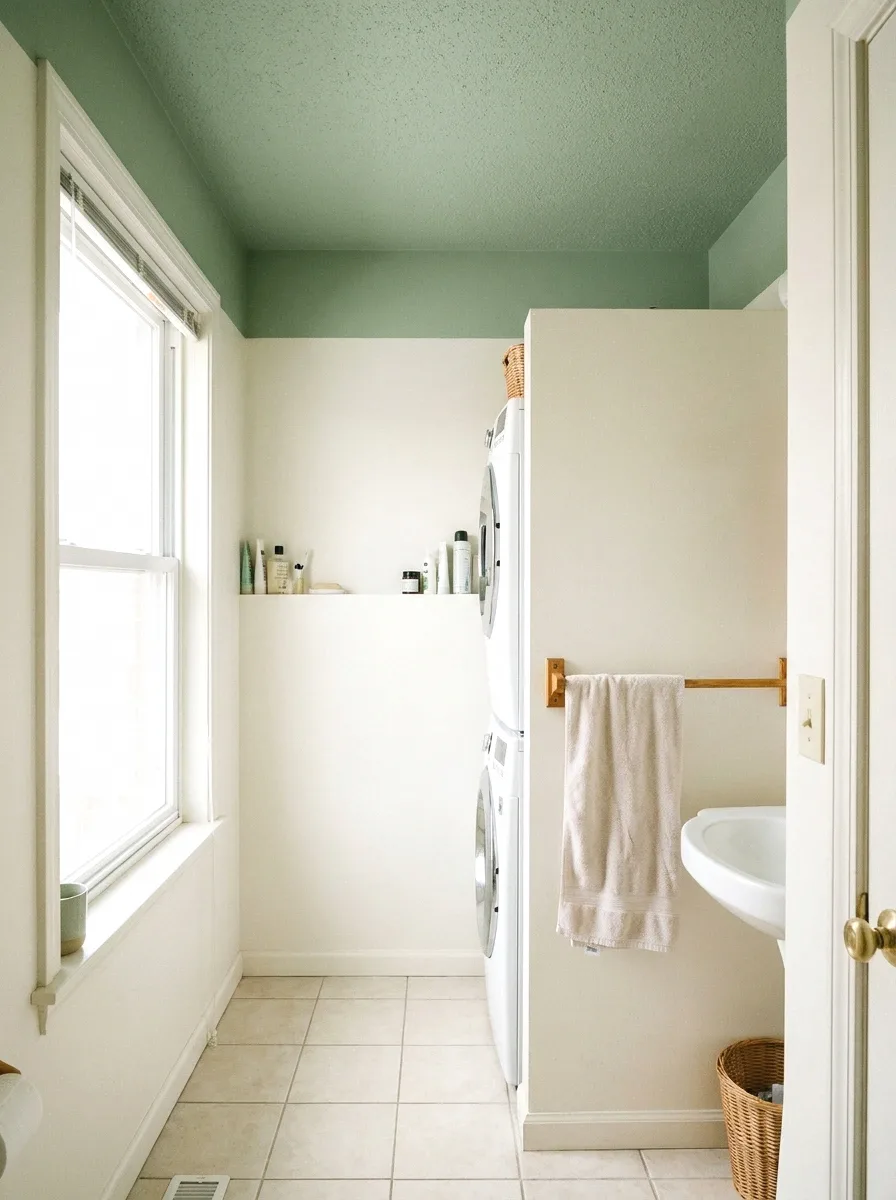
Most people paint the ceiling white and call it done. But in a small bathroom laundry room, painting the ceiling one or two shades deeper than the walls creates a sense of enclosure that actually feels intentional rather than cramped. It makes the room feel like it was designed, not just finished.
A quart of ceiling paint runs about $15 to $25, which is more than enough for a small room. Go with a matte finish to hide any texture or imperfections. A soft sage, warm taupe, or pale slate on the ceiling while keeping walls light makes the whole room feel pulled together. (Took me ages to figure this out, but it changes everything.)
Choosing the right tone makes a real difference, and there’s a solid breakdown of paint shades that shift a room’s feel without a full renovation.
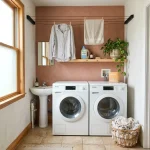
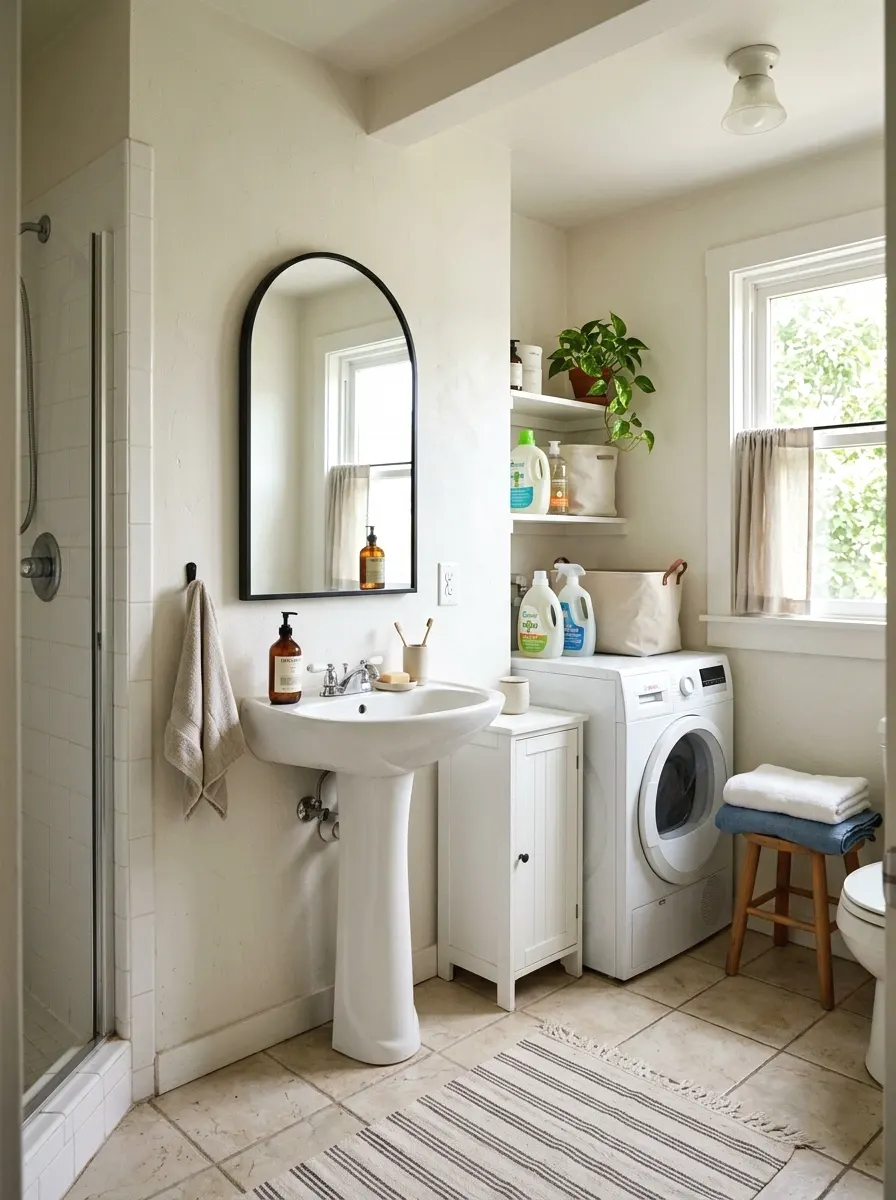
9. Install Open Shelving With Labeled Bins
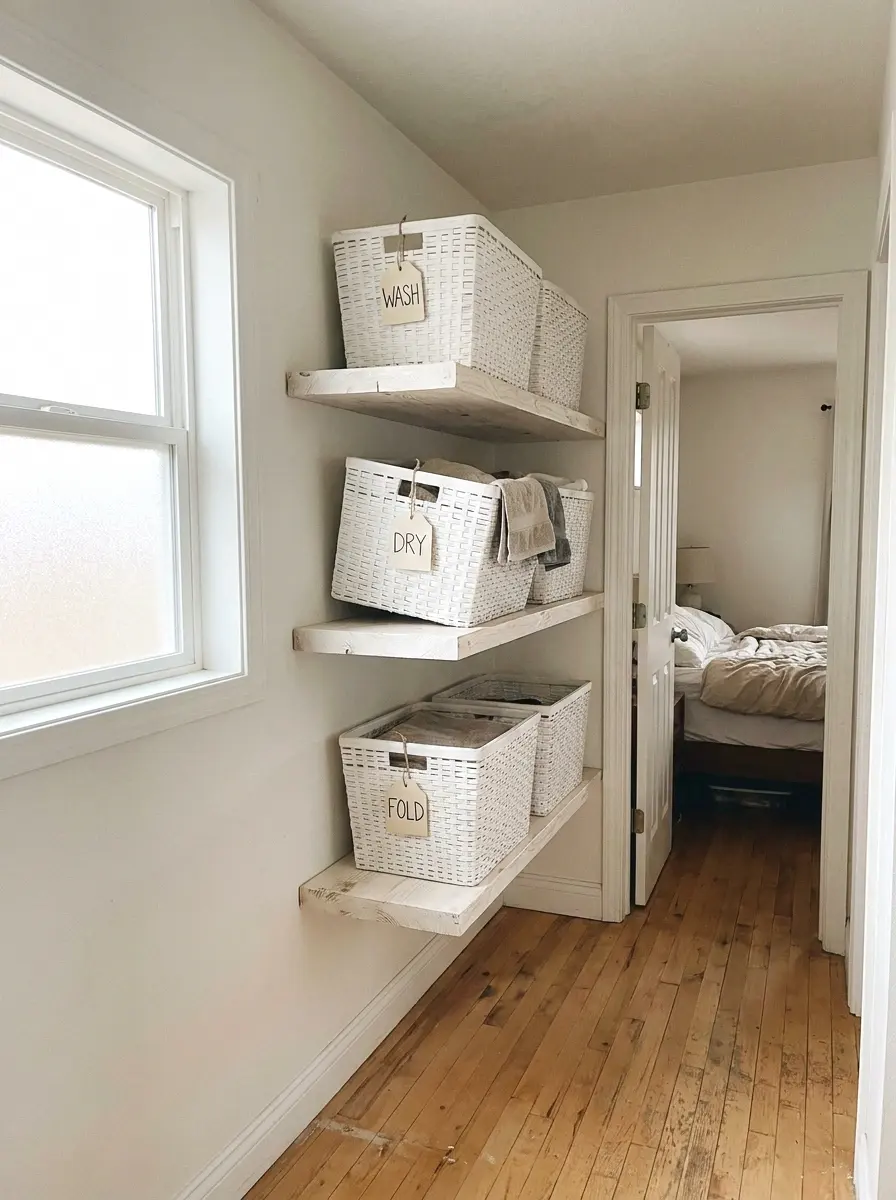
Open shelving feels exposed until you add matching bins. That’s the trick. A set of three to four shelves mounted at eye level, stocked with identical labeled bins in white or natural woven material, makes a chaotic bathroom laundry room look intentional and calm.
Shelving brackets and boards from a hardware store run $40 to $70 for a full wall setup. Add bins from a home goods store for $6 to $12 each. Label them clearly: one for detergent pods, one for cleaning supplies, one for bathroom extras. Everything has a home, which means things actually get put away. It sounds basic, but the matching bins do all the heavy lifting visually.
For a more complete approach, there are storage bins and shelf organization ideas specifically designed for laundry rooms that pair well with this setup.
10. Use a Door-Mounted Organizer
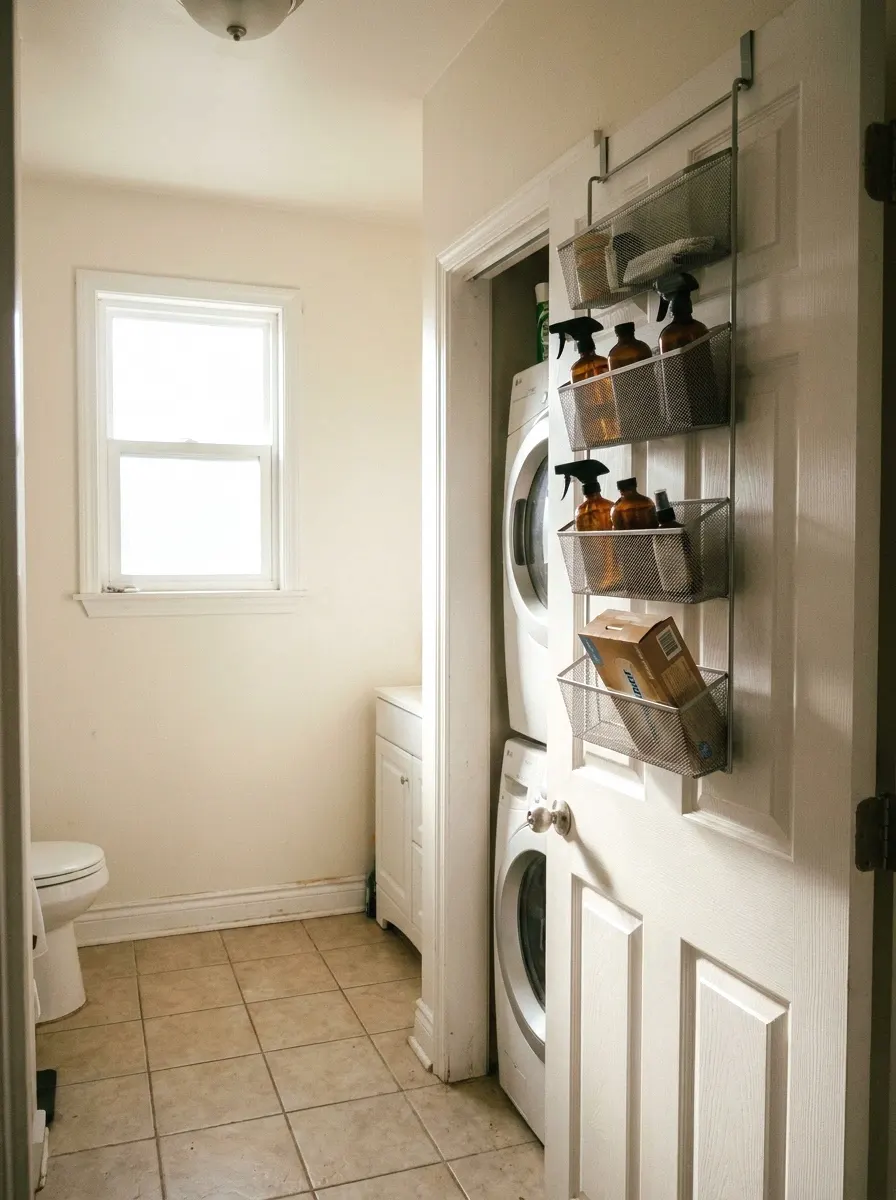
The back of the door in a combo room is some of the most ignored real estate in your home. A sturdy over-door organizer with pockets or hooks gives you room for cleaning sprays, rolls of paper towels, dryer sheets, and small bathroom items without touching a single wall.
Good door organizers run $20 to $45. Look for ones with a weight rating above 15 lbs and hooks that won’t scratch the door finish. Wire pocket organizers work best in bathroom laundry spaces because they let air through and don’t trap moisture around damp items. Measure your door clearance before buying. Some doors open against a wall with very little gap.
More Ideas:
11. Upgrade Your Faucet
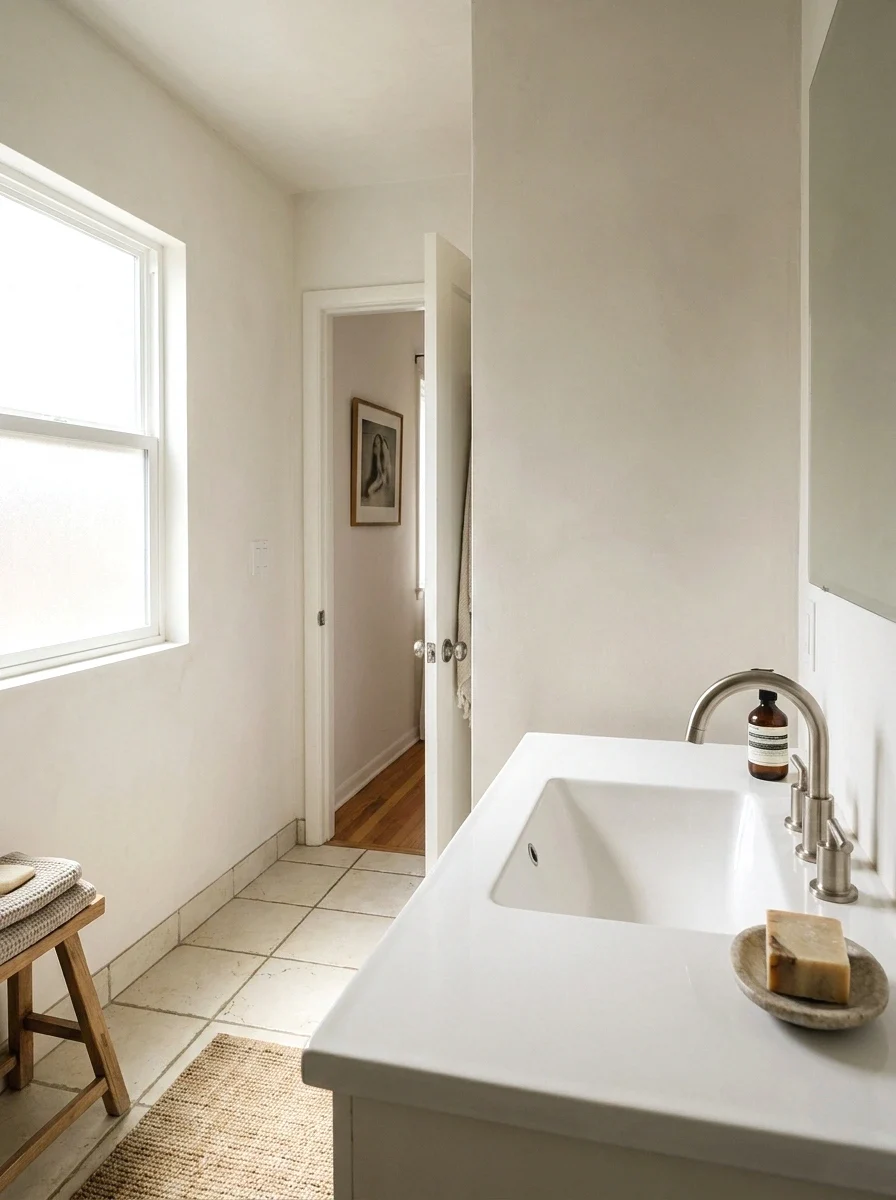
A dated faucet makes even a clean bathroom look tired. Replacing one takes about an hour, a wrench, and a bucket for the water still in the lines. New faucets in brushed nickel or matte black run $45 to $110 at hardware stores and make an immediate visual difference in the whole room.
You’re not just improving looks either. Older faucets often run less efficiently and a new aerator alone can reduce water use by up to 30 percent. I was skeptical about this one but the difference in how the room felt afterward was immediate. Go with a single-handle style for ease of use and a slightly taller spout if you do any bucket-filling in that sink.
12. Add Wainscoting With Peel-and-Stick Panels
Wainscoting is that paneled look on the lower half of bathroom walls that you see in well-finished homes. It used to require actual wood trim and a carpenter. Now there are peel-and-stick foam wainscoting panels that go up in an afternoon and cost around $60 to $100 for a small room.
They come pre-painted in white and have a solid feel when applied correctly. Apply them to the bottom 36 inches of your wall over clean, smooth paint. They’re not waterproof for direct splash zones but hold up fine in a bathroom environment with normal humidity. Add a thin bead of paintable caulk along the top edge and paint the whole section. It looks like the real thing.
13. Swap Out the Mirror
The mirror above your sink gets looked at multiple times a day. If yours is a plain frameless rectangle that came with the place, changing it out is one of the fastest ways to shift the whole vibe of the room. A framed mirror in a rounded or arched shape runs $40 to $85 at most home stores.
Go slightly larger than what you have now if the wall space allows. A mirror that’s a few inches bigger reflects more light and makes the room feel less closed in. Matte black frames work in almost any room. So do natural wood tones if you’re going for something warmer. This is the kind of swap that makes people ask if you repainted when you didn’t touch a single wall.
If you want to keep building on that effect, there are more wall decor ideas that make small rooms feel bigger without adding clutter.
14. Install Waterproof Peel-and-Stick Floor Tiles
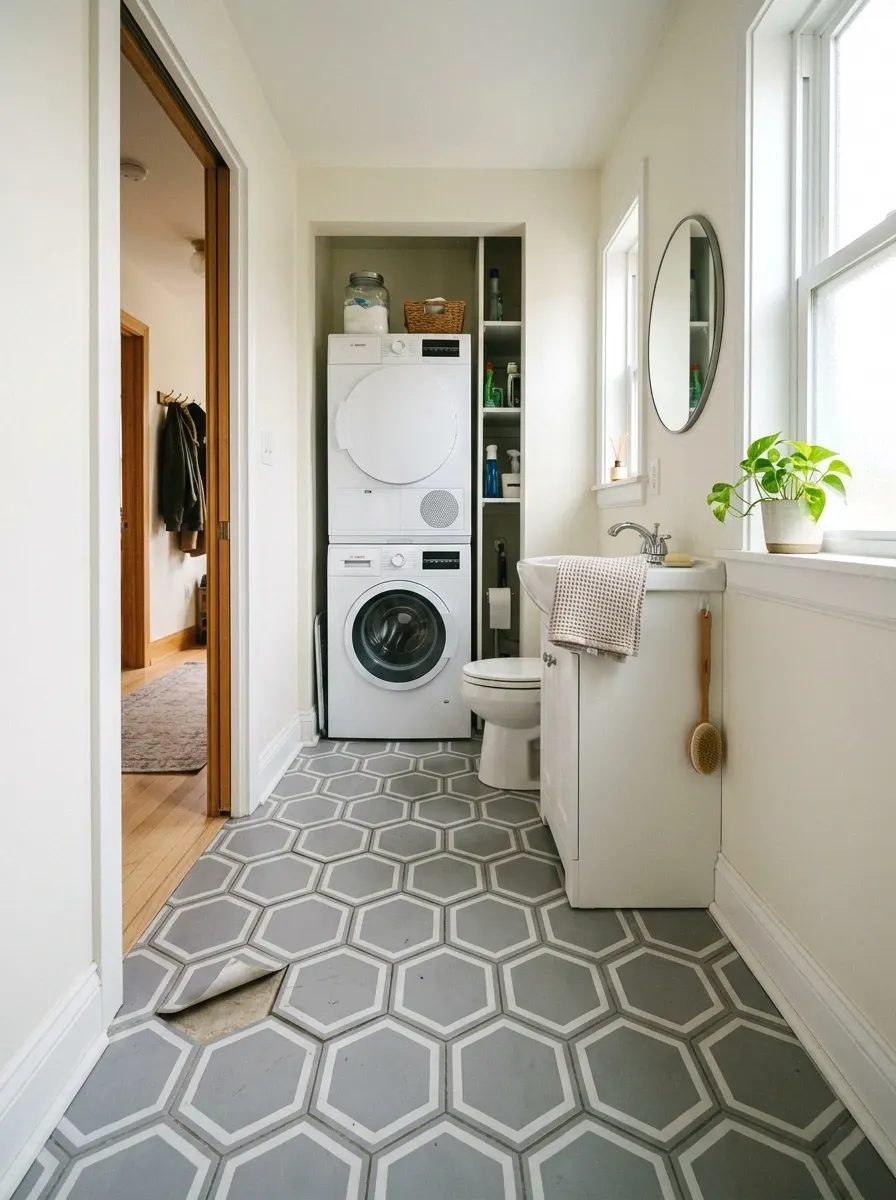
The floor in a bathroom laundry combo takes a lot of abuse. Water, detergent drips, foot traffic, all of it. If your floor looks worn but you can’t afford a full retile, peel-and-stick vinyl floor tiles are a real solution. They go over existing tile or smooth vinyl without any adhesive, grout, or subfloor prep.
A 20 sq ft space costs roughly $40 to $80 in materials depending on the tile quality you choose. Look for tiles with a wear layer of at least 6 mil, which gives them real durability in high-moisture areas. Go with a classic hexagon in white and gray or a matte stone-look pattern. Both hold up visually and practically over time.
More Ideas:
15. Hang a Small Pegboard Panel
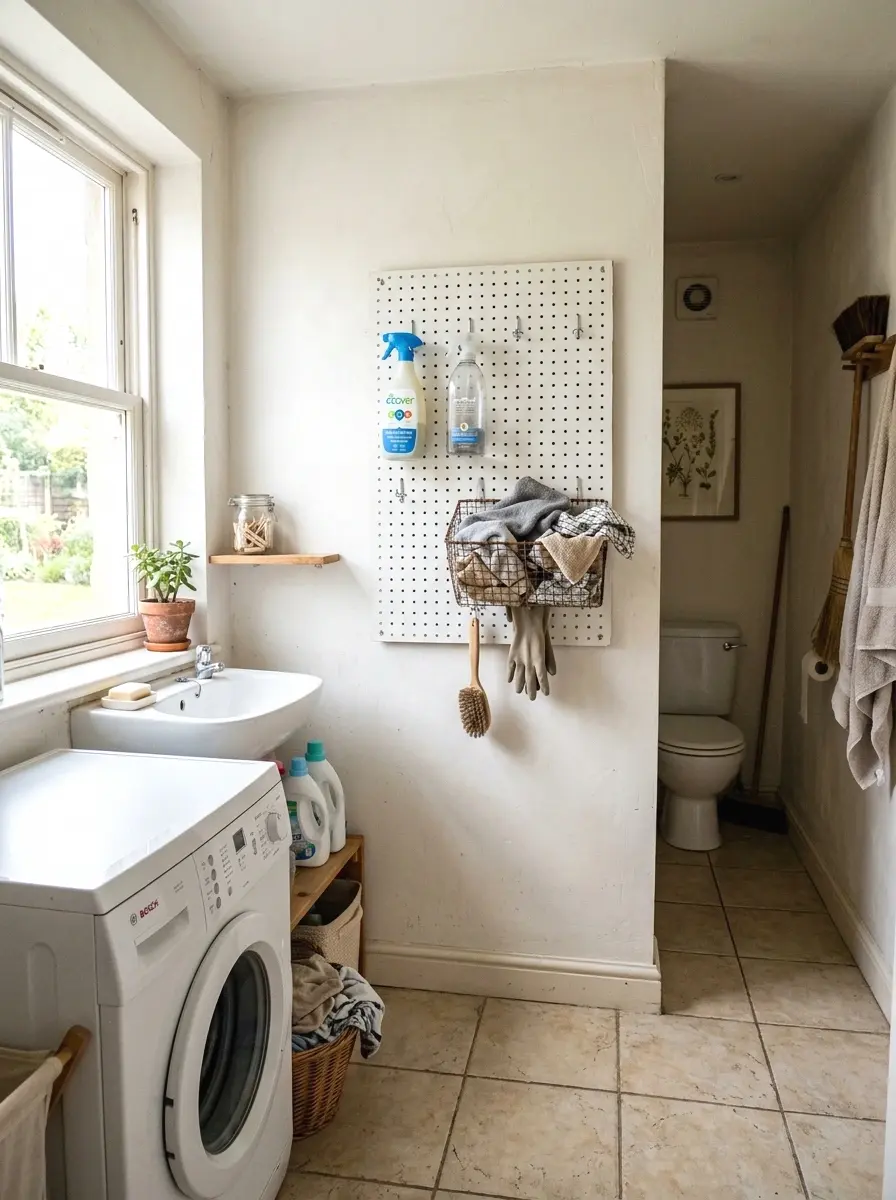
Pegboard is industrial looking in the best way. A 2 by 4-foot panel painted white and mounted in your combo room gives you completely customizable storage for brooms, spray bottles, dustpans, and small baskets. You rearrange the hooks anytime and the whole system costs under $40 to set up.
Buy the pegboard at a hardware store, cut it to size if needed, and mount it with spacers so it sits about half an inch off the wall. That gap is what lets the hooks seat properly. Paint it before mounting for a cleaner finish. Add hooks at $1 to $2 each and small wire baskets at $5 to $8. This takes about 90 minutes start to finish and makes a huge difference in how organized the space feels.
16. Add a Second Towel Bar Lower on the Wall
Most bathroom towel bars are set too high for anyone under 5’8″ to comfortably use without reaching. And in a combo room, there’s never enough towel space anyway. Adding a second bar at about 42 to 48 inches from the floor, a few inches below the standard height, gives you room for a second full-size towel without crowding.
A basic towel bar runs $15 to $35 depending on finish. Match it to your existing hardware if you can, or use it as an excuse to upgrade both. Drill into studs or use proper drywall anchors, especially in a humidity-heavy room where the wall can weaken over time. It’s a small add but you notice it every single morning.
17. Create a Folding Station on the Wall

If you fold laundry in a closet or on a bed, a wall-mounted fold-down table in your laundry area changes your routine completely. These are wall brackets with a hinged shelf that folds flat against the wall when not in use and gives you a 12 to 18 inch deep surface when you need it.
Wall-mounted folding tables and brackets run $55 to $90 and hold 30 to 50 lbs when open. Mount it at counter height, about 34 to 36 inches from the floor. Use it for folding, sorting, and staging items that need to hang. When it’s folded up, it takes up almost no space at all. In tight rooms, this is one of the smartest add-ons you can make.
There’s a full look at folding table options for tight spaces if you want to compare styles before committing to one.
18. Replace Old Caulk Around the Tub and Sink
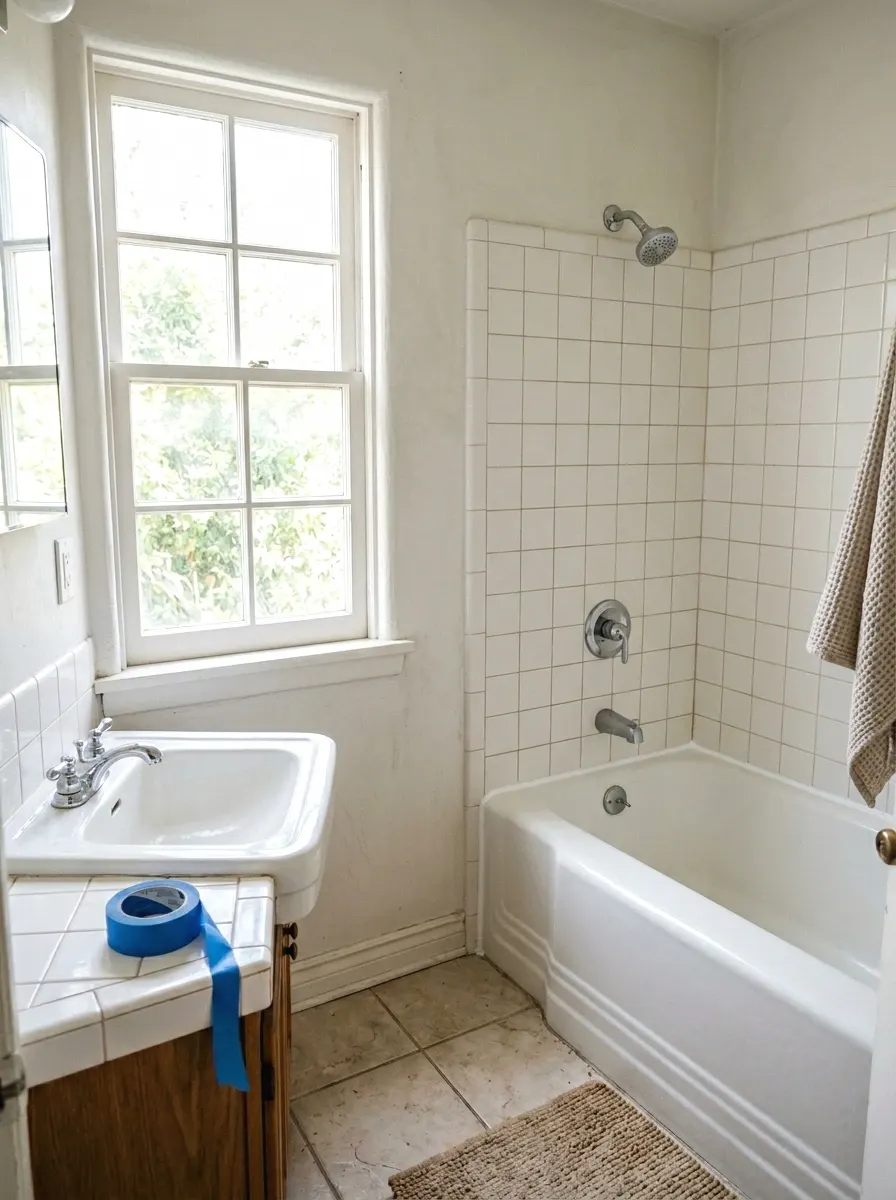
Old, discolored caulk makes the cleanest bathroom look grimy. It’s not a remodel move exactly, but it changes how people perceive the room faster than almost anything else on this list. Fresh caulk around the tub, sink, and any tile edges costs about $8 to $15 in materials and takes maybe two hours including dry time.
Use a utility knife or caulk remover tool to pull out the old bead completely. Clean the surface with rubbing alcohol, let it dry fully, then apply new silicone caulk in bright white or off-white. Tape both sides of the joint with painter’s tape for a straight line. Smooth with a wet finger. Pull the tape before it dries. Seriously works.
More Ideas:
19. Add Under-Sink Organizer Drawers
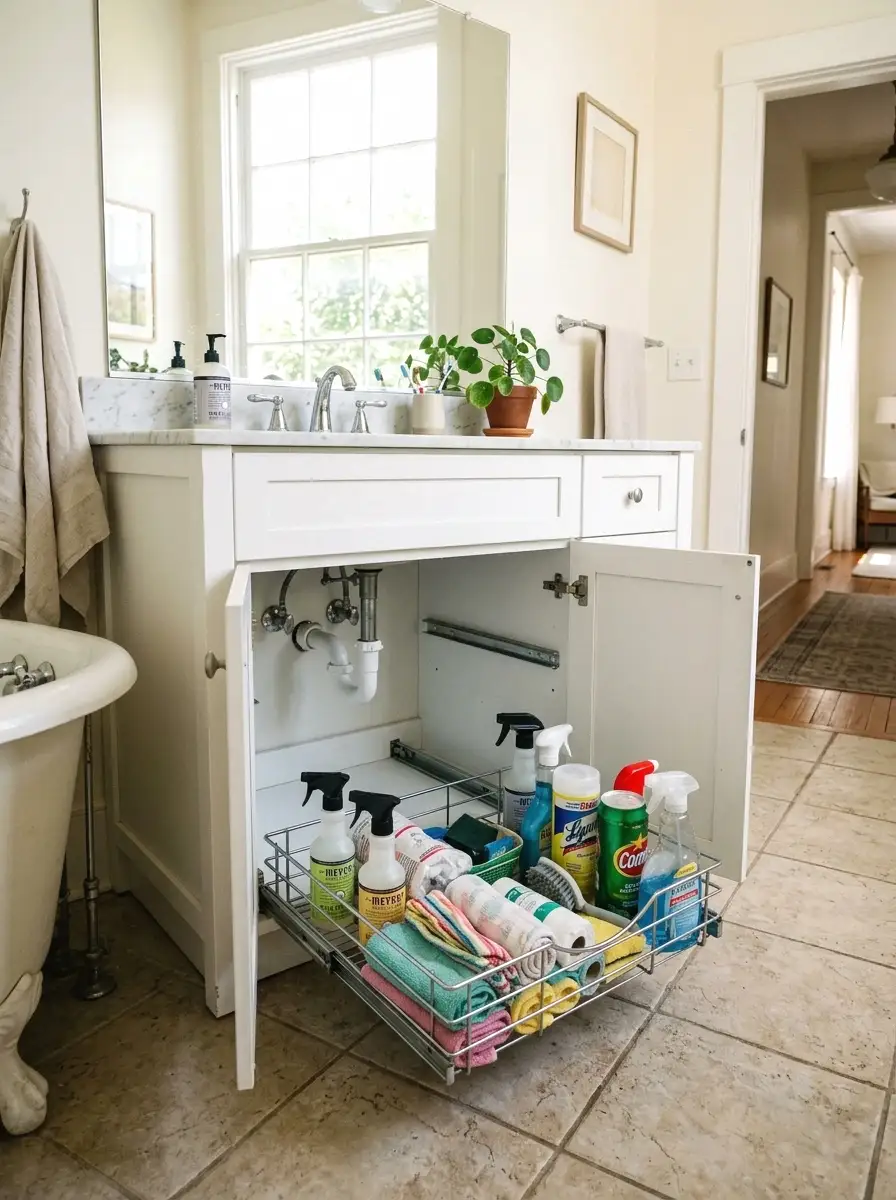
The cabinet under your sink is almost always a disaster. Stuff shoved in, bottles falling over, things you haven’t seen in two years hiding in the back. Pull-out drawer organizers made for under-sink cabinets turn that space into something you can actually use without getting on your knees.
Stackable under-sink organizer sets run $25 to $50 and are designed to work around the plumbing pipe in the center. Measure your cabinet interior width and depth before buying. Go for a two-tier pull-out system if your cabinet is deep. Keep cleaning supplies on one side, personal care items on the other. Everything visible, everything accessible, no more mystery pile in the back.
20. Add a Small Plant on a Shelf
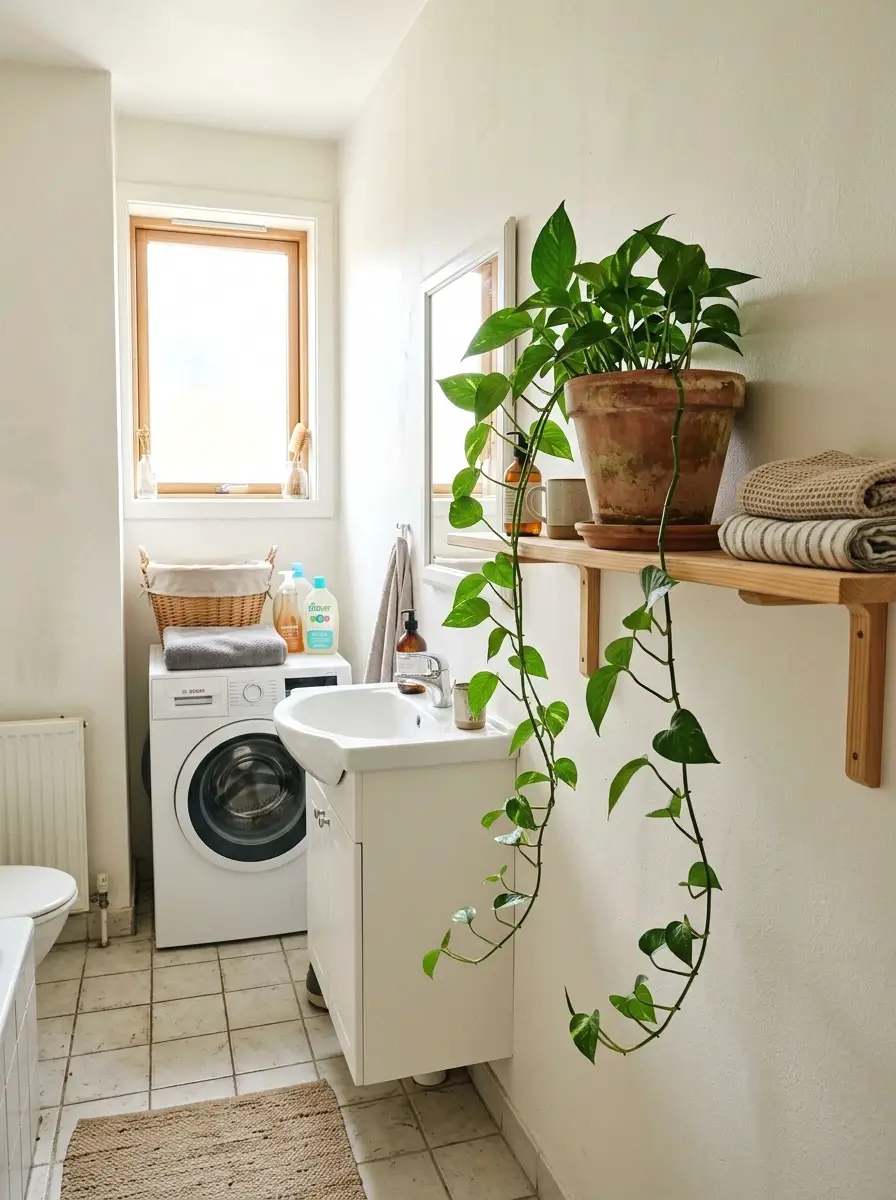
A real plant in a bathroom laundry space does something a candle or print can’t. It adds life. It makes the room feel like someone actually lives there and cares about it. Pothos, snake plants, and ZZ plants all survive low light and high humidity, which makes them ideal for this specific room situation.
A 4-inch pothos in a small pot runs $5 to $12. Put it on your floating shelf or the top of your cabinet where it gets whatever natural light comes through. The trailing vines grow fast and look great hanging over a shelf edge. One plant in the right spot does more for the feel of a space than most people expect. That’s it. No green thumb required.
Pairing it with a few well-chosen shelf items rounds out the look, and there are some great ideas for decorating bathroom shelves without it feeling cluttered.
Final Thoughts on Your Bathroom Laundry Remodel
You’ve got 20 solid options here, and none of them require a contractor, a big loan, or a free weekend in the middle of your busiest month. The through-line across all of these is the same thing: small, specific changes in the right spots do more than one big expensive move. Better lighting, real storage, fresh surfaces. That’s the formula.
Start with one thing this weekend. Not five. One. I’d say pick the floating shelf above the washer or the under-sink organizer because both pay you back immediately every time you use the room.
If you want more ideas like this for every room in your home, homelypop.com has a lot more where this came from.