
20 Modern Monochrome Kitchen Ideas for a Bold, Cohesive Space

You finally know what you want your kitchen to look like. One color. Clean. No visual noise. But every time you try to pull it off, it comes out flat, cold, or just weirdly wrong. The towels clash. The appliances break the flow. Or you go so minimal that the whole thing looks like a hospital break room, not a home.
This list covers 20 monochrome kitchen ideas gathered from real homeowners, interior communities, and design forums across Reddit, Houzz, and Pinterest. Each idea was picked because it solves something. Not just “it looks nice,” but it actually works at the budget, in the space, for the type of cook or renter who lives there. Prices range from about $30 on the low end to around $400 for bigger moves.
This is for you if you’re working with $100 to $300 and want results that actually hold up. It’s not for anyone looking for a full gut renovation or professional installation. You don’t need to own your home to do most of these.
By the end, you’ll have a clear picture of how to build a monochrome kitchen that feels intentional and finished, not like you just forgot to add color.
What to Know Before You Start a Monochrome Kitchen
- Monochrome doesn’t mean one paint color. It means one dominant hue in multiple shades, finishes, and textures.
- Plan your base tone first. Warm whites (cream, linen) read differently under warm bulbs. Cool whites (bright white, grey-white) need cooler lighting or they’ll look yellow.
- Budget reality: a full cabinet repaint runs $150 to $400 in materials if you DIY. Primer matters. Don’t skip it.
- Most people overlook grout color. Matching it to your tile or going one shade darker keeps the monochrome intact.
- Common mistake: mixing too many finishes without intention. Pick two max (matte plus brushed metal, for example) and stick to them.
- Open shelving in a monochrome kitchen needs styled items. Bare shelves with mismatched products break the look fast.
- Long-term tip: matte finishes show fingerprints on cabinets and walls. Eggshell or satin holds up better in a working kitchen.
1. Pick One Base Color and Go Deep With It

The whole thing starts here. Before you buy anything, you need to lock in your base hue. And I mean really lock it in. Not just “something gray” or “kind of black.” A specific shade with a specific undertone.
When I tried this in my own space, I spent three weeks going back and forth between a warm charcoal and a cool slate. They look almost identical in photos but completely different on walls. Get at least three paint samples and live with them for a week under different lighting. It costs about $15 and saves you from a $200 mistake.
2. Layer Your Shades, Not Just One Flat Color
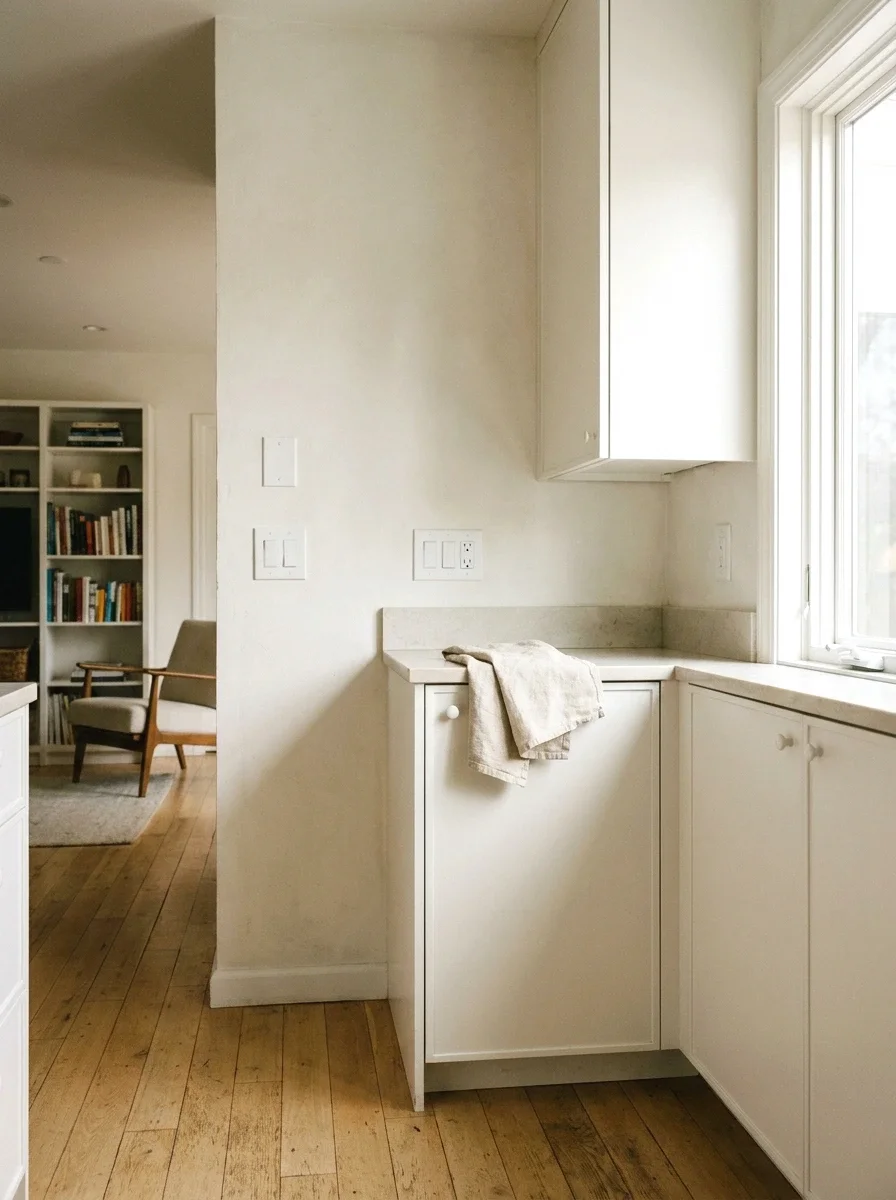
Here’s what nobody tells you about monochrome: flat is boring. A kitchen painted the exact same shade on every surface looks like a film set, not a home. The fix is layering. Pick your base color, then go one shade lighter for upper cabinets and one shade darker for lower ones.
This creates depth without breaking the single-color rule. And it’s practical too. Darker lower cabinets hide scuffs near the floor. Lighter uppers make the ceiling feel taller. A quart of paint per shade runs $20 to $30. Do the math before you commit to gallons.
More Ideas:


3. Use Matte, Satin, and Gloss Together
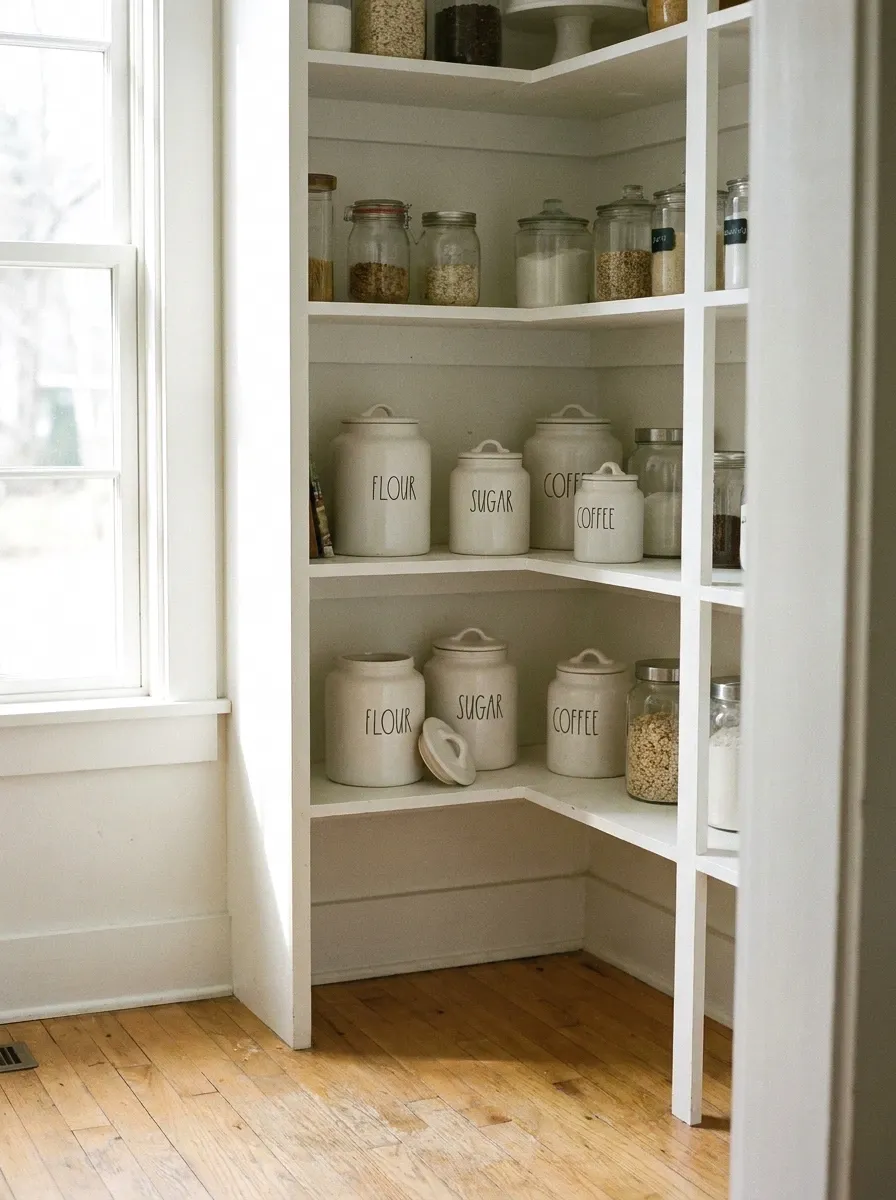
So here’s the thing people in design forums keep saying and it’s completely true: finish contrast is the secret weapon of monochrome. Same color. Different finishes. Completely different look.
Try matte walls, satin cabinets, and a gloss tile backsplash, all in the same white or grey family. The light hits each surface differently, which gives your eye something to move across. It doesn’t look busy. It looks considered. And because you’re buying the same base color in different finishes, it’s actually budget-friendly.
4. Match Your Appliance Finish to Your Cabinet Color

You don’t need matching appliances to pull this off, but you do need to think about them. A stainless steel fridge in an all-white kitchen is a finish mismatch that’s hard to ignore. One solution that works on a real budget: matte appliance wraps.
A full fridge wrap in matte white or slate runs $40 to $80 for the material. It’s removable, which makes it renter-friendly. I was skeptical about this one but the before and after difference is real. The whole kitchen reads as one thing instead of a collection of separate objects.
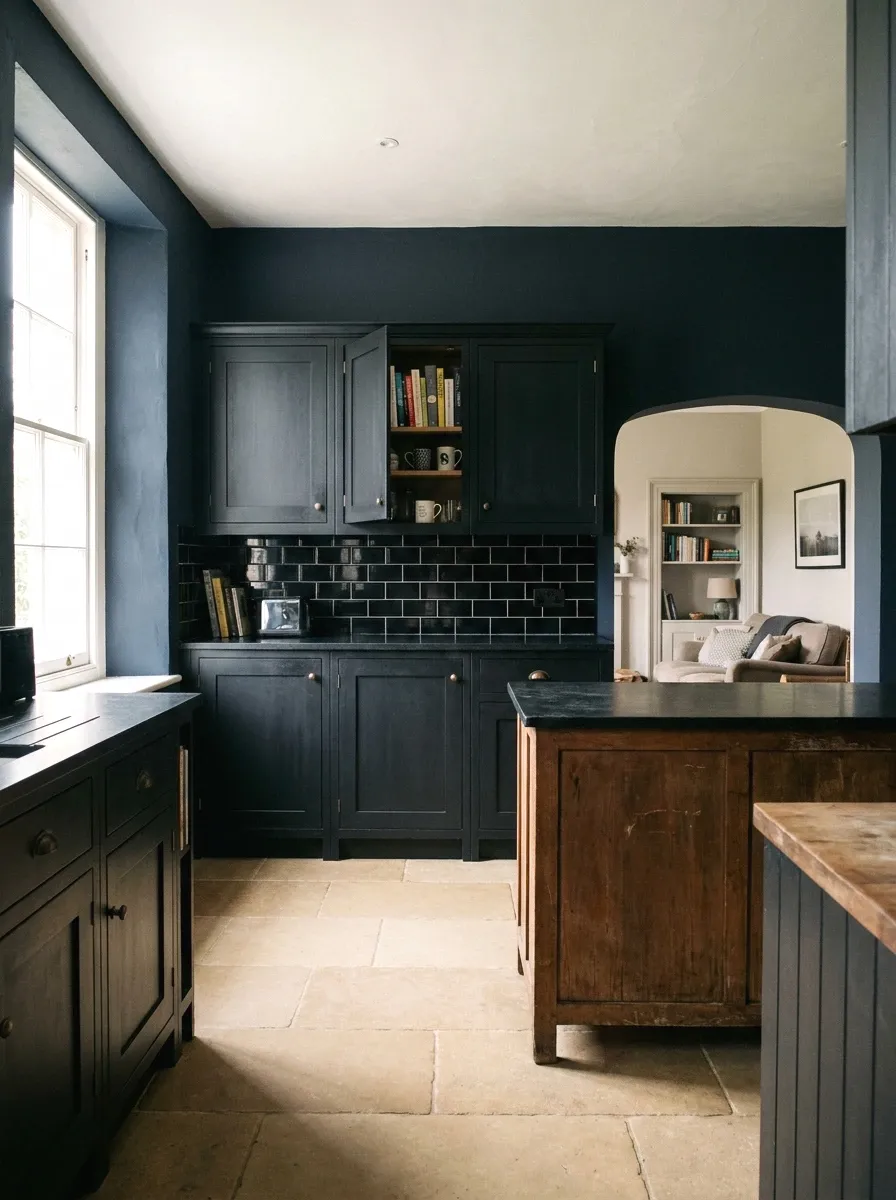
5. Go Bold With a Dark Monochrome Instead of White
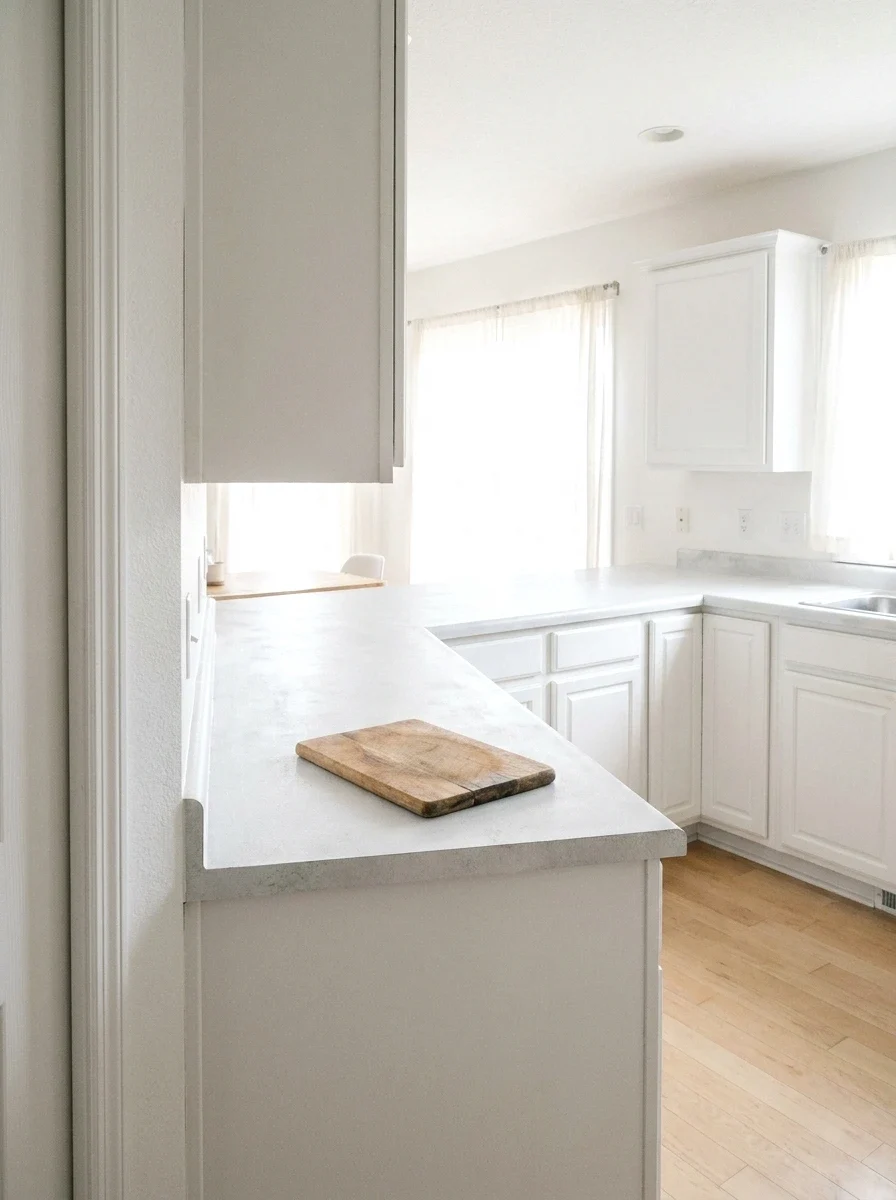
Most people default to white or light grey for monochrome, and that’s fine. But black and dark navy kitchens are having a real moment right now, and they work in rooms you’d expect to fail: small spaces, low-light kitchens, even north-facing ones.
The trick is pairing dark with dark but varying the finish. Matte black cabinets with a glossy black subway tile backsplash. Or deep navy walls with slate-toned open shelving. It shouldn’t be flat-black-everything. Budget for dark: chalk paint or cabinet-specific paint runs $30 to $60 per quart and covers about 80 square feet per coat.
6. Swap Out Hardware to Stay in the Color Family

Cabinet hardware is the detail most people underestimate. A brass knob on a white cabinet breaks monochrome immediately. But matte white ceramic knobs, or flat white powder-coated pulls, keep everything in line and cost almost nothing.
A set of 10 pulls in a matching finish runs $20 to $35 on most home improvement sites. That’s one of the fastest wins in this whole list (this one is so underrated). You can also go tonal metallic. Brushed silver on a grey kitchen, or oiled bronze on a dark brown one. Just make sure the metal reads as the same temperature as your base color.
More Ideas:
7. Use Open Shelving as a Monochrome Display

Open shelves in a monochrome kitchen work best when you treat them like a display, not a storage dump. The goal is to keep everything you put on them within the same color family as the kitchen itself. Cream bowls on cream shelves. White mugs on white shelves. All-black pantry jars on a black-painted shelf.
This takes about 20 minutes to style properly, and the results look like you hired someone. Floating shelves cost $25 to $60 each depending on length. Go with painted wood in your base color or a natural wood tone if you want the one warm contrast in the space.
8. Replace Your Backsplash With a Tonal Tile
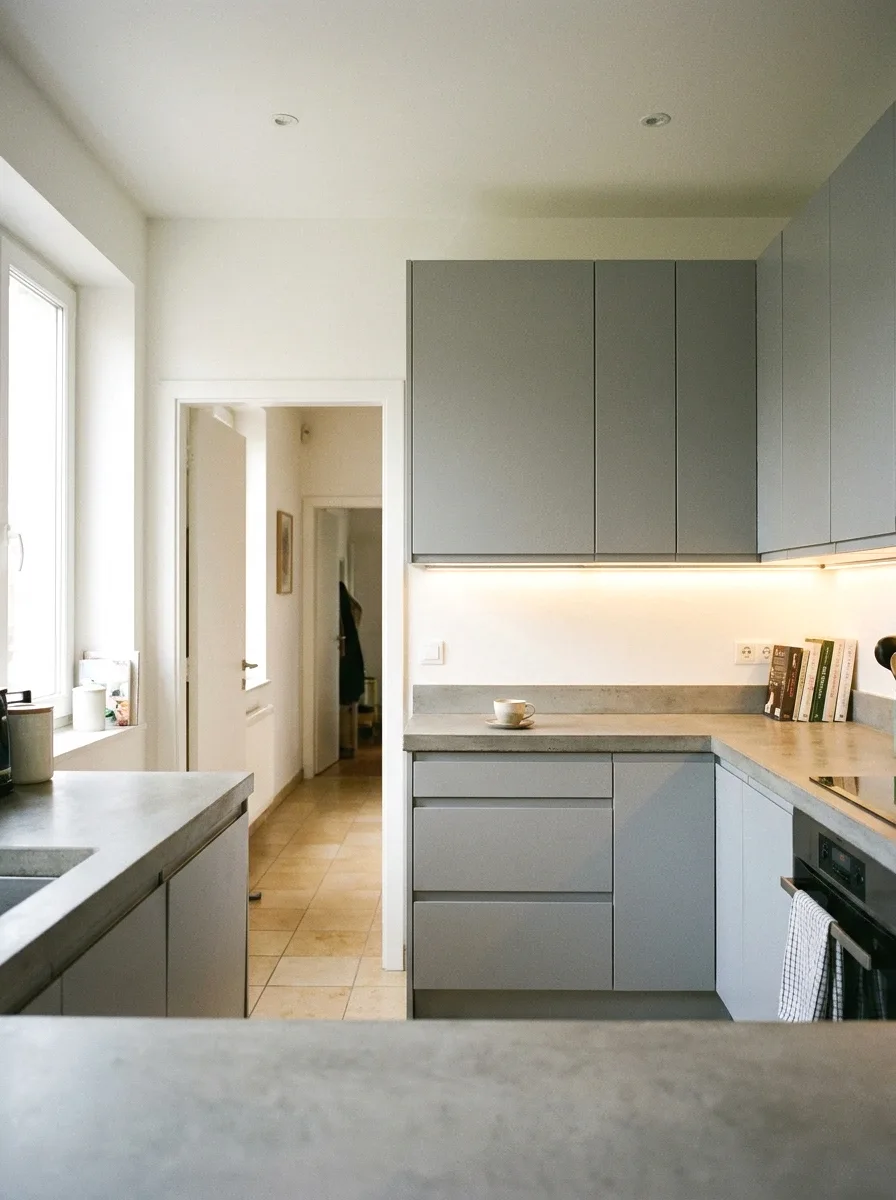
A backsplash is often where monochrome kitchens fall apart. People pick white subway tile for a white kitchen and it should work but it somehow looks cheap. The fix is going slightly off-tone. A warm cream tile in a bright-white kitchen adds texture without breaking the color story.
Peel and stick tile panels are a renter-approved option. A pack covering 10 square feet runs about $30 to $50. The grout lines matter here too. Pre-grouted sheets keep the tone consistent and save you an extra step. Don’t skip caulk along the edges or the whole thing lifts.
9. Paint Your Ceiling the Same Color as Your Walls
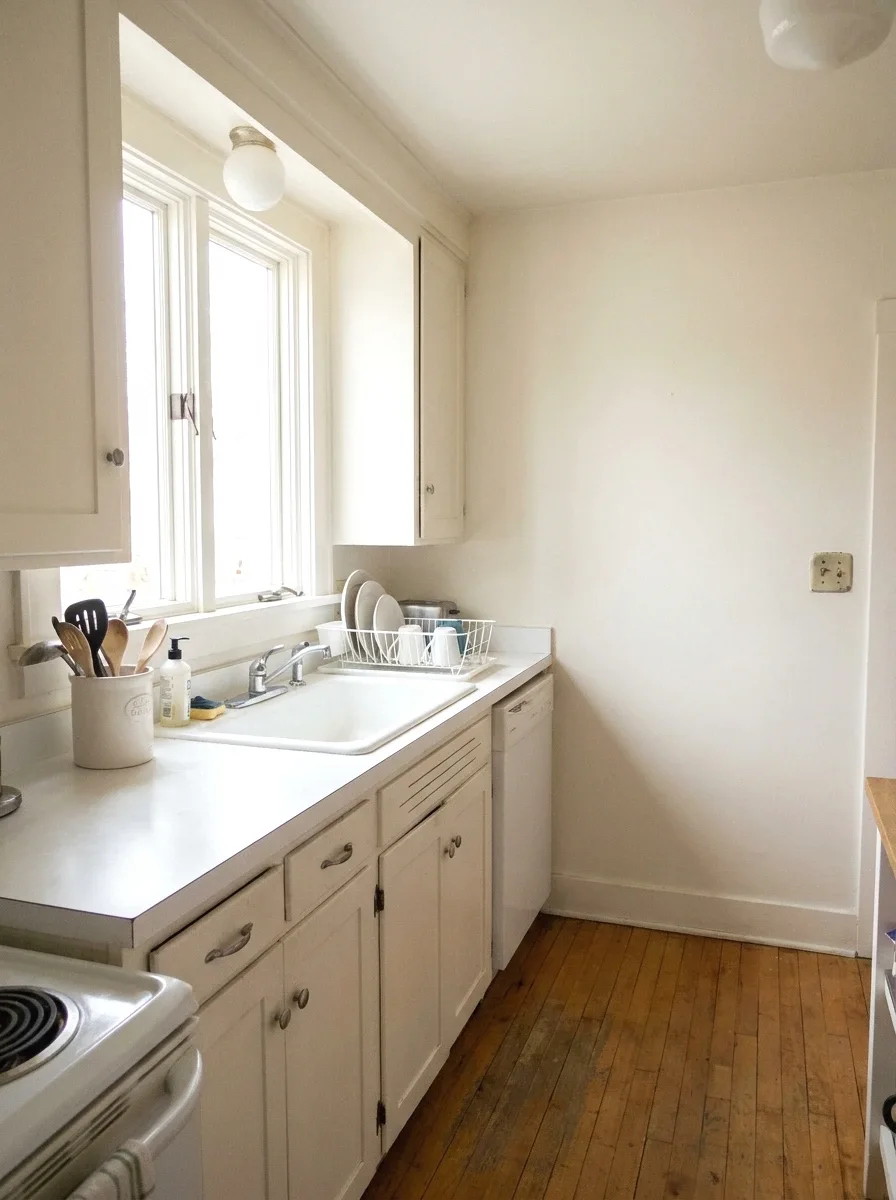
This one sounds extreme but it’s one of the most effective moves in a monochrome kitchen. Painting the ceiling the same color as the walls removes the visual “box” effect and makes the room feel taller and more intentional.
It works best with mid-tones. Very dark ceilings in small kitchens can feel heavy. Very light ones in a large kitchen can just look like you forgot to use a different color. Mid-gray, warm white, or soft sage all work well. Ceiling paint is typically cheaper than wall paint. A gallon runs $20 to $35.
10. Add Texture Through Materials, Not Color
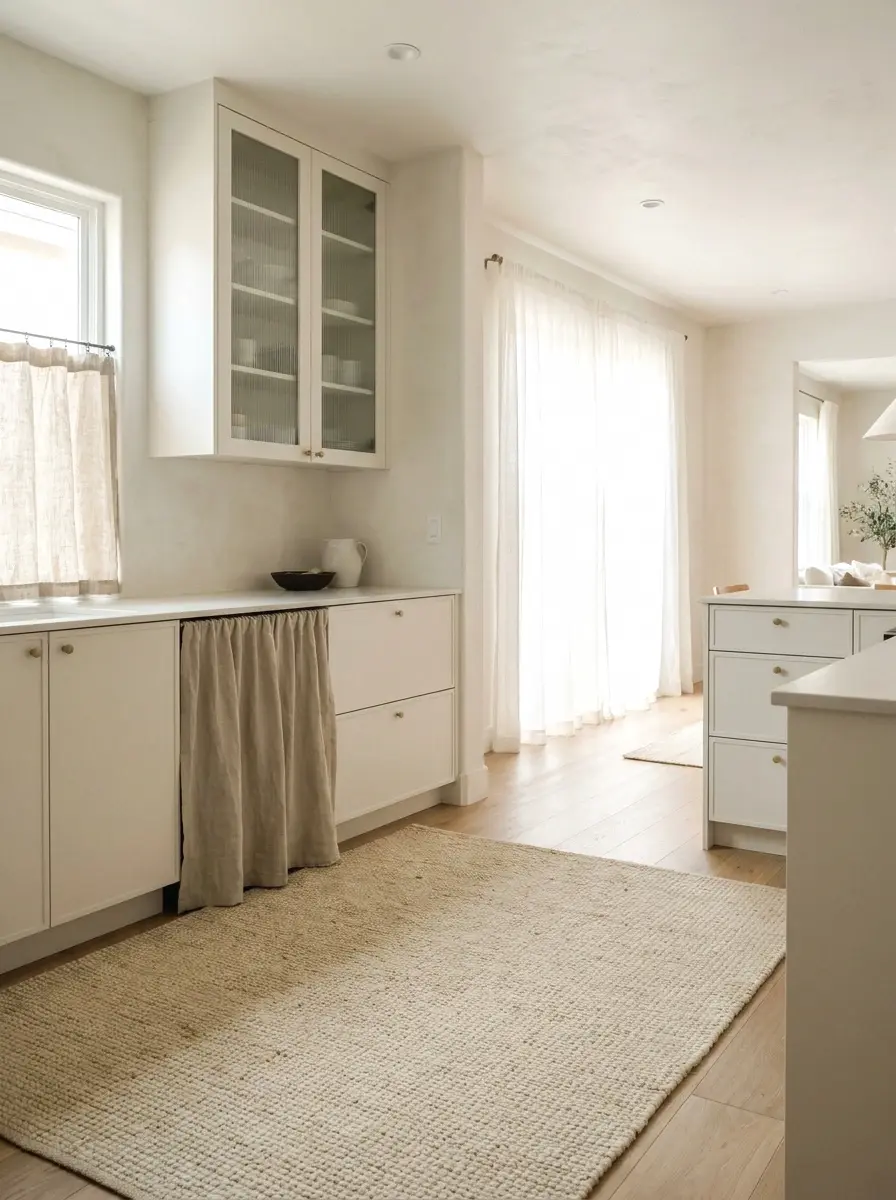
The real challenge in a monochrome kitchen is avoiding that flat, sterile look. And the answer isn’t adding a second color. It’s adding texture. Think: linen curtains in the same white as your walls. A woven jute rug that matches your warm wood floor. A fluted glass cabinet door in the same grey as your cabinet body.
Texture gives your eye things to land on without disrupting the single-color rule. A woven rug in the right tone runs $40 to $90 for a kitchen-sized one. Fluted glass cabinet inserts are about $25 to $60 per door panel from home improvement stores.
More Ideas:
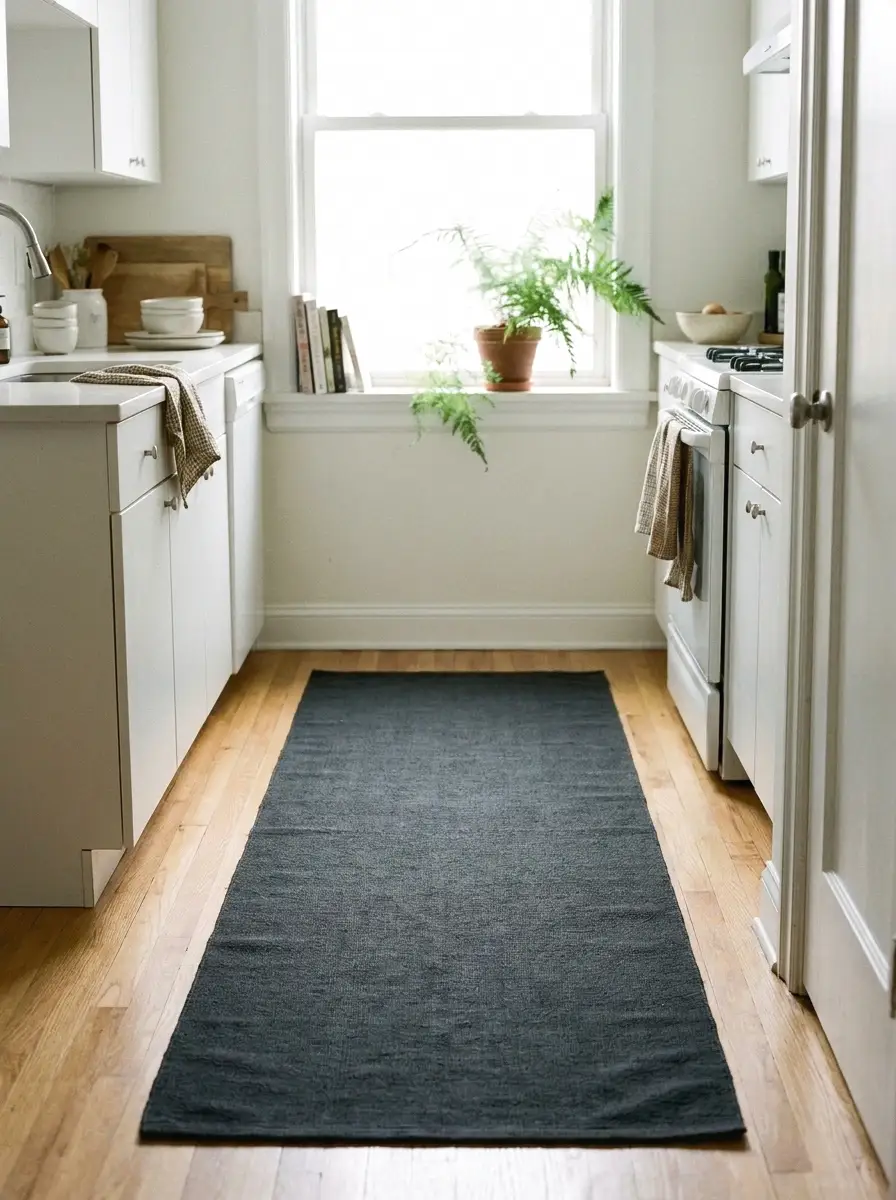
11. Use a Monochrome Runner Rug to Anchor the Space
Rugs in kitchens get overlooked, but a runner in the right color can pull everything together in a room that’s almost there but not quite. The key is matching the rug to either your floor or your cabinet color, not something in between.
A 2×6 foot runner in a solid tone (not a pattern, not a print) creates a grounding line through the kitchen. Washable options exist now, which makes this completely practical. Rugs under $60 from places like Amazon, IKEA, and Target do this well. Flatweave holds up better in kitchens than pile.
12. Style Your Counter Accessories in the Same Tone
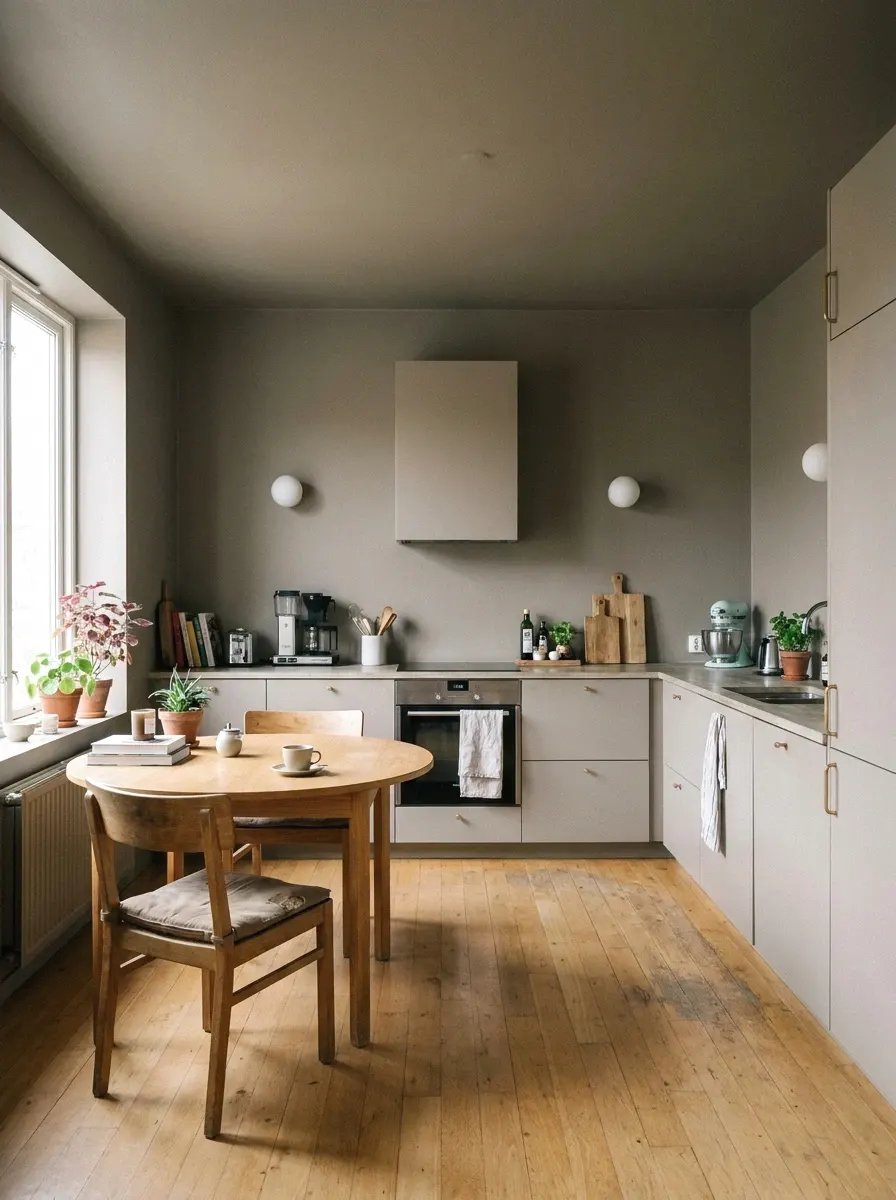
This is the step that ties everything together and costs almost nothing. Your coffee maker, your dish rack, your utensil holder. If they’re all different colors and finishes, the kitchen looks chaotic no matter how well you’ve painted the walls.
You don’t need to replace everything at once. Start with what’s visible from the doorway. A white or black dish rack is $15 to $25. A ceramic utensil holder in your base color is $10 to $20. Do it over a few months and it adds up to a genuinely cohesive look without a big spend.
13. Install Under-Cabinet Lighting in a Warm or Cool Tone

Lighting changes everything in a monochrome kitchen, and under-cabinet lights are the most impactful option per dollar. They add depth, make your counters look bigger, and highlight the texture of your backsplash in a way overhead lighting never does.
Choose warm white (2700K to 3000K) for cream and warm-toned kitchens. Go cool white (4000K) for grey or true-white ones. Plug-in LED strips with adhesive backing run $20 to $40 for a standard 6-foot run. No electrician needed. Stick them to the underside of your upper cabinets and plug them in. Took me about 15 minutes.
14. Paint or Line Your Shelves and Drawers in Your Base Color

The inside of cabinets and drawers is a detail nobody thinks about until they open one in front of a guest. Painting the interior surfaces in your base color, or lining them with a matching contact paper, creates a layered look even when nothing’s inside.
This is a $10 to $20 project per cabinet. Contact paper in solid matte colors is widely available and easy to apply. Cut it to fit, smooth out the bubbles, done. It also protects the original surface, which matters if you’re renting and want your deposit back.
More Ideas:
15. Hang a Single Large Piece of Monochrome Art

Art in a monochrome kitchen needs to follow the same rule as everything else: stay in the color family. A large black and white print in a dark kitchen. A soft cream abstract in a white one. The size matters as much as the color. One large piece reads as intentional. Three small pieces reads as filler.
A large canvas or art print (24×30 inches or bigger) in a matching tone runs $40 to $100 on sites like Society6 or even Walmart’s art section. Frame it in a finish that matches your hardware. Black frame for grey or black kitchens. White or wood for warmer tones.
16. Choose Countertop Materials in Your Base Tone
Countertops are often the wildcard that breaks a monochrome kitchen. White kitchen with a brown granite counter. Grey kitchen with a beige laminate. It doesn’t take much to pull you out of the color story.
If you’re not replacing counters, look at peel and stick countertop film. It comes in concrete grey, matte white, marble-ish white, and solid black. A roll covering 6 to 8 square feet runs $20 to $30. It’s not a forever solution but it holds up 12 to 18 months with normal kitchen use and it removes cleanly.
17. Use the Same Tone for Window Treatments
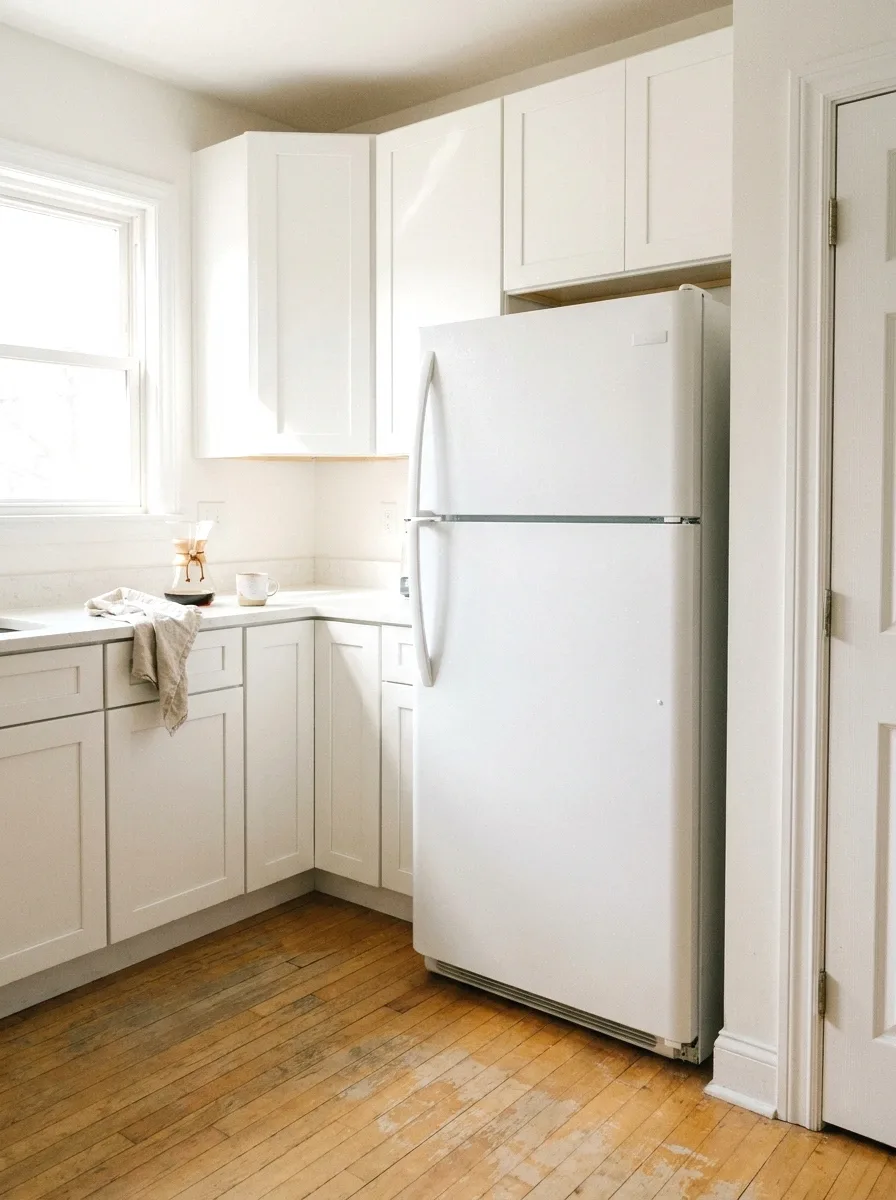
Windows are a big break in the color story if you leave them with whatever came with the place. White wooden blinds in a black kitchen. Beige curtains in a grey kitchen. It’s a visual stop sign in a space that should flow.
Roman shades or roller blinds in your base color are the easiest fix. A 24 to 36-inch roller blind in solid white or charcoal runs $20 to $45. You can also go sheer in the same tone, which softens the light and keeps the look without blocking it entirely. Blackout and sheer in the same color family are both available from most big box stores.
18. Try Monochrome Open Storage for Pantry Items
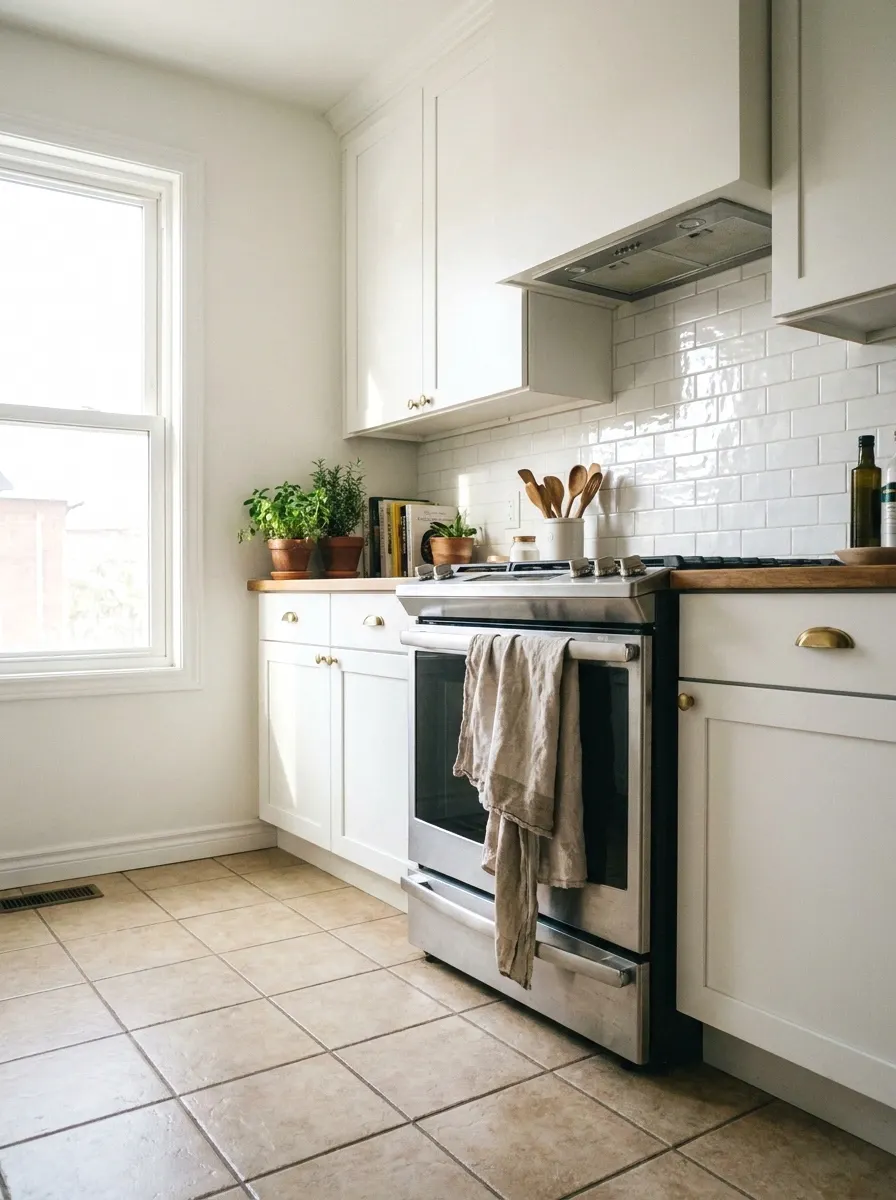
If you have a pantry area or any open food storage, this is worth doing. Decant your dry goods into matching containers in the same color family as your kitchen. Clear glass or matte white ceramic work in most kitchens. Dark grey or matte black jars work in darker ones.
A set of 6 to 8 matching glass jars runs $25 to $50. Label them with a matching label maker or handwritten tags in black or white. It sounds fussy but it takes about an hour to set up and then your pantry becomes part of the monochrome design instead of fighting it (took me ages to figure this out).
More Ideas:
19. Replace Your Light Switch Plates and Outlet Covers

This is the most overlooked $10 fix in any kitchen redesign. Standard beige or almond outlet covers on a white or grey kitchen stand out more than you think. Switching them out for covers in your base color takes about five minutes per switch.
White switch plates cost about $1 to $2 each. Black ones are a little more, around $3 to $5. You can also find them in matte grey, brushed metal, or even the same finish as your cabinet hardware. Do the whole kitchen at once. It’s fast, cheap, and one of those details people notice without knowing why.
20. Finish With a Monochrome Dish Towel and Plant Pairing
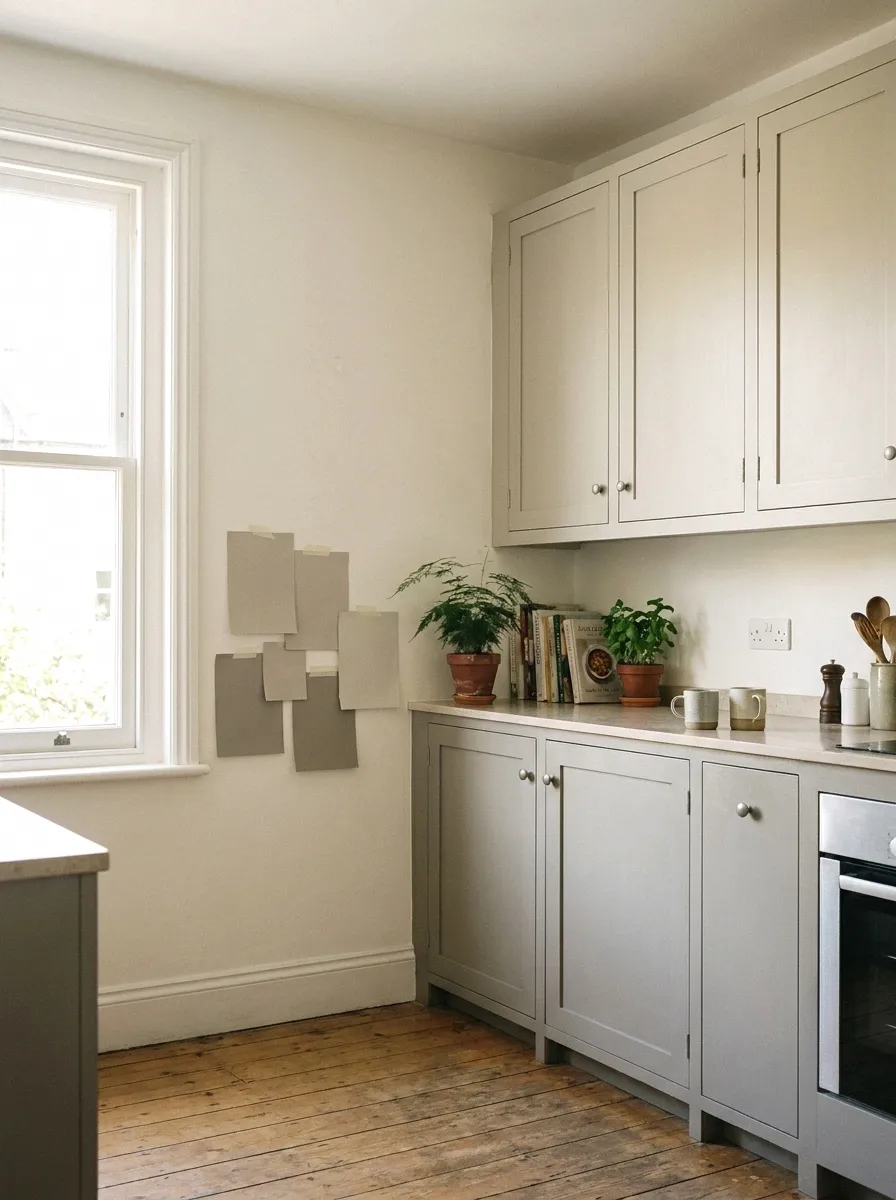
The last layer of a monochrome kitchen is the softest one. Dish towels in your base color, folded neatly over the oven handle. One plant in a pot that matches the wall color. That’s it. It sounds almost too simple, but these two details are what make the space look finished instead of halfway there.
White linen towels are $8 to $15 for a set of two. A small plant in a solid white or terracotta pot (depending on your color tone) runs $10 to $25. The plant adds the one bit of organic contrast that every monochrome space actually needs. Keep it small. One is enough.
Final Thoughts on Modern Monochrome Kitchens
You now have a real path through this. Not a mood board, not a vague direction, but 20 actual moves you can make in order of cost and impact. The through-line is always the same: pick your base color, commit to it, and use finish and texture to do the heavy lifting. That’s the whole system.
Start with one thing. The hardware swap or the switch plates. Pick the cheapest item on this list and do it this week. You’ll see how much difference a single well-chosen detail makes, and it’ll give you the momentum to keep going.
If you want more ideas like these for every room in your home, homelypop.com has a lot more where this came from.