20 Laundry Room Decor DIY Ideas That Actually Work on a Budget
Your laundry room is the most ignored room in the house. It’s functional but grim. You walk in, you do the thing, you leave. But it doesn’t have to feel like a utility closet you’re embarrassed to show anyone. Here is Laundry Room Decor DIY Ideas
This list has 20 DIY ideas pulled from real homeowners, Reddit threads, and Houzz discussions where people talked about what they actually tried and what stuck. Every idea fits a $100 to $300 total budget, and most of them cost under $50 individually. I’ve sorted them to cover storage, style, lighting, and those annoying small details most people miss.
This is for renters and owners alike who have a tight budget and a small or medium laundry space. It’s not for anyone expecting a full renovation. You won’t need a contractor. Just basic tools and a free weekend.
By the end you’ll have a clear, doable plan to make your laundry room look and function like someone actually thought about it.
If you want a head start before diving in, there’s a solid breakdown of small spaces done on a budget that’s worth a quick look.
What to Know Before You Start Laundry Room Decor
- Moisture matters: laundry rooms get humid, so skip regular paint and use a satin or semi-gloss finish.
- Measure your wall height before buying shelving. Standard upper cabinet clearance is 18 inches above the washer.
- Budget reality: a full refresh with shelving, paint, and accessories typically runs $150 to $250 total.
- Most people forget the floor. A $25 anti-fatigue mat instantly changes how the room feels underfoot.
- Common mistake: mounting shelves without studs. Use a stud finder or toggle bolts rated for 50+ lbs.
- Dryer lint is a fire hazard. Clean the vent duct yearly, not just the trap.
- Peel-and-stick wallpaper lasts 3 to 5 years in low-humidity rooms but can peel faster above machines. Ventilate well.
1. Paint the Walls a Real Color
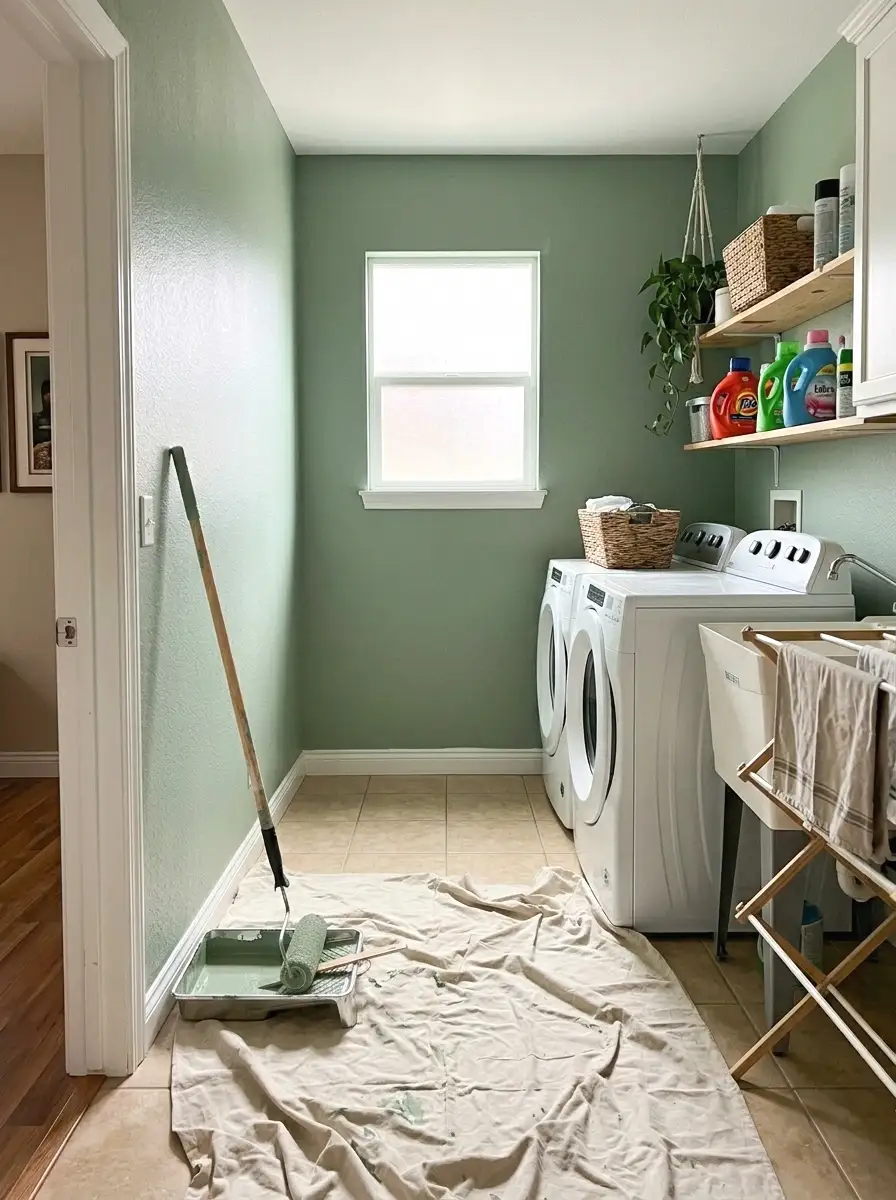
The fastest thing you can do to change this room is stop playing it safe with white. White walls in a laundry room just show every stain and scuff. I painted mine a deep sage green and the whole room felt intentional instead of forgotten. That shift cost me about $35 for a quart of satin finish paint.
Go with something with personality. Navy, terracotta, soft black, warm gray. Pick one color and go all in. Satin finish is key here since it wipes clean and handles the humidity better than flat paint. One coat usually isn’t enough, so plan for two.
If you’re stuck on which direction to go, there’s a great resource on color choices that shift a whole room that might help you decide.
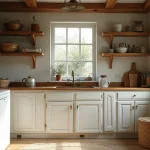
2. Add Open Shelving Above the Machines
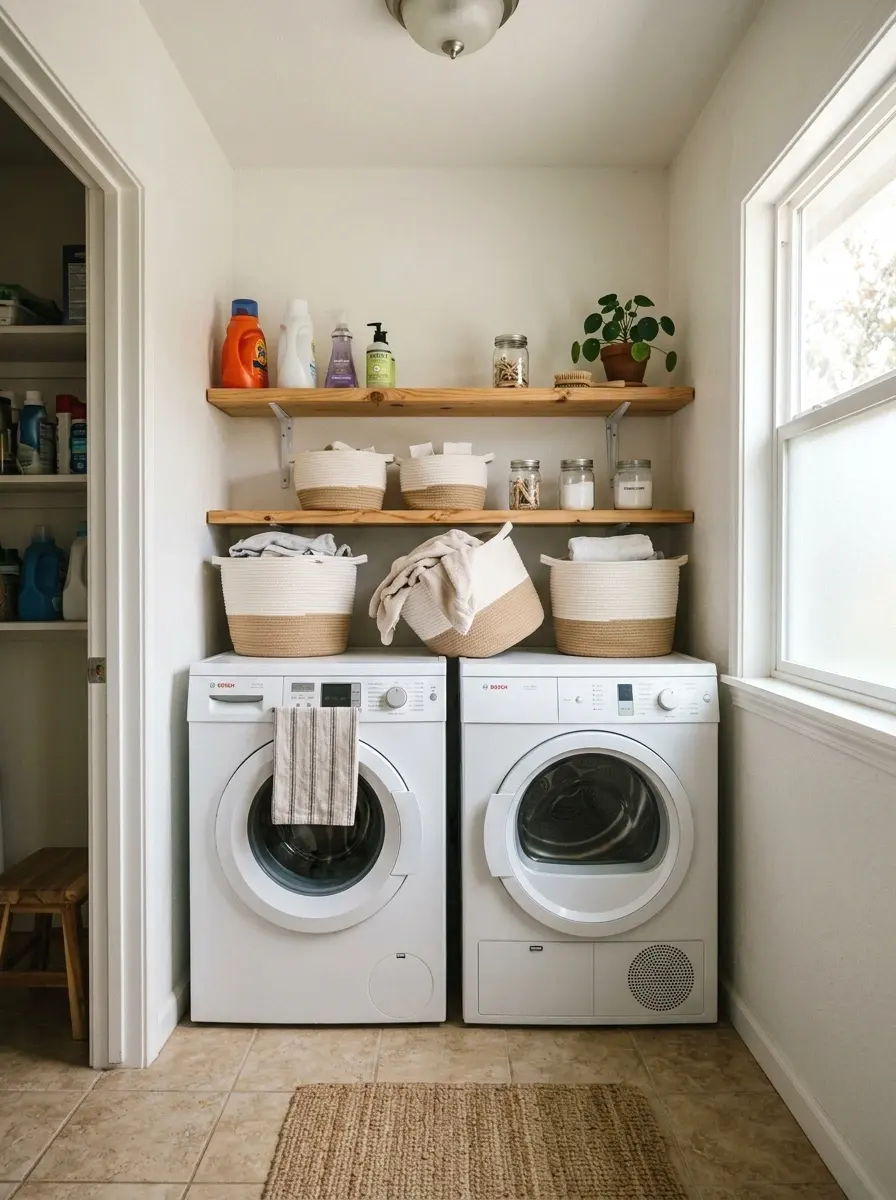
You need storage. Everyone does. And open shelves give you that without the cost of cabinets. A basic bracket and board shelf above the washer and dryer takes about an hour to install and costs around $30 to $60 depending on the wood and bracket style you go with.
Cut a 1×10 pine board to width, sand it, paint or stain it, and mount it on two heavy-duty brackets into the studs. I’d keep the shelf about 20 inches above the machines so you’re not knocking your head loading laundry. Store detergent, dryer sheets, and baskets up there so the machines themselves stay clear.
For more ways to configure the space above your machines, there are some shelving and cabinet ideas worth stealing depending on your setup.
More Ideas:


3. Use Peel-and-Stick Wallpaper on One Wall
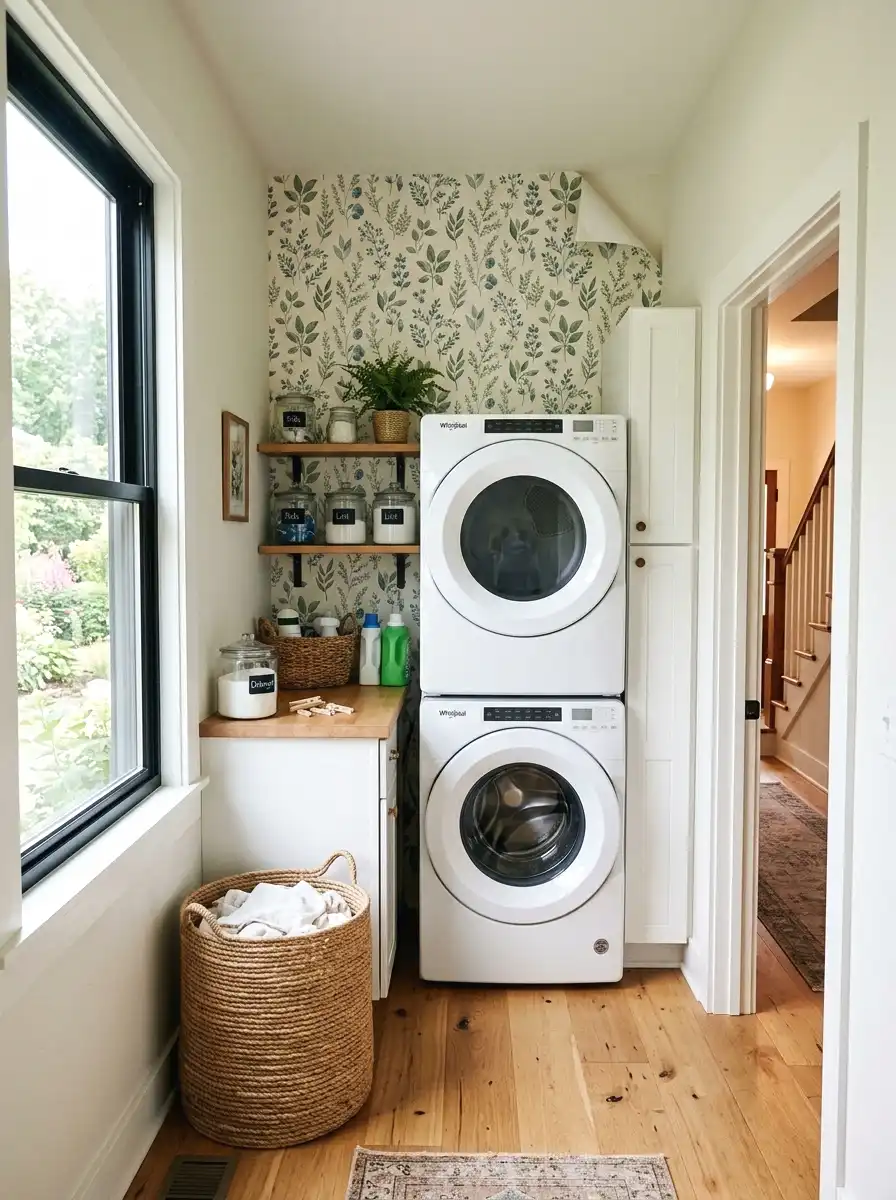
So here’s the thing about peel-and-stick wallpaper: it actually works now. It used to bubble and peel within months, but the quality has gone way up. Pick one accent wall, usually the one behind the machines or the narrow wall at the end, and apply a pattern that makes the room feel designed.
Botanical prints, small geometric tiles, and vintage stripe patterns are the ones people keep going back to. A roll runs about $20 to $35 and one wall usually takes two to three rolls. Make sure the wall is clean and dry before applying. In a humid room, stick to a vinyl-backed option for better adhesion.
4. Hang a Pegboard for Tool and Supply Storage

Pegboards aren’t just for garages. A 2×4 foot pegboard mounted on the wall holds cleaning supplies, scissors, tape, and all the random things that end up in a laundry room without a home. Paint it to match the walls or go a contrasting color and it becomes a real design element.
The setup cost is around $25 to $40 with hooks included. Mount it with a small spacer behind it so the hooks have room to swing. I use mine for the lint roller, a small hanging basket for delicates, and the stain spray. Everything visible but nothing cluttered.
5. Swap the Light Fixture
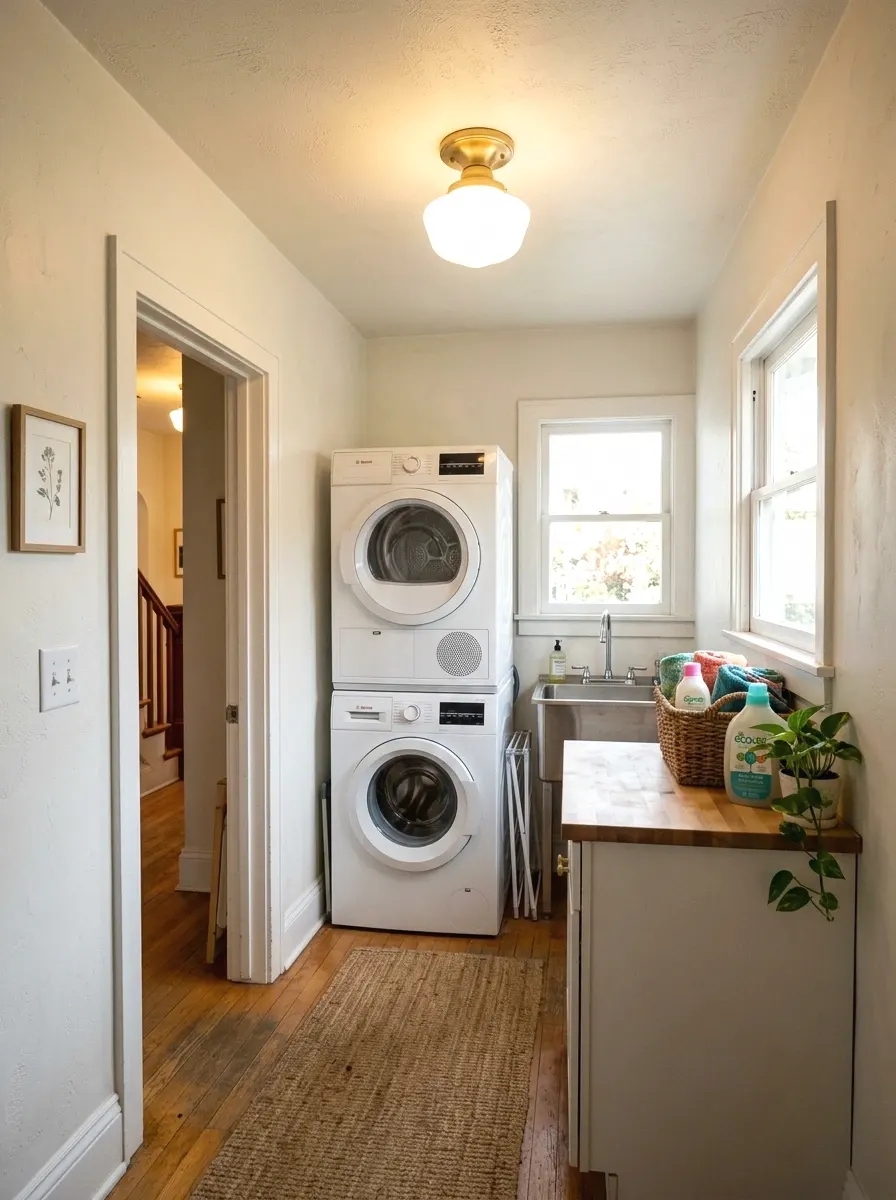
Most laundry rooms have one builder-grade ceiling fixture that casts flat, harsh light. Replacing it with something with a real shade or a flush mount with warm bulbs takes about 20 minutes if you’re comfortable with basic electrical. The fixture itself doesn’t need to be expensive.
A brushed brass or matte black flush mount runs $30 to $70 on Amazon or at your local hardware store. Pair it with a warm white bulb (2700K to 3000K) and the whole room feels warmer. This is the one change people notice most when they visit. It signals that someone put thought into the room.
If you want to go deeper on this, there’s a full rundown of lighting upgrades that actually make a difference beyond just swapping a fixture.
6. Build a Simple Fold-Down Ironing Board
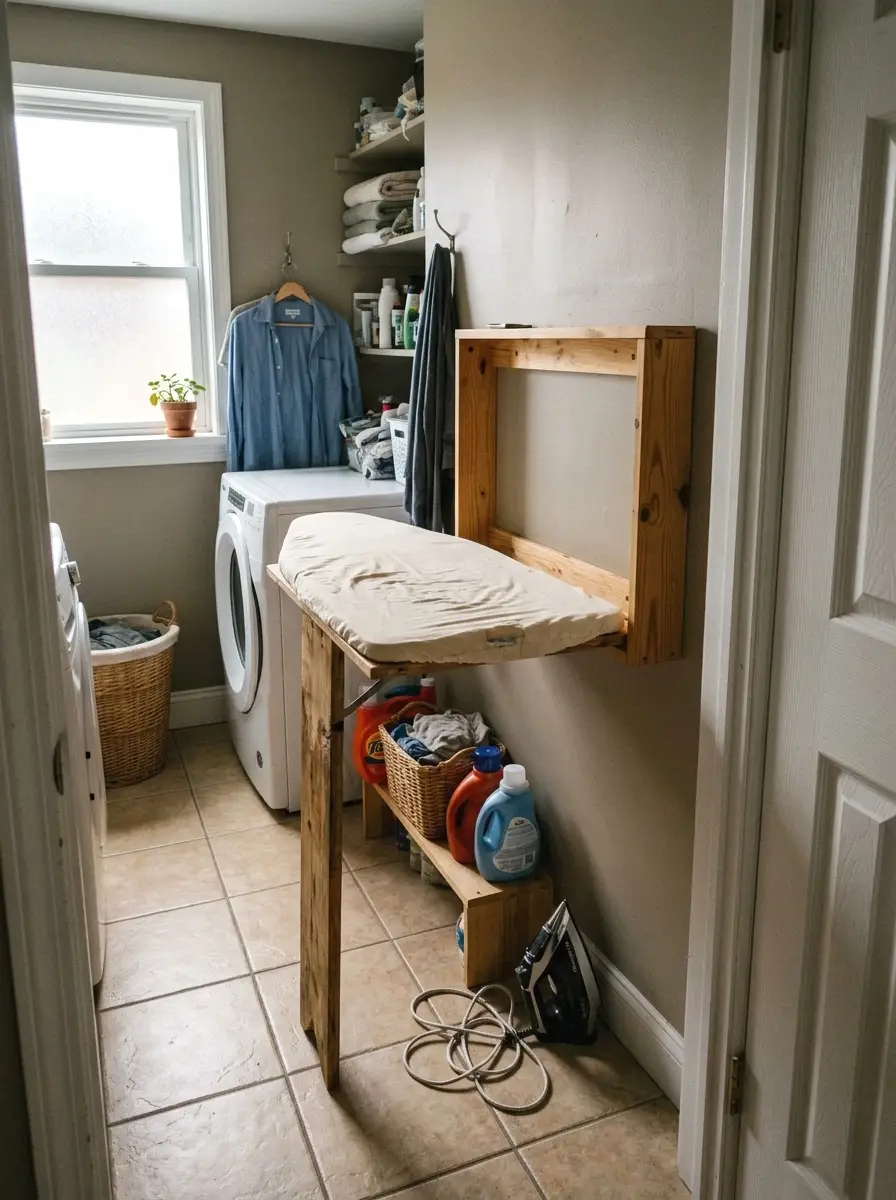
Wall-mounted fold-down ironing boards are a game changer in small laundry rooms. You buy a fold-down mount kit for about $40 to $60, attach a narrow board to it, and fold it up flat against the wall when you’re done. Takes up almost no space when stored.
When I tried this in my own space I was surprised how much it freed up floor room. The fold-down mechanism is straightforward and most kits come with hardware. Cut the board to 48 inches long by 14 inches wide. Sand it smooth, add a thin pad and a piece of cotton cover fabric, and staple the fabric around the back. Done.
More Ideas:
7. Add a Clothes Rod for Air Drying
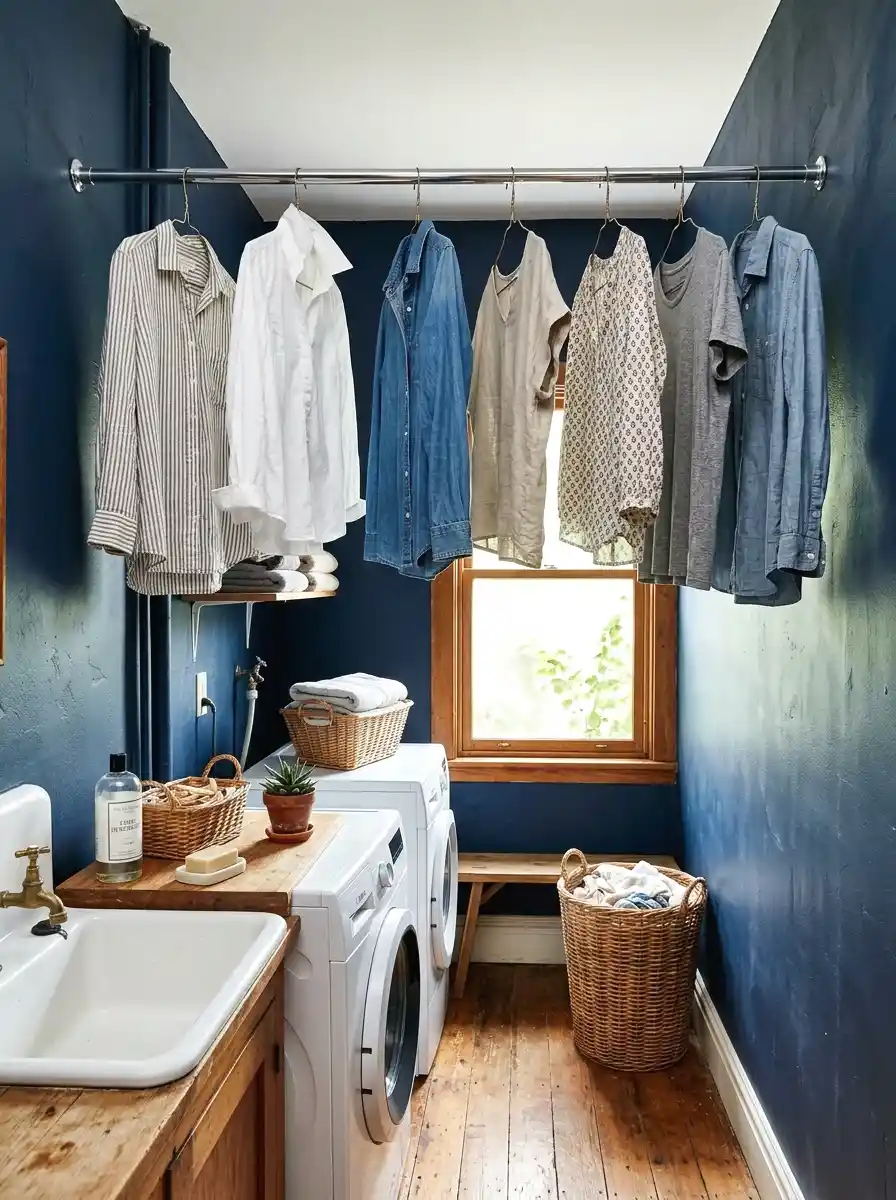
A single tension rod or a wall-mounted rod for hanging clothes to dry saves so many trips to the closet. Mount it between two walls if your laundry room has a narrow space, or use a ceiling-mounted rod system if the ceiling is open enough. This costs $15 to $35 and pays for itself fast.
Choose a rod rated for at least 20 lbs. Hang it high enough to clear the machines but low enough to reach comfortably. Clothes on hangers drip less than items laid flat and this keeps everything off the top of the dryer where things tend to get buried and forgotten.
If you want to take this further, there are several ways to hang and dry clothes efficiently that work even in the tightest rooms.
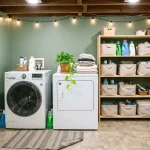
8. Label Your Storage Containers
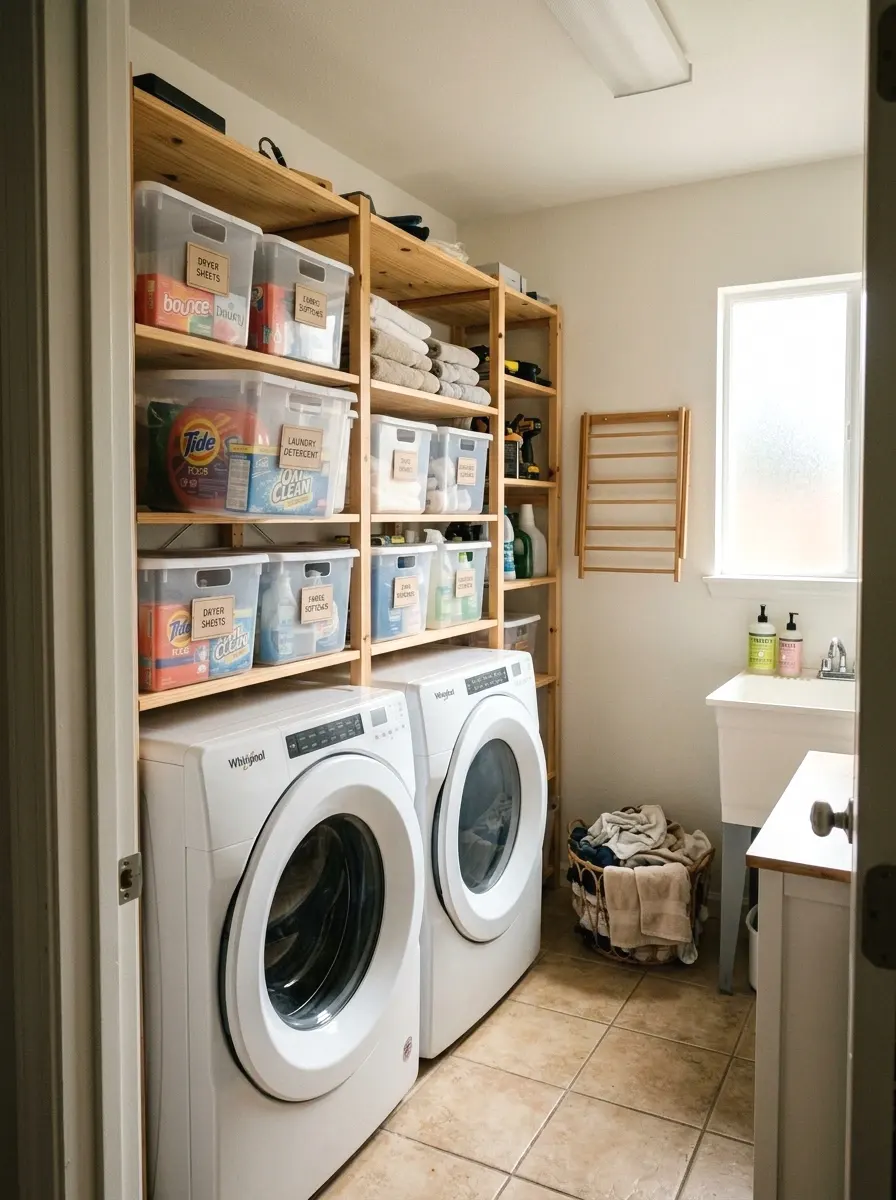
This is so underrated. Clear bins and baskets look fine on a shelf, but once you add a clean printed or handwritten label, the whole thing looks considered. Print labels on card stock, laminate them, and clip them to the front of each bin. Or use a label maker.
Separate bins for delicates, darks, sport clothes, and items to hand wash. When you can find things fast and put them back in the right spot, the room stays organized longer. Labels also help other people in the house use the space correctly. Cost is almost nothing, maybe $10 for a pack of printable labels or a basic label maker.
Pairing a good labeling system with the right bins is part of a bigger approach to storage that keeps a laundry room tidy long term.
9. Put Down a Washable Runner Rug
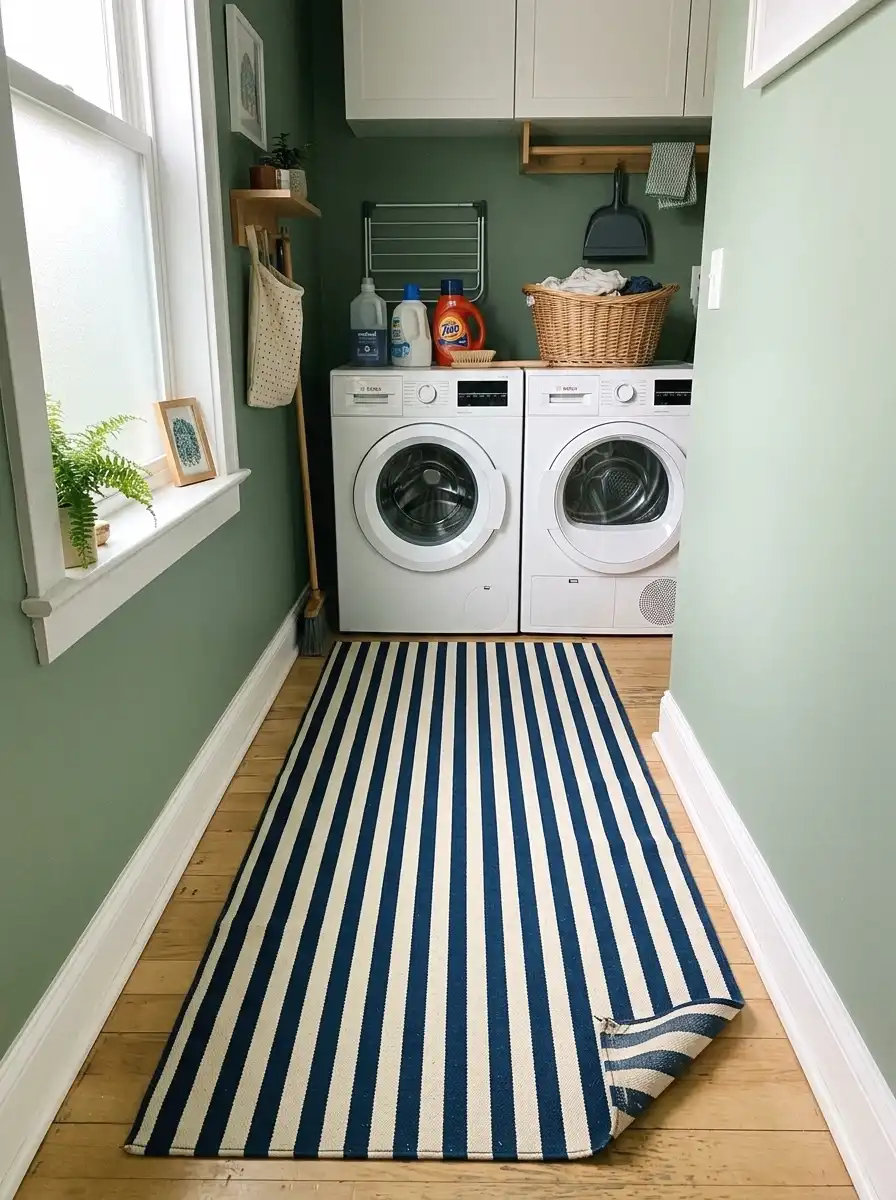
Standing on bare tile or concrete for 20 minutes of folding gets old fast. A washable cotton runner in a bold stripe or a simple pattern adds color underfoot and is easy to clean since it can go right in the machine. Look for ones around 20 by 60 inches, which fits most laundry room floors without blocking cabinet doors.
Prices range from $20 to $50 for a decent washable option. Avoid anything with a rubber backing in a high-heat room since it can warp over time. A flat-woven cotton or chenille runner handles washing and drying better.
10. Mount a Slim Cabinet or Tall Pantry Shelf
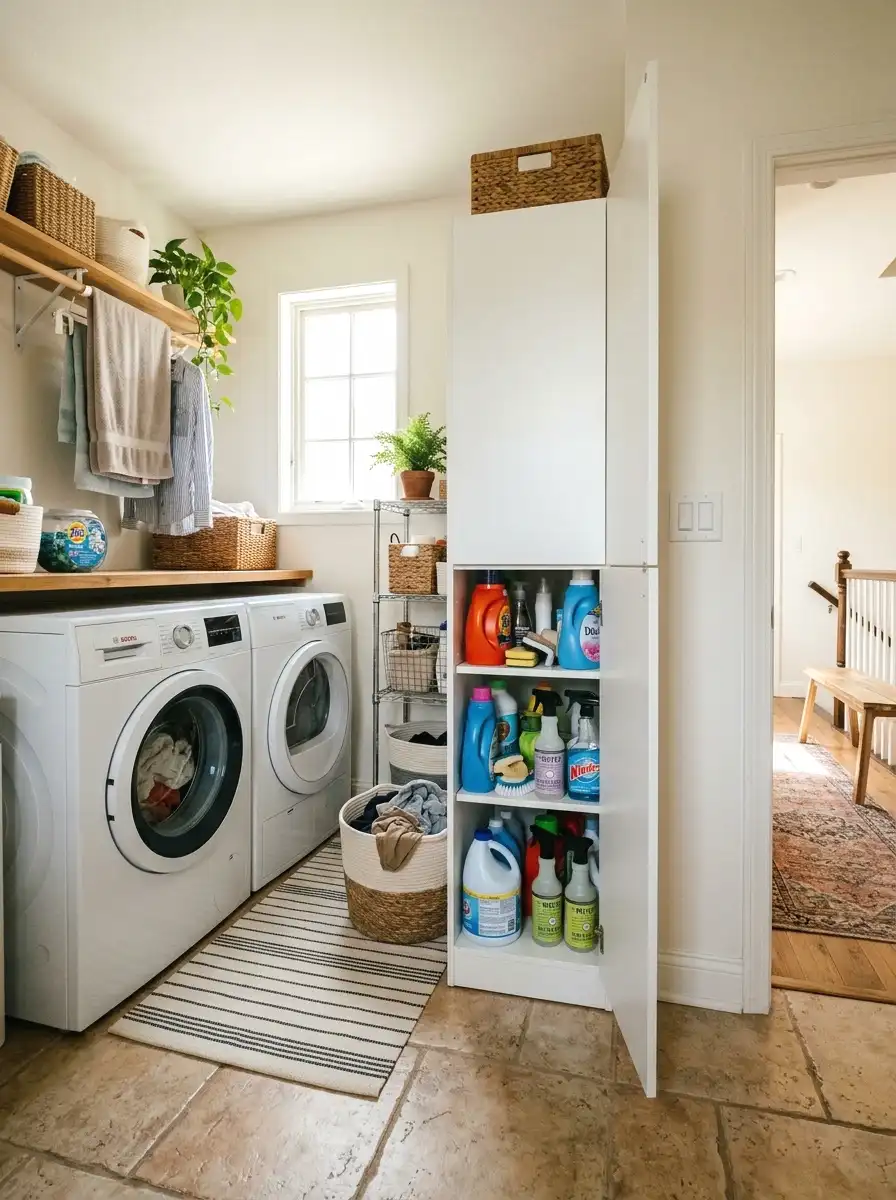
If you have six or more inches of wall space next to your machines, a slim cabinet fits there without blocking anything. Ikea’s SEKTION narrow cabinets and Homedepot’s stock cabinets both have 12-inch-deep options that work perfectly. This is on the higher end of the budget at $80 to $150 but gives you a ton of closed storage.
Use it for cleaning products you don’t want visible, extra detergent, lightbulbs, or anything that doesn’t need to be out in the open. A cabinet door also hides the visual clutter, which matters in a small room where everything is visible from the doorway.
More Ideas:
11. Hang Framed Art on the Wall
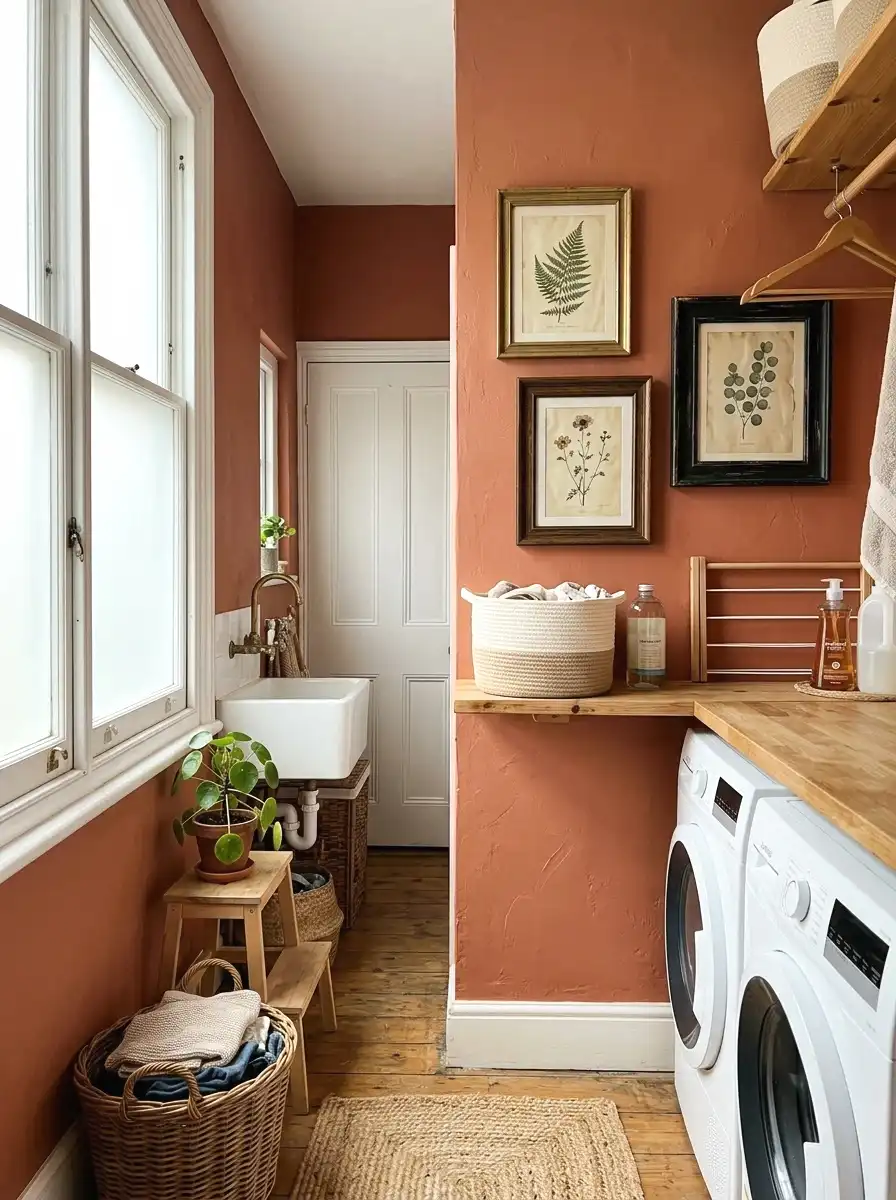
Yes, art. In the laundry room. It sounds extra but it works. A small gallery wall of two or three framed prints turns dead wall space into something that makes people stop and smile. I was skeptical about this one but after hanging a trio of botanical prints above the shelf in my laundry room, multiple people commented on it.
Use frames from the thrift store and print free vintage botanical or typographic art from sites like Canva or Unsplash. Keep frames the same color even if the sizes vary. Total cost can be under $20 if you source frames secondhand and print at home or at a library.
12. Install a Utility Sink Skirt
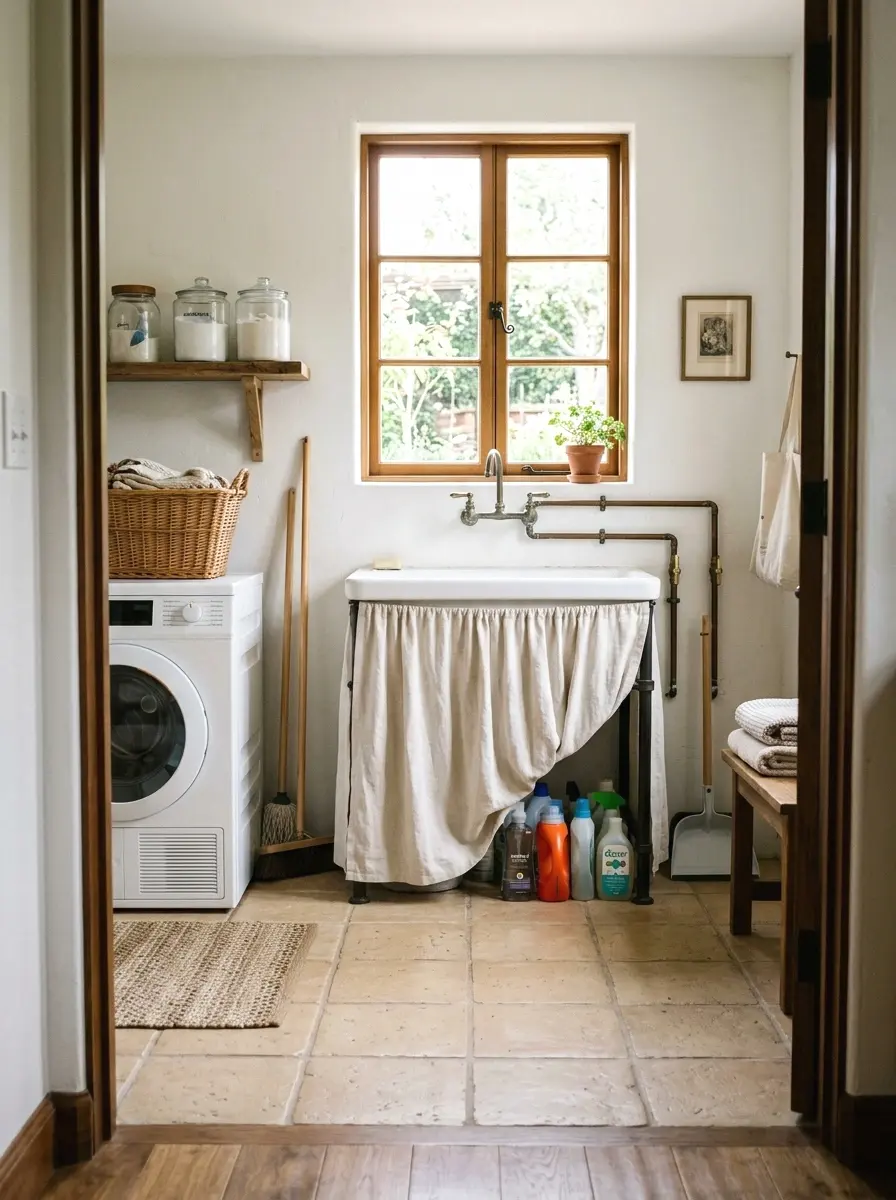
If your laundry room has a freestanding utility sink, the plumbing underneath is probably not something you want to look at. A simple fabric skirt solves this instantly. Cut fabric to fit around the sink base, use adhesive hook-and-loop tape to attach it, and it looks like it was designed that way.
Choose a fabric that matches your color palette. Linen, cotton canvas, or even a drop cloth all work well. This costs about $15 to $30 depending on fabric price. It also creates hidden storage behind the skirt for cleaning supplies you want out of sight but still within reach.
13. Add a Magnetic Strip for Small Items
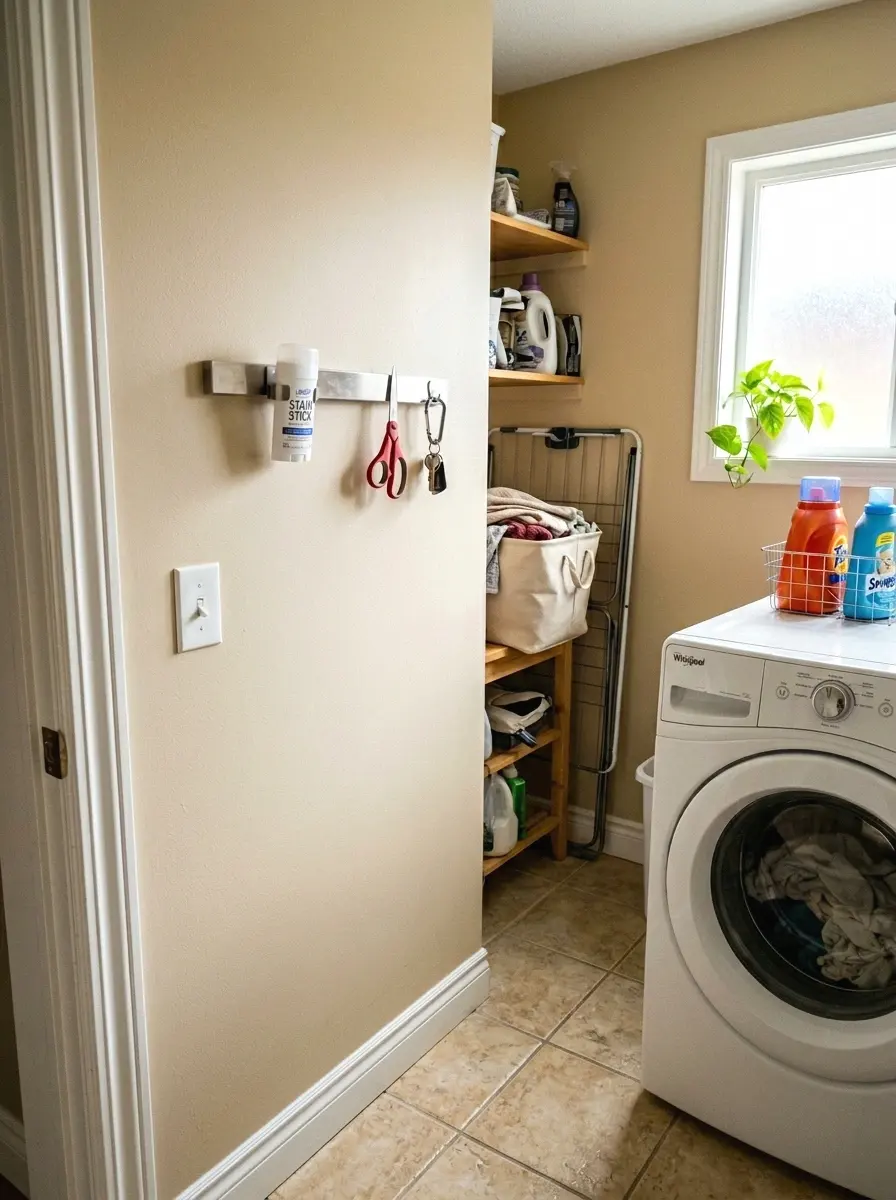
A magnetic knife strip mounted on the wall holds small metal items in the laundry room that would otherwise vanish. Stain remover sticks, a small pair of scissors, bobby pins, forgotten coins. Mount it at eye level on a side wall and suddenly there’s a dedicated spot for those things.
Magnetic strips cost $10 to $20 and mount with two screws into studs or with heavy-duty adhesive strips. This is one of those small changes that sounds trivial until you stop losing things. (Took me ages to figure this out. I used to find scissors in three different places.)
14. Paint or Wallpaper the Interior of a Cabinet
Here’s what nobody tells you about budget decorating: paint the inside of things. If you have a cabinet above the washer, paint the interior a bold color or wallpaper it with a peel-and-stick sheet. When the door opens you get a little hit of color that feels intentional and designed.
This works especially well with a matte navy, terracotta, or forest green interior against white cabinet exterior panels. The cost is almost zero if you have leftover wall paint. It takes 30 minutes and makes the cabinet look custom instead of builder-grade.
More Ideas:
15. Create a Lost Sock Holder
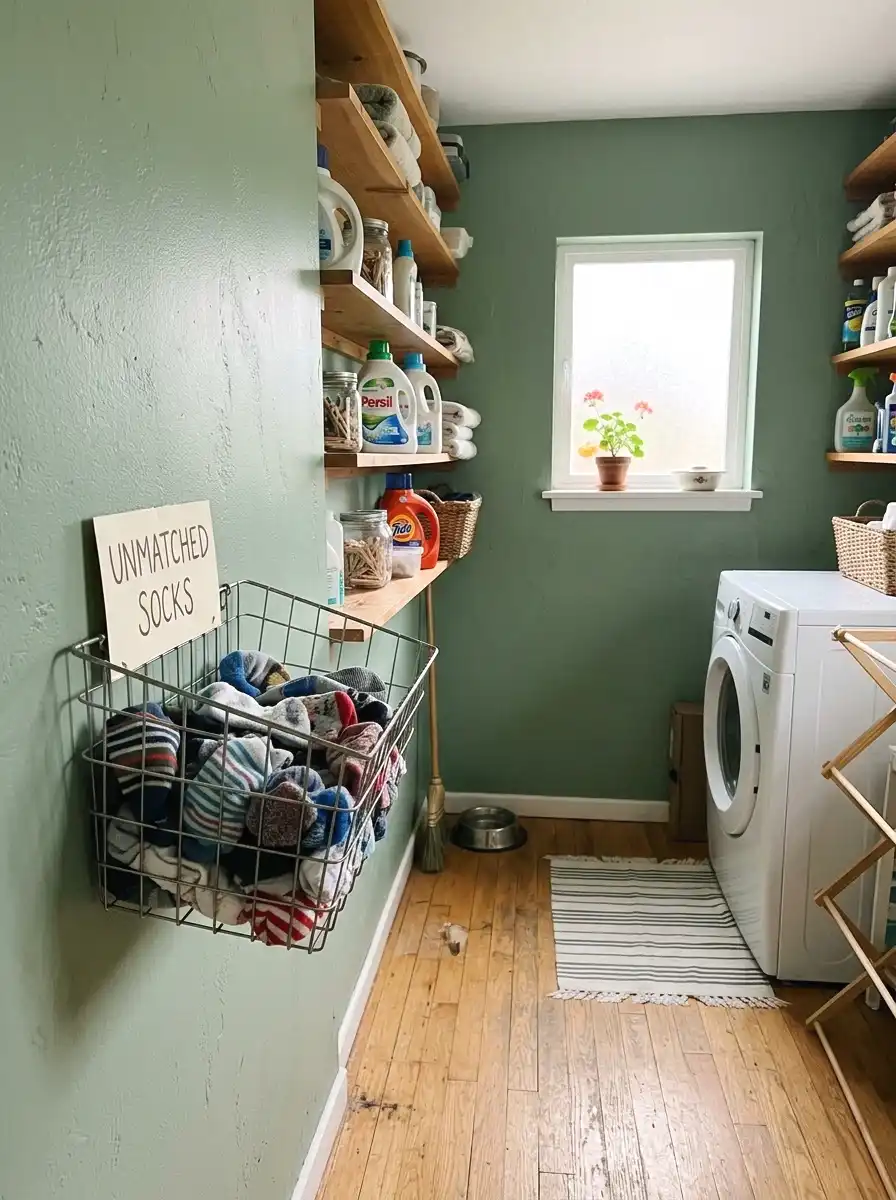
A small basket, jar, or fabric pouch mounted on the wall labeled “lost socks” is more functional than it sounds. Every household has them. Having a dedicated spot means you stop leaving singles on top of the dryer where they get knocked off and lost under the machine.
Mount a small wire basket to the wall with two screws, or use a small fabric bin that sits on the shelf. This costs under $10 and solves a genuinely annoying problem. Match it to the rest of your bin and basket color palette so it fits the room instead of looking like an afterthought.
16. Install Cord Management Along the Wall
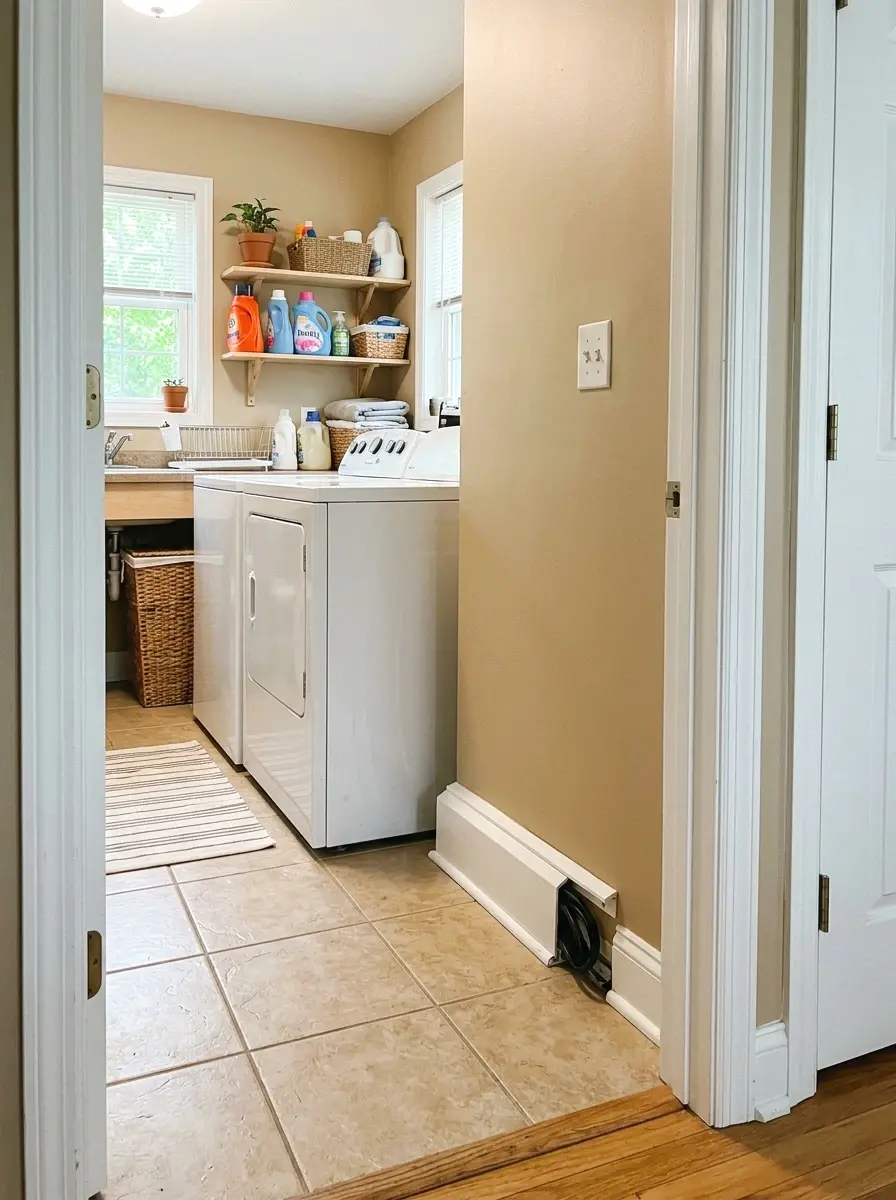
Washer and dryer cords are ugly. So are the hose connections. Running the cords along the wall with adhesive cable channels ($8 to $15 at any hardware store) and painting the channels to match the wall makes them almost invisible. It takes 20 minutes and the difference is worth it.
While you’re back there, make sure the hoses are in good shape and the connections are secure. This is also a good time to check that the dryer vent hose isn’t kinked. The cord management step is mostly cosmetic but it signals that the whole room has been thought through, which is half of what makes a room feel finished.
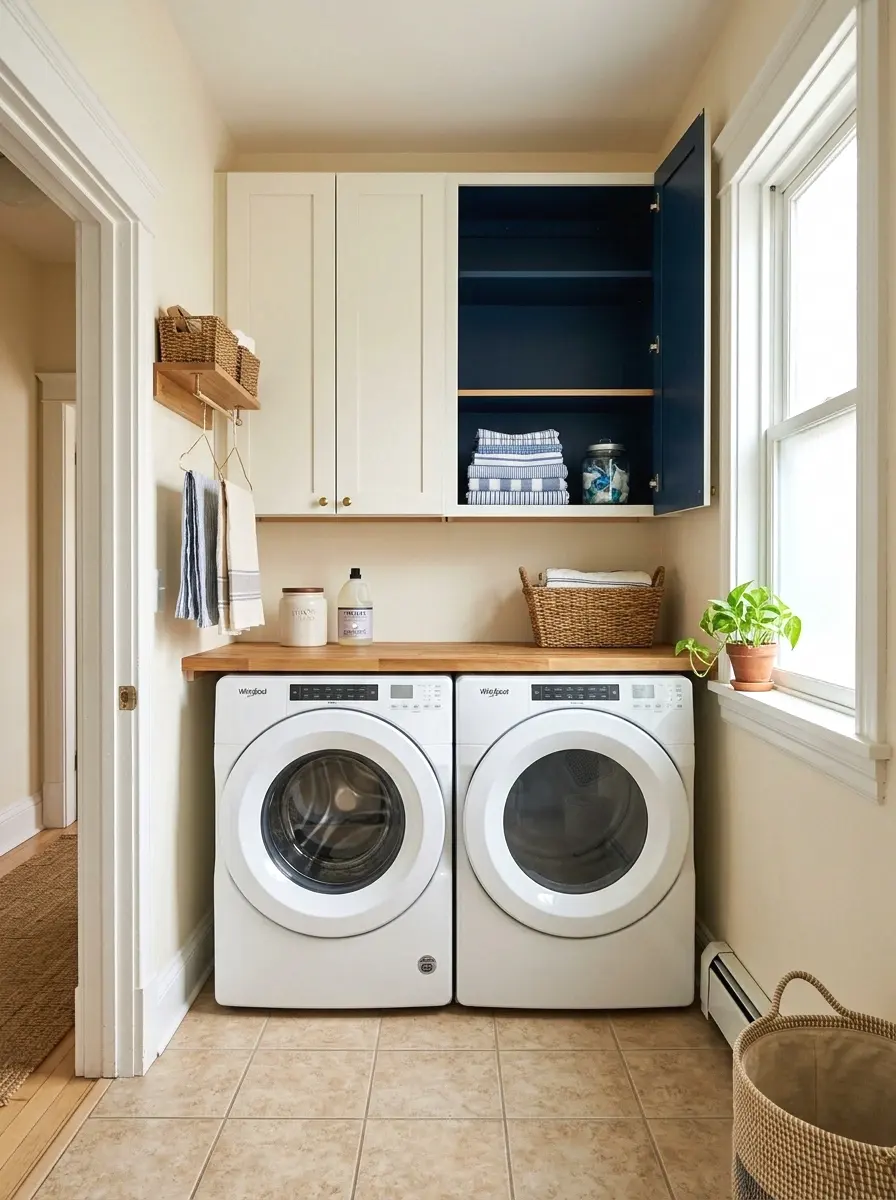
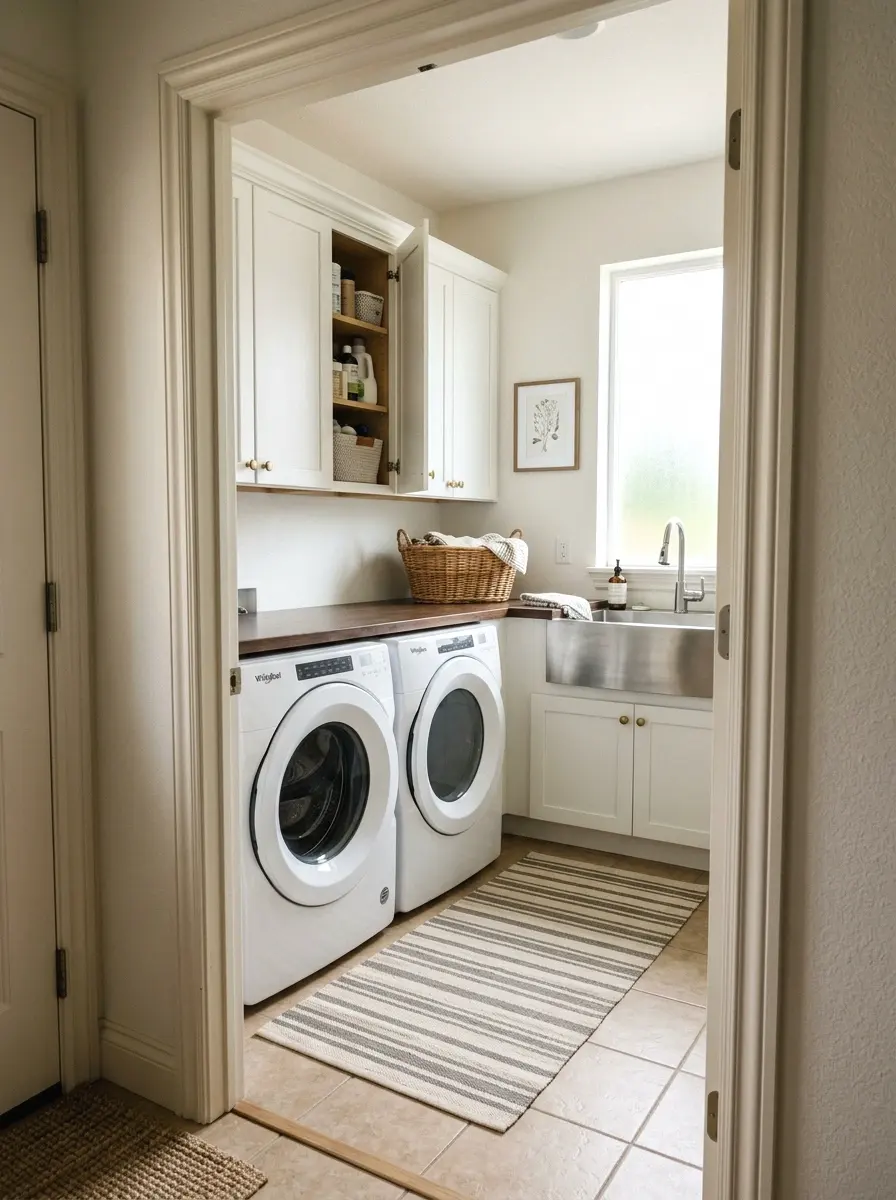
17. DIY a Countertop Over a Front-Load Setup
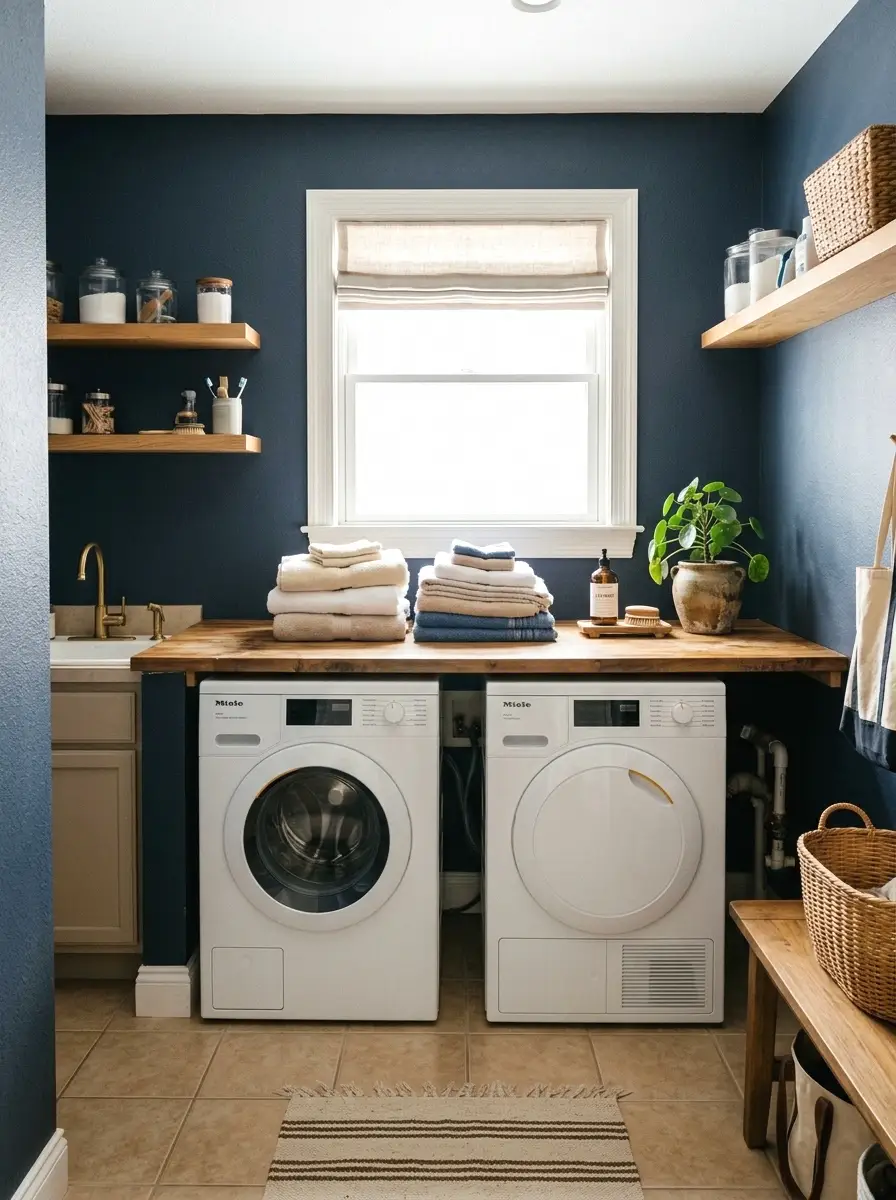
Front-load washers and dryers side by side are the perfect base for a countertop. A slab of butcher block or a piece of MDF with a laminate finish cut to size sits on top and gives you real folding surface. This is one of the highest-impact DIYs in this whole list.
A 24×50 inch butcher block top runs $60 to $100. Cut to fit, sand the edges, seal with a food-safe oil or water-based polyurethane, and set it in place. It doesn’t need to be bolted down. The machines hold it steady. The result looks like a real laundry setup that someone designed on purpose.
There are also some clever folding counter setups that use dead space in ways most people don’t think to try.
18. Add Plants or Faux Botanicals
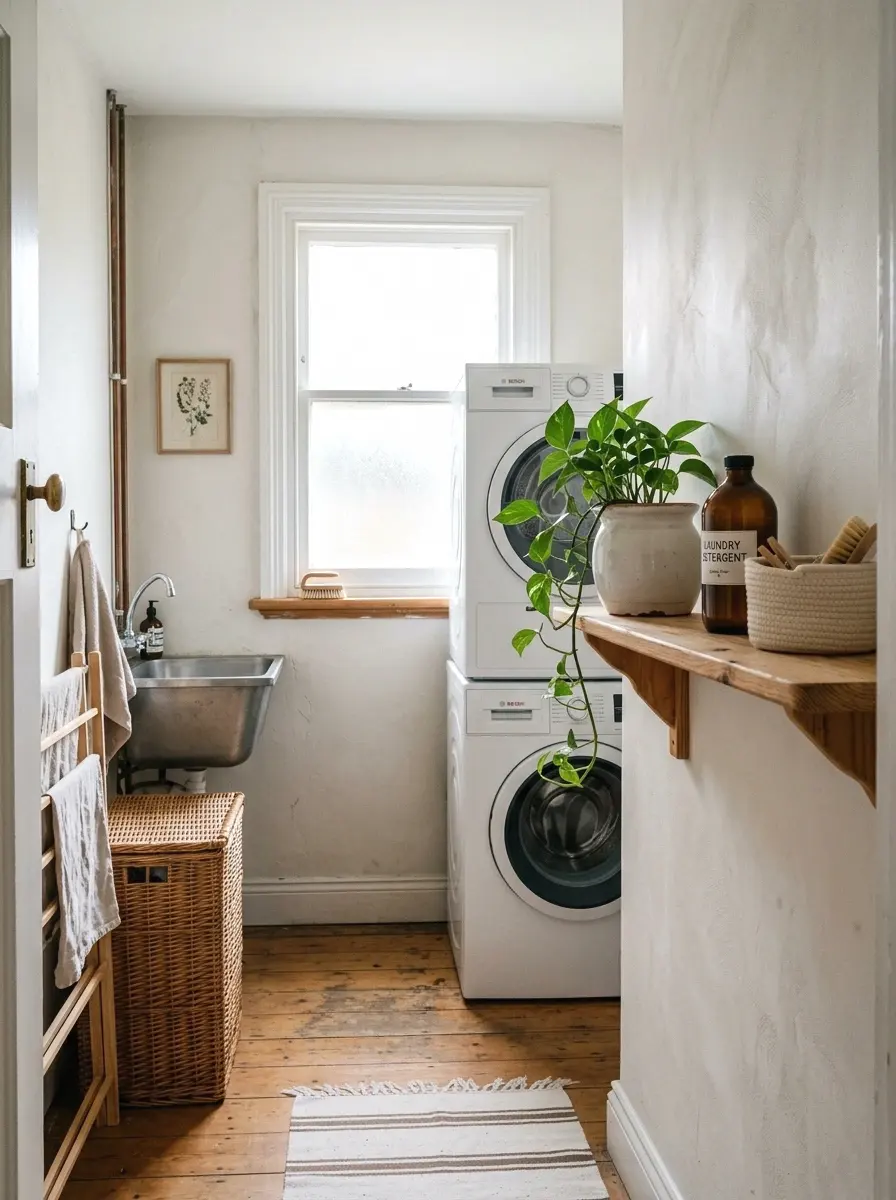
Plants in a laundry room work if there’s even indirect light near a window or a skylight. Pothos, snake plants, and spider plants all tolerate the humidity well and need minimal light. A small plant on the shelf adds softness and breaks up the hard lines of appliances and shelving.
If there’s no natural light at all, a good quality faux plant does the job. Look for ones with real-texture leaves rather than the shiny plastic types. A 6-inch pothos in a ceramic pot costs about $12 at a nursery. Or a good faux version runs $15 to $25. Either way, it changes the energy of the room fast.
More Ideas:
19. Use a Wall-Mounted Drying Rack

A folding wall-mounted drying rack is different from a hanging rod. It extends out from the wall on a hinge and holds multiple items on parallel bars. When you’re done it folds flat, about 3 inches from the wall. These are widely used in European homes and starting to show up in smaller American spaces.
While you’re thinking about wall-mounted solutions, there’s a good collection of wall storage ideas for tight laundry spaces that covers more than just drying racks.
They run $30 to $70 depending on size and finish. Look for one that holds at least 20 lbs and comes with mounting hardware. A matte black or brushed chrome finish both look really clean against a painted wall. Mount it at shoulder height so reaching across the bars is comfortable.
20. Refresh the Hardware on Existing Cabinets
If you already have upper cabinets in the laundry room, new hardware is the cheapest upgrade you can make. Pull off the old knobs or handles and replace them. Brushed brass, matte black, ceramic, or leather pulls all land differently and change the feel of existing cabinets without touching the doors themselves.
Budget around $2 to $5 per pull or knob. A row of 6 cabinet handles runs $15 to $30 total. The swap takes about 15 minutes with a screwdriver. And honestly, if the doors are beat up, a coat of satin paint in the same color as the walls or a contrasting color is the move right after that.
If you’re painting the doors, there’s a helpful guide on cabinet color options that elevate the room without a full replacement.
Final Thoughts on Laundry Room Decor DIY
You’ve got 20 ideas here that cover every angle of this room. The main themes running through all of them are storage, light, and the details that signal someone actually cared. You don’t need all 20. Pick three to five that fix your specific frustrations and do those well.
Start with whatever is bothering you most right now. For most people that’s storage or lighting. One shelf above the machines or one new light fixture this weekend is enough to start seeing the room differently. Small and specific beats waiting for the perfect moment to overhaul everything.
If you want more ideas like this, homelypop.com has rooms covered from every angle and every budget range.
The laundry room section in particular has more room transformations at every budget if you want to keep going.