

22 Inexpensive Backsplash Ideas That Look High-End on a Low Budget
Your kitchen walls look unfinished and you know it. That gap between the counter and the cabinets feels like a project you’ve been putting off for years, mostly because every backsplash you’ve looked at online costs more than your grocery budget for the month. It’s not inspiring. It’s just expensive.
This list pulls together 22 inexpensive backsplash ideas that are actually worth doing. Each one was chosen because it works in a real kitchen, not a showroom. I looked at what homeowners and renters are actually trying, what holds up, what photographs well, and what you can do on a weekend without hiring anyone. Budget ranges are in there throughout, from under $30 to around $300.
This list is for you if your budget is roughly $100 to $300 for the whole wall. It’s not for people doing a full gut renovation. But if you want results that look real and polished, they’re absolutely possible here.
By the end, you’ll know exactly which backsplash option fits your kitchen, your skills, and your wallet.
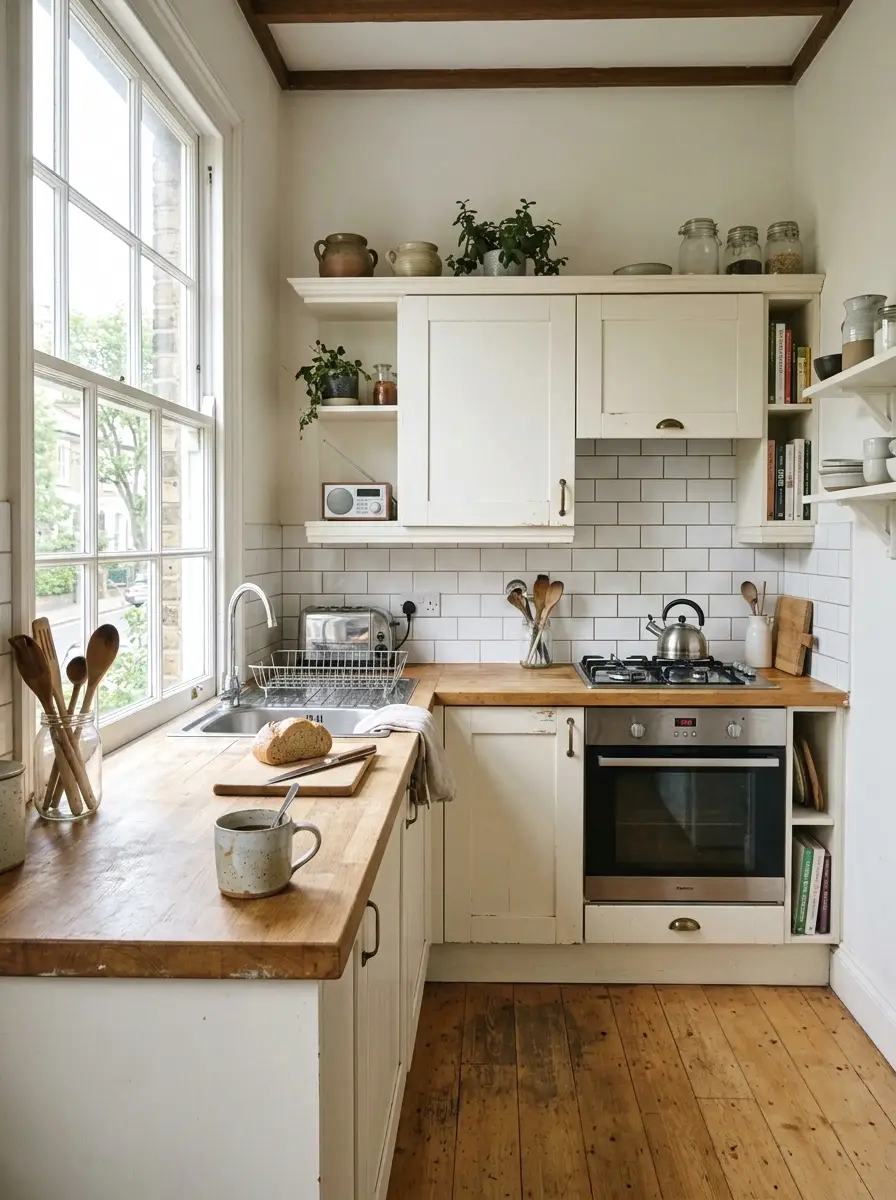
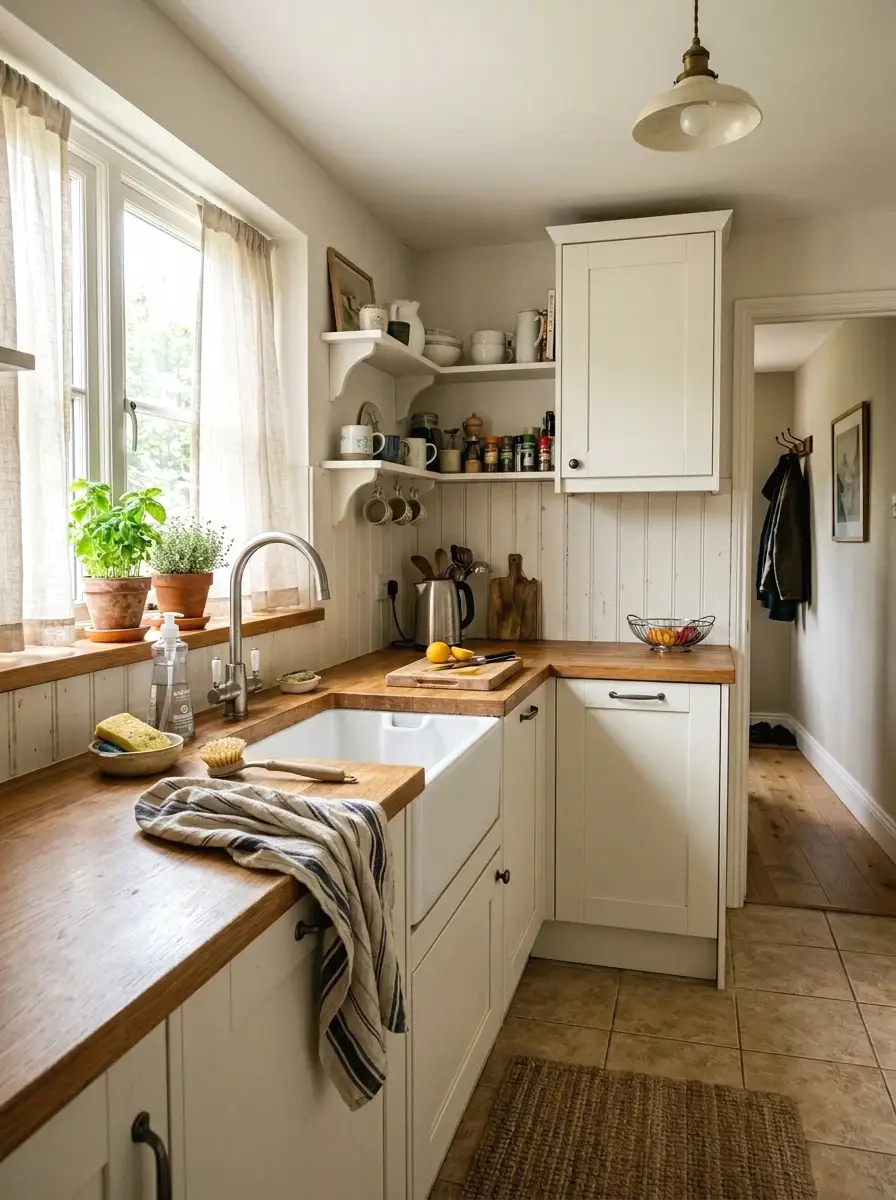
If you’re working with a tight footprint, there are plenty of small kitchen walls worth transforming on almost no budget.
What to Know Before You Start a Backsplash
- Most kitchen backsplashes cover 30 to 40 square feet, so calculate your area first.
- Peel-and-stick tiles average $2 to $5 per square foot, making a full wall under $150.
- Renters should always test adhesive on one hidden tile before committing.
- Grout color changes the whole look. Darker grout reads as intentional and hides dirt longer.
- Most people underestimate prep time. Cleaning and priming the wall takes as long as the install.
- Stick-on tiles over textured walls won’t hold. Sand lightly or skim coat first.
- Sealing any backsplash near the stove adds years to its life. $10 sealant. Worth it.
1. Peel-and-Stick Subway Tiles
Peel-and-stick subway tile is probably what most people start with when they search for cheap backsplash options. And for good reason. It genuinely looks like the real thing from three feet away, especially in white or cream. You’re paying somewhere between $30 and $80 for the whole wall depending on the brand and size of your space.
The trick is in the prep. Clean the wall with TSP cleaner or a degreaser, let it dry fully, and then don’t skip the grout lines. A lot of the peel-and-stick sets come with grout pen markers. Use them. That detail is what takes it from “oh that’s fake” to “oh wait, is that tile?” Takes a weekend, no special tools.
2. Beadboard Panels
Beadboard is that vertical ridged paneling you’ve probably seen in cottage or farmhouse kitchens. It costs about $15 to $25 per 4×8 sheet at any hardware store, and one or two sheets covers most kitchen backsplash areas. You cut it to size, nail or glue it on, and paint it whatever color works with your space.
White is classic, but I’ve seen it done in a deep navy or sage and it looks really nice. It’s wood-based, so you do want to seal it with a water-resistant paint or primer near the sink. If you’re a renter, use construction adhesive in small dabs and it peels off reasonably cleanly when you leave.
More Ideas:

3. Painted Brick Effect with Sponge Technique
So here’s one most people overlook. You don’t need brick. You just need paint, a rectangular sponge, and a Saturday afternoon. The sponge technique lets you stamp a brick pattern directly onto your wall using two colors, usually a base cream or terracotta and a darker grout-line color applied between stamps.
The total cost is under $20 if you already own basic painting supplies. It’s forgiving because imperfection reads as texture. When I tried this in my own space, I was honestly surprised how much depth it created compared to just a flat painted wall. Takes practice on a piece of cardboard first, then it goes fast.
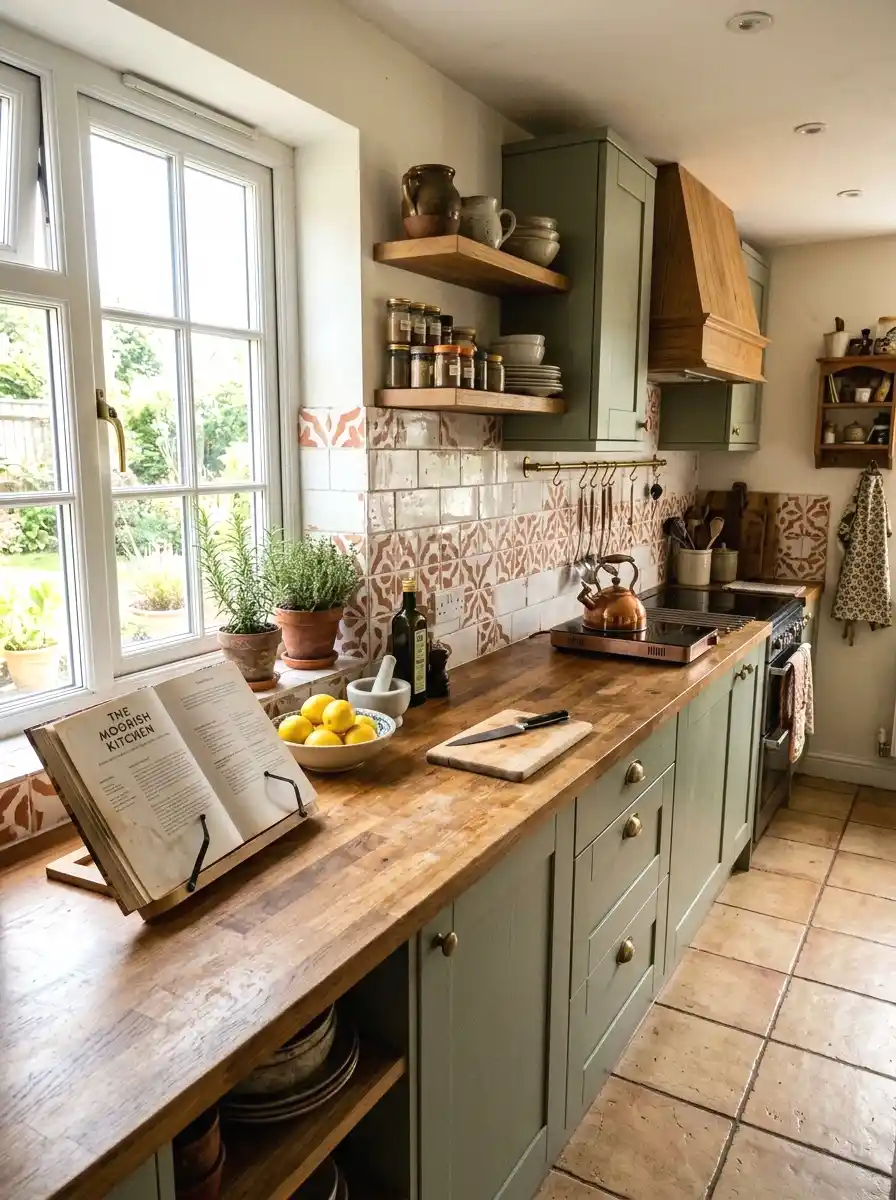
4. Vinyl Wallpaper with Tile Print
Tile-print vinyl wallpaper has gotten genuinely good in the last couple of years. We’re not talking about the flat, obviously fake stuff. The better versions have texture printed into them and hold up to light splashing around the sink. A roll runs about $25 to $45 and covers around 56 square feet.
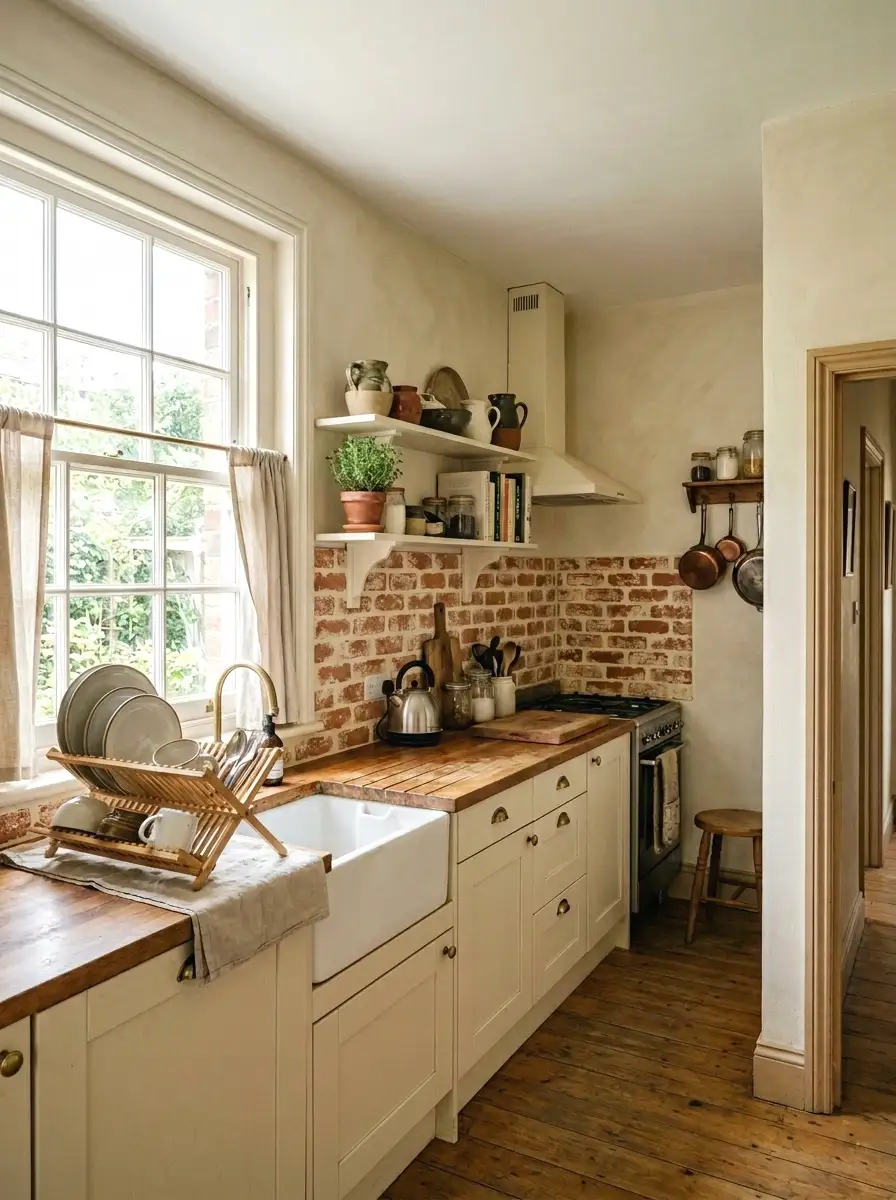
You can find patterns that mimic cement tile, Moroccan tile, classic subway, and even zellige-style tiles. Zellige is that slightly uneven handmade Moroccan ceramic look you see in higher-end kitchens. The vinyl version gets you 80% of the way there for under $50. It pastes on like regular wallpaper and peels off cleanly.
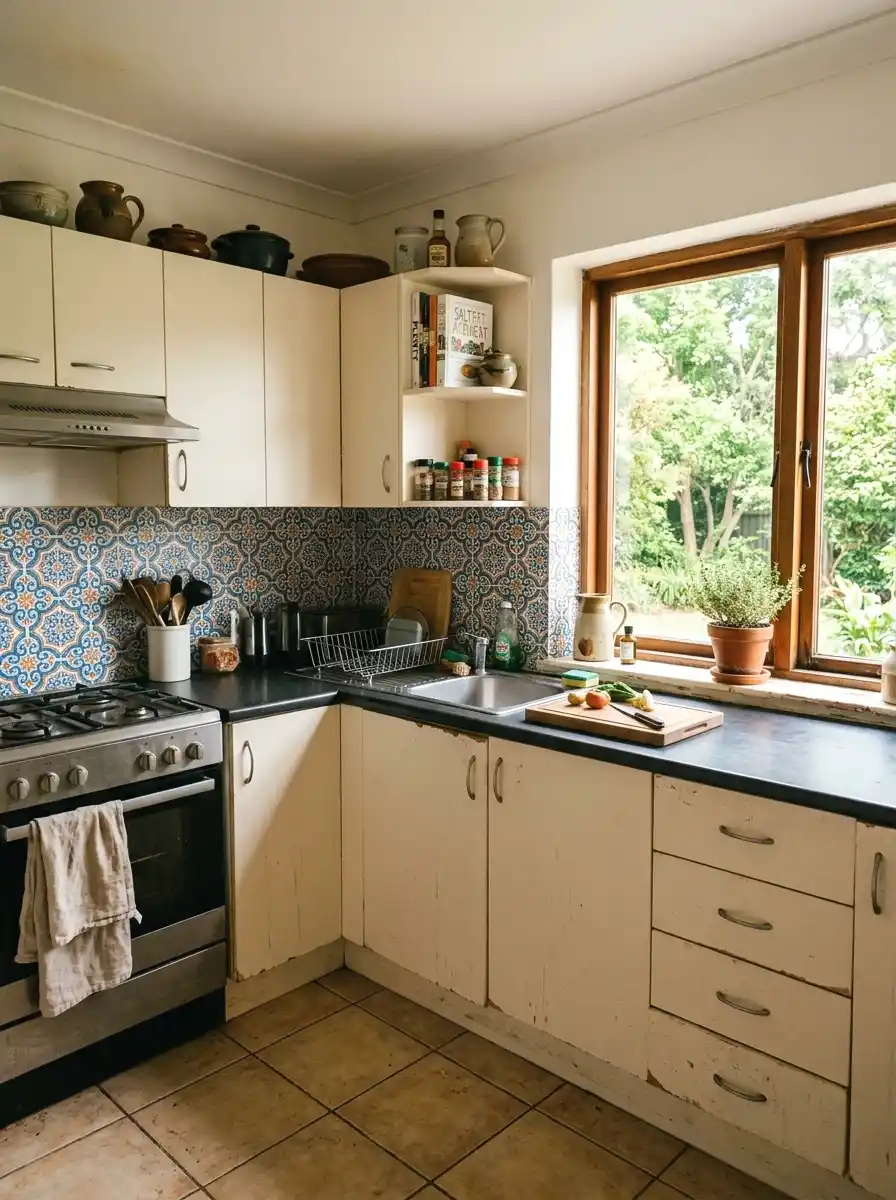
5. Pressed Tin Ceiling Tiles Repurposed as Backsplash
Pressed tin tiles are meant for ceilings but they work brilliantly on kitchen walls. They come in punched geometric patterns, usually in sheets around 2 feet by 4 feet, and cost about $10 to $20 per panel. A full backsplash runs $50 to $100 depending on the size of your wall.
You can leave them silver for a retro industrial feel, paint them matte black for something more dramatic, or go antique bronze for a warm vintage kitchen look. They nail on or go up with construction adhesive. (this one is so underrated) They clean easily and hold up well near heat and moisture. Plus they add actual dimension to the wall, which flat options can’t do.
6. Shiplap Boards
Shiplap is those horizontal boards with small gaps between them that you see constantly in farmhouse-style kitchens. The wood boards themselves are cheap, around $1 to $2 per linear foot at a lumber yard, or you can buy pre-primed shiplap planks from big box stores for slightly more.
For a kitchen backsplash, you’re working in a small, focused area, which makes this project very manageable even if you’re not super experienced with woodworking. Paint it white or a soft off-white and seal it well. The horizontal lines make a kitchen feel wider. It’s a classic look that doesn’t go out of style, and it costs about $60 to $120 installed by yourself.
If you lean toward that aesthetic, there are farmhouse tile looks that hold up just as well with more traditional finishes.
More Ideas:
7. Stenciled Pattern on Painted Wall
A stencil is just a reusable plastic sheet with a cut-out pattern. You hold it against the wall, dab paint through the openings, and repeat across the surface. The result looks like hand-painted tile or wallpaper, and the stencil itself costs about $15 to $30 online. The paint costs another $10.
The key is using a nearly dry brush or foam roller so the paint doesn’t bleed under the stencil edges. Geometric or Moroccan-style patterns are the most popular for kitchen backsplashes. Do two coats, let the base dry between. The whole wall takes maybe three to four hours once you’ve got a rhythm. Total cost is well under $50.
There’s a wide range of Moroccan and geometric patterns for kitchens if you want to browse before committing to one direction.
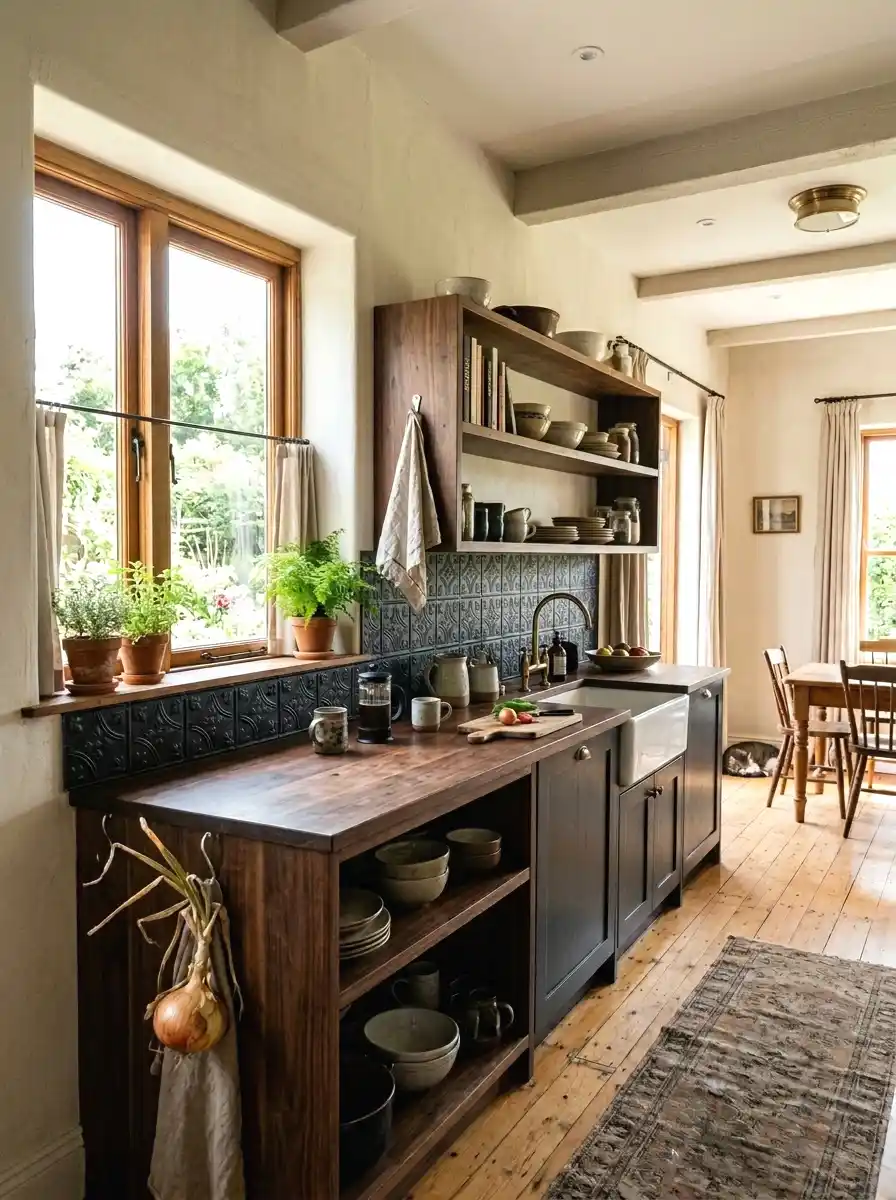
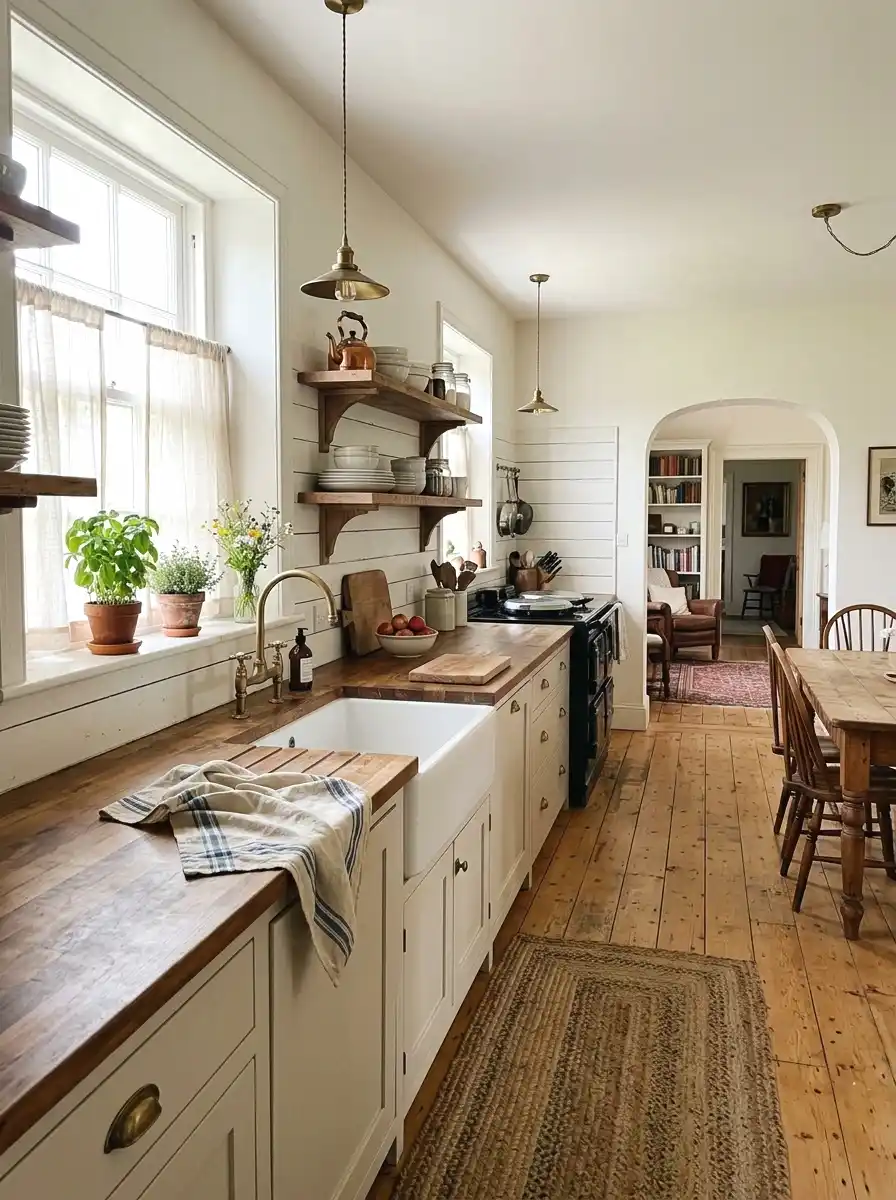
8. Reclaimed Wood Planks
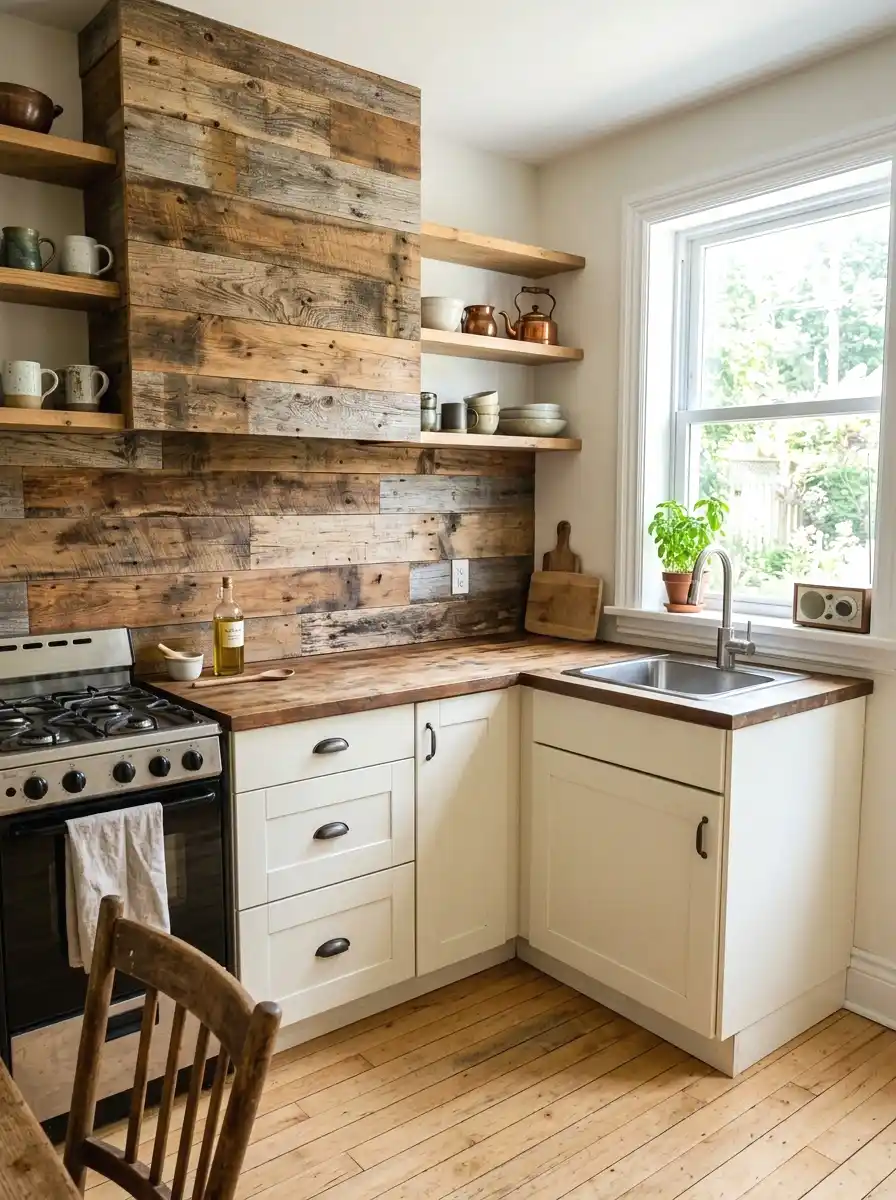
Reclaimed wood gives a kitchen that warm, collected-over-time feel that no new material really replicates. You can find actual reclaimed barn wood on Facebook Marketplace or Craigslist for almost nothing. Sometimes it’s free. Sand the boards, seal them with a food-safe wood sealer or polyurethane, and attach them horizontally.
Keep reclaimed wood away from directly behind the stove if possible. Near the sink is fine as long as it’s sealed properly. The look is rustic but grounded, and because no two boards are exactly the same color or grain, it reads as intentional and artisan-made. Total cost if you source locally can be under $40.
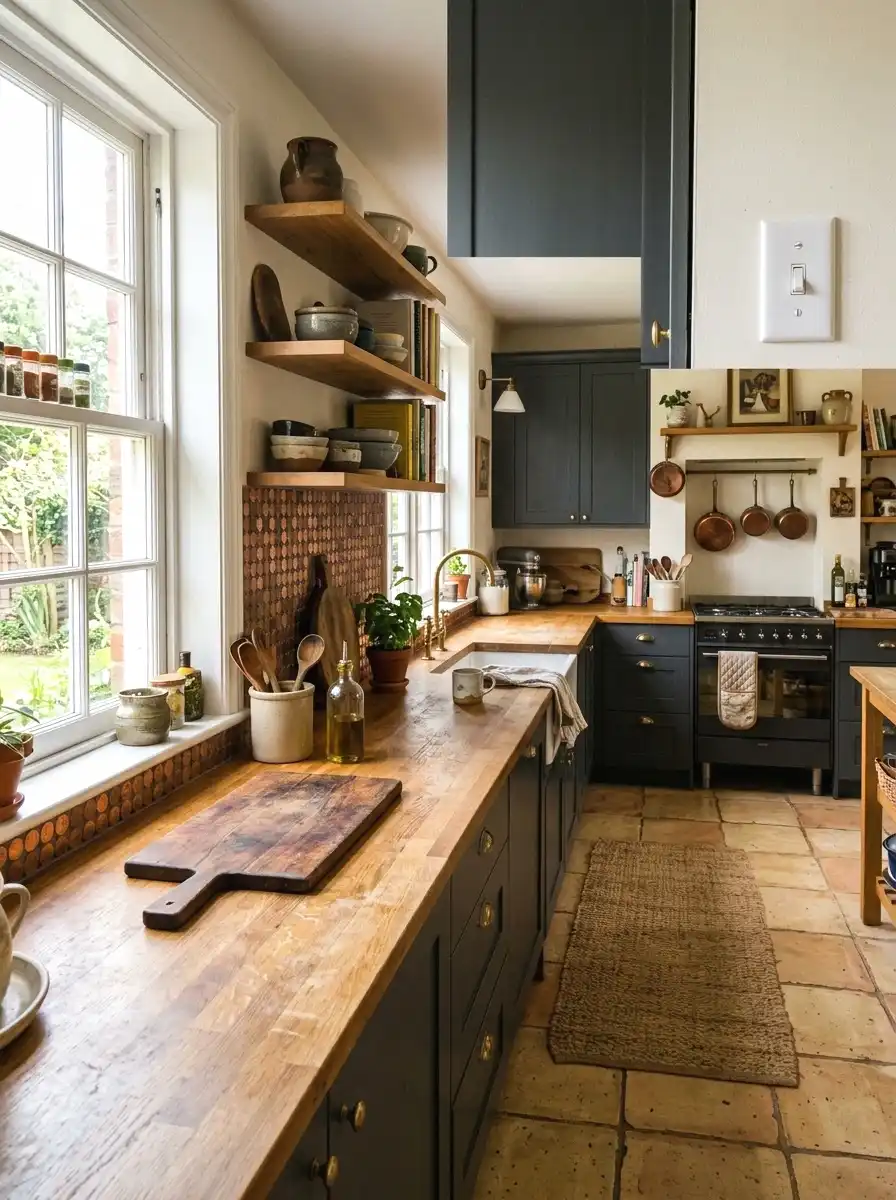
9. Peel-and-Stick Stone Veneer
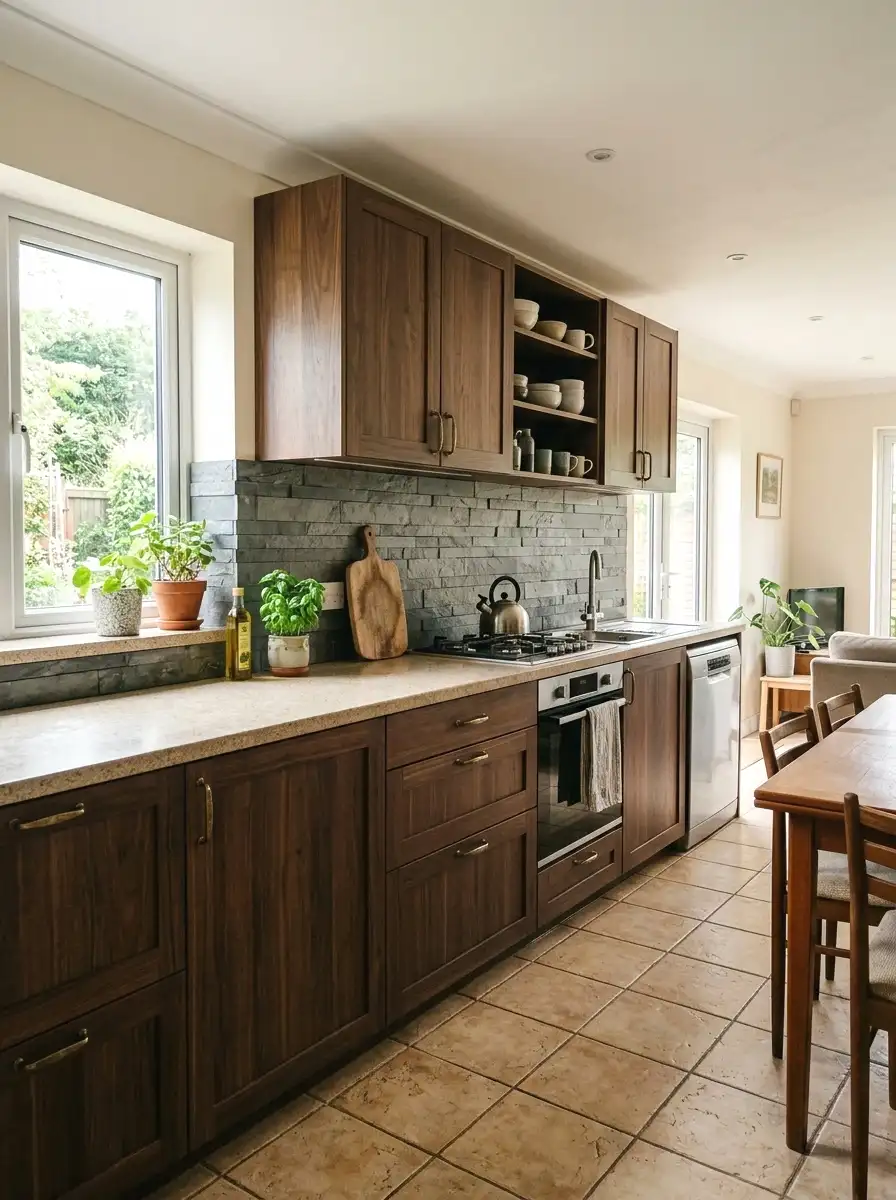
Stone veneer peel-and-stick panels are thicker and more textured than regular peel-and-stick tile, and they actually hold up well near heat when applied properly. They mimic the look of stacked stone or slate for around $3 to $6 per square foot. A standard backsplash area runs about $90 to $180 total.
I was skeptical about this one but the weight and texture surprised me. It doesn’t feel like a sticker at all. The panels interlock at the edges so there’s no obvious seam. The look works especially well in kitchens with dark wood cabinets or open shelving with darker finishes. It adds real visual weight to the space.
If warm wood tones behind open shelving is a direction you’re drawn to, rustic backsplash styles pair naturally with that setup.
10. Painted Chalkboard Wall
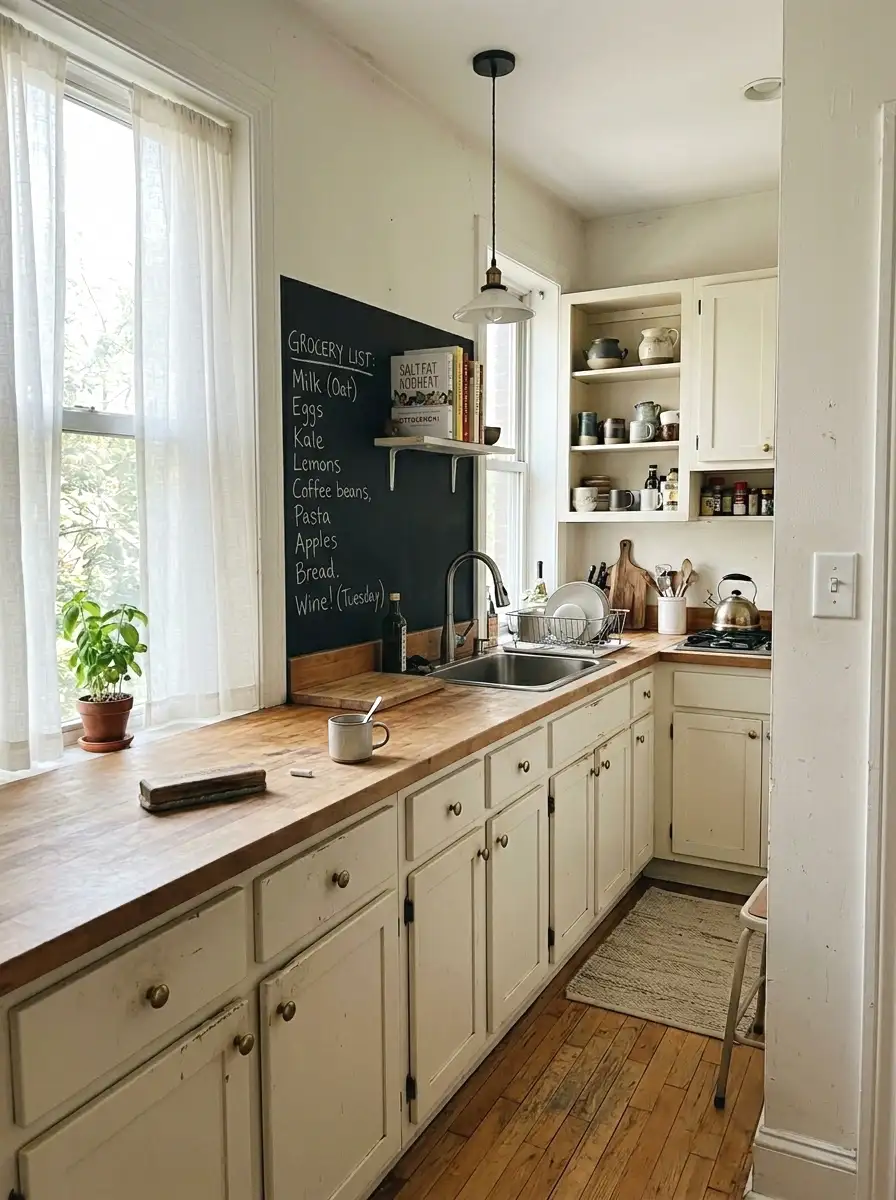
Chalkboard paint in the backsplash zone is a small, practical choice that gets a lot of use. A quart of chalkboard paint costs about $15 to $20 and covers the area easily. It’s magnetic in some versions too, which adds another layer of function.
The look is intentionally graphic. It gives the kitchen a slightly studio or creative feel rather than a traditional one. The key is to “season” the chalkboard first by rubbing chalk sideways across the whole surface and then erasing it before you write on it. Skipping that step leads to permanent ghost marks. It also cleans up easily and repaints just as easily if you change your mind.
More Ideas:
11. Concrete-Effect Paint
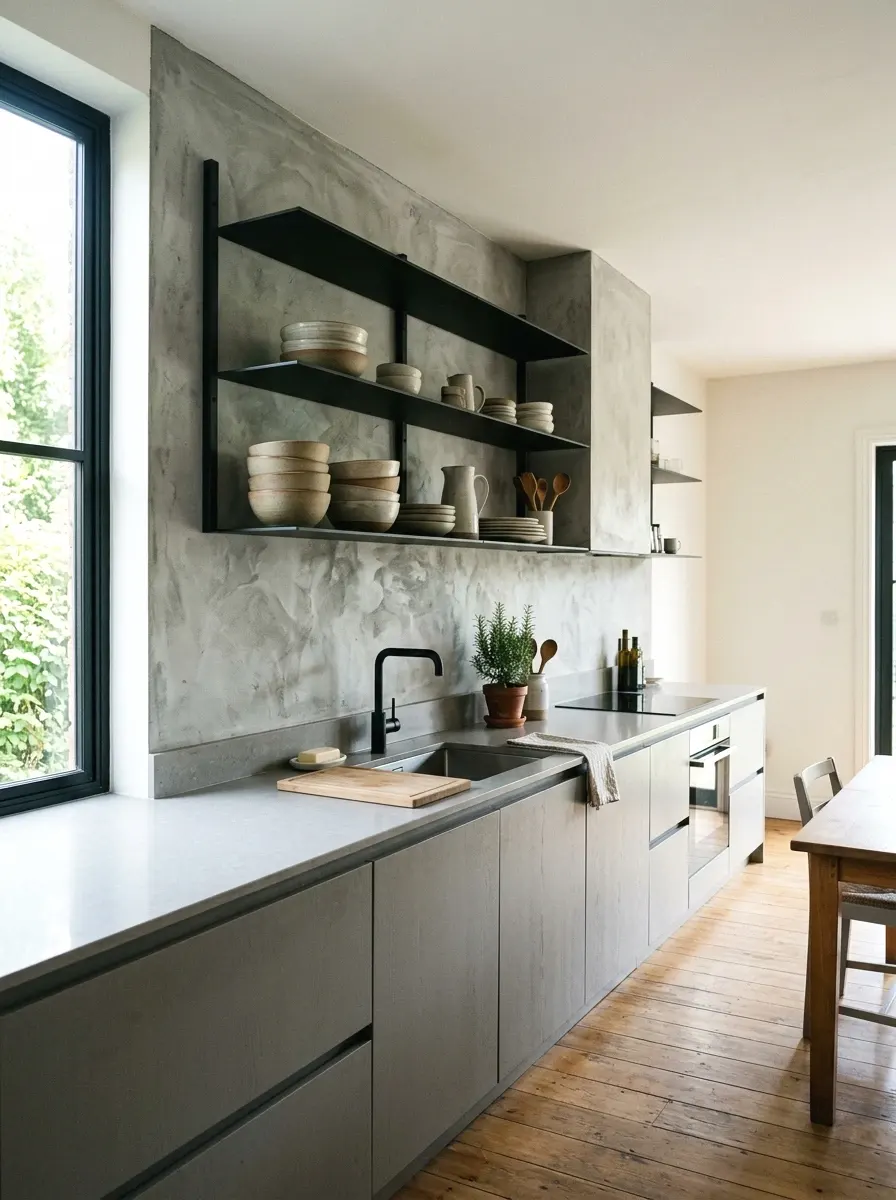
Concrete-effect paint is a specialty finish that goes on in layers and dries to look like raw or polished concrete. It costs about $30 to $60 for a kit that covers one wall. The result is an industrial, minimalist texture that genuinely reads as intentional design.
You apply it with a trowel or thick brush in overlapping strokes, let each coat dry, and finish with a sealing wax or clear coat. Each layer adds depth. It’s forgiving because irregularity is part of the look. The finish is hard and wipeable once sealed, which makes it practical right next to a stove or sink. The look pairs really well with open shelving and matte black hardware.
Industrial finishes paired with matte hardware tend to work best in kitchens that already lean minimal and clean-lined.
12. Rope or Jute Texture Panels
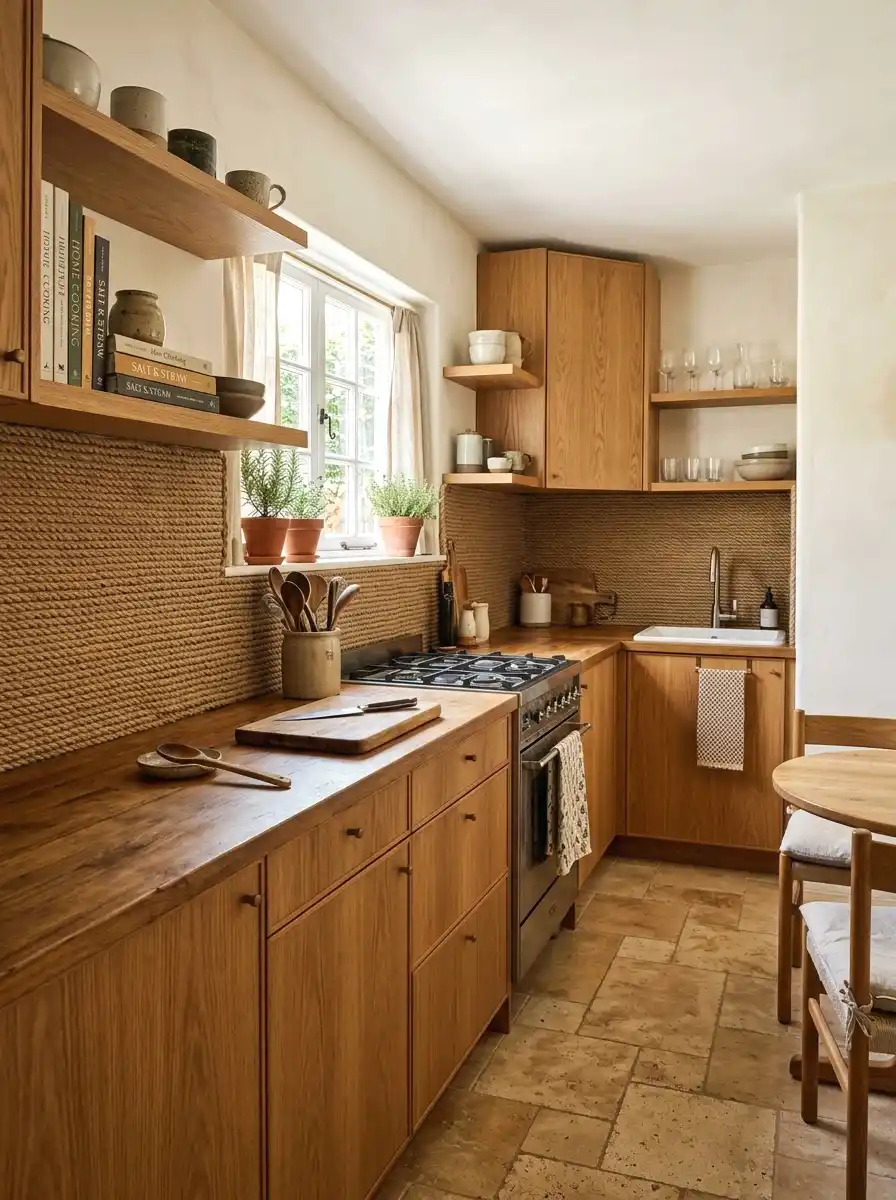
This is a more unexpected option. You glue lengths of thick rope or jute twine directly to the wall in tight horizontal lines, covering the surface completely. It sounds odd but the texture it creates is dense and layered, almost like woven grasscloth wallpaper but three-dimensional.
Jute rope at a hardware store or craft store costs very little, maybe $10 to $25 for enough to cover a standard backsplash area. Use a strong contact cement and press each row tightly against the one before it. Then seal the whole thing with a clear matte spray. It’s not water-resistant enough for directly behind a wet sink, but it works well on a dry wall behind a range or counter.
13. Mirrored Tiles
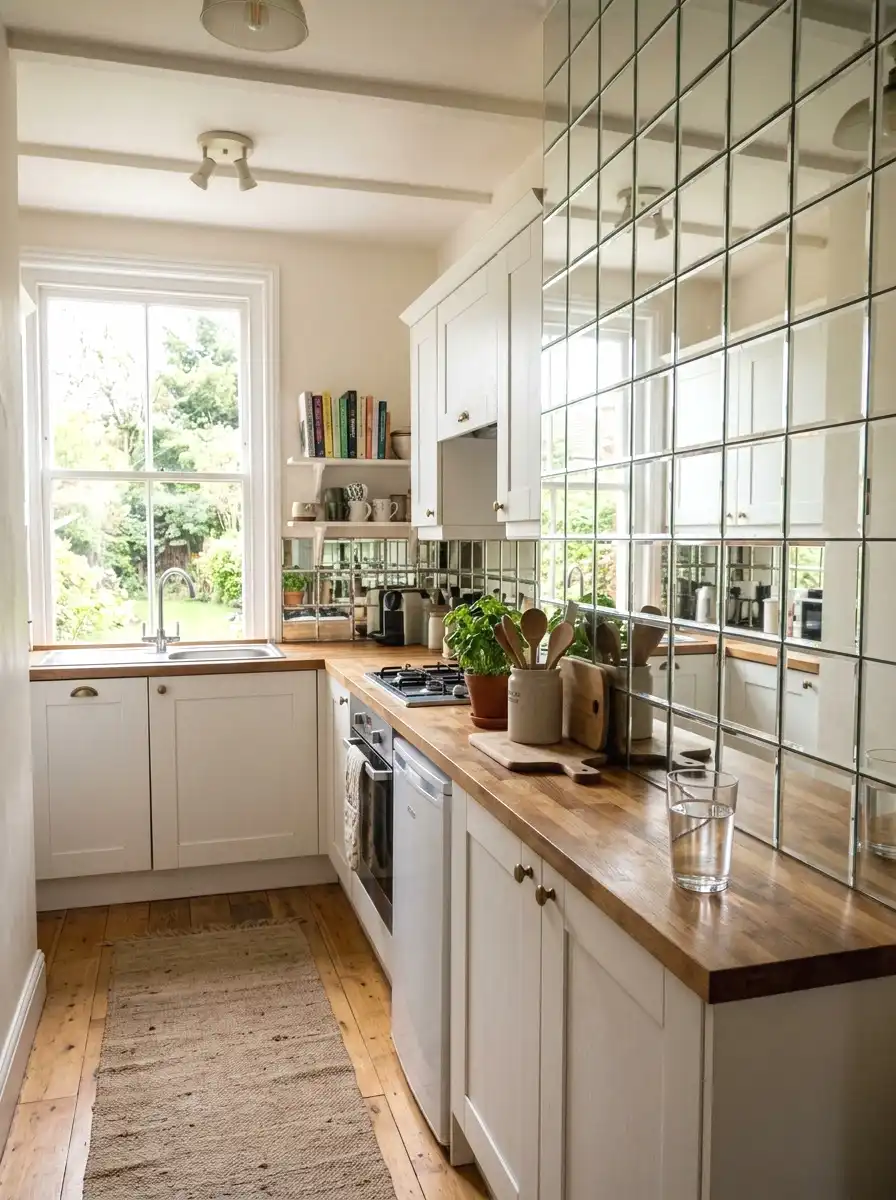
Mirrored stick-on tiles are cheap, around $15 to $40 for a pack that covers several square feet, and they do something no other material does in a kitchen: they reflect light. In a small or dark kitchen, this actually matters. The space reads as bigger and brighter without touching a single light fixture.
The squares come in a few sizes. 3-inch and 6-inch are the most common. Mix sizes for a more modern patchwork feel, or stick to one size for a cleaner grid. Avoid putting them directly behind the stove since high heat can affect the adhesive. Near the sink or on a side wall is ideal. Clean them with a streak-free glass cleaner.
14. Contact Paper with Stone or Marble Print
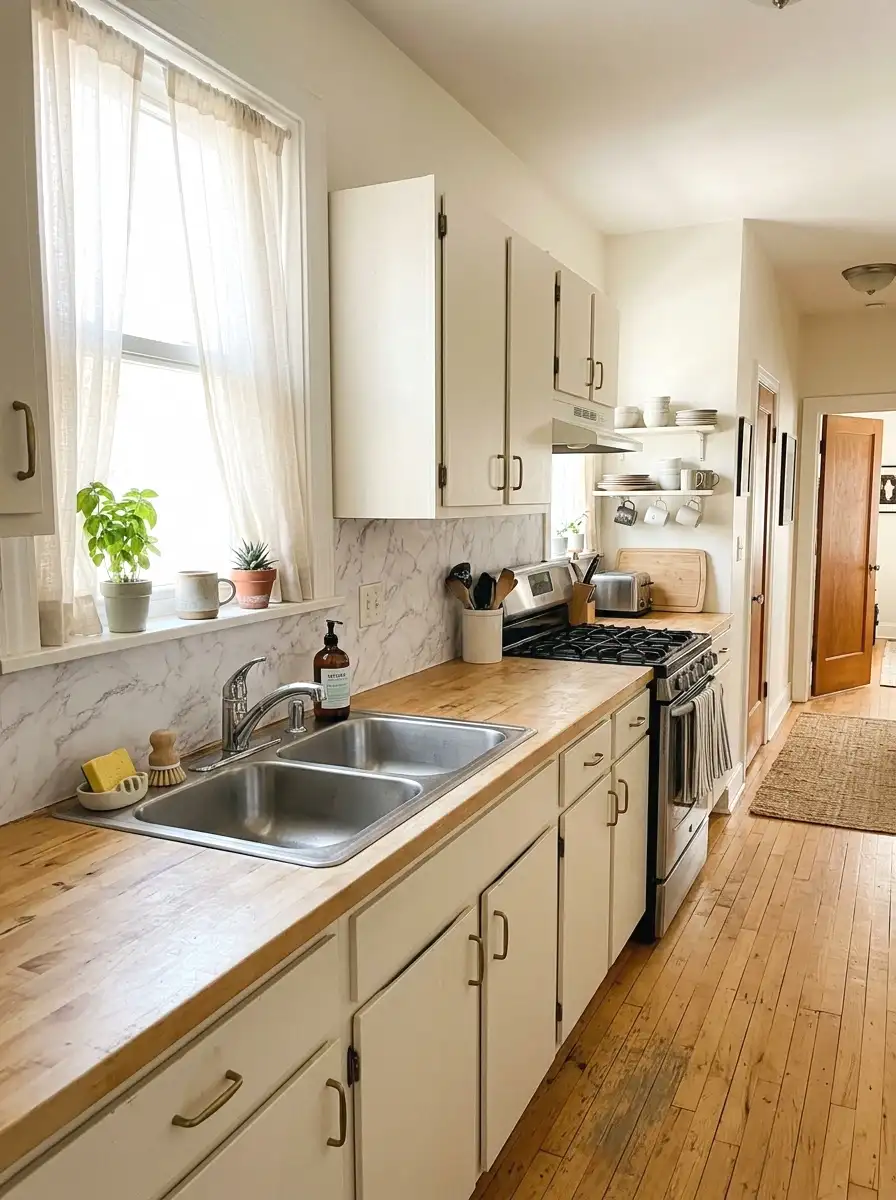
Marble-print contact paper has improved dramatically. The newer versions have a slight texture and a finish that doesn’t scream “craft project.” You can do an entire backsplash in marble-look contact paper for about $15 to $30. It takes patience to apply without air bubbles but it’s very doable.
Use a credit card wrapped in a cloth to smooth as you go, working from the center outward. Cut around outlets carefully with a sharp craft knife. The finish isn’t fully heat-resistant so again, keep it away from directly behind a gas burner. But for an electric range or a low-heat area, it works well and looks really nice from across the room.
If you’re also weighing how this connects to your countertop, there are countertop and backsplash pairings that work across a wide range of budgets.
More Ideas:
15. Painted Mosaic Using Painter’s Tape
This is paint, but smarter. You lay painter’s tape across the wall in a tile-grid pattern, paint the whole wall in one color, then remove the tape to reveal clean white lines between painted “tiles.” Add a second color inside some of the taped sections for a two-tone effect.
The result is a mosaic that took painter’s tape and two cans of paint. Cost is under $30. Tape line precision is what makes or breaks this one, so use a level or laser level to keep the grid even. It photographs really well. On Instagram this kind of backsplash gets mistaken for actual hand-painted Spanish tile, which is just funny given how little it costs.
16. Fabric Starched to Wall

Fabric starching is an old renter trick. You mix liquid starch with water, brush it onto the wall, press fabric into it while wet, and smooth it flat. When dry it holds without any adhesive and peels off the wall cleanly when you leave, no damage.
The fabric is where you spend money, and it’s still cheap. A yard of cotton or canvas with a pattern you like costs $8 to $20 per yard depending on where you shop. For a backsplash area you might need 1.5 to 2 yards. The seams can be tricky if the pattern needs to match, so choose a print with a small repeat. (took me ages to figure this out) Stripes or geometric prints are the easiest.
17. Corkboard Tiles
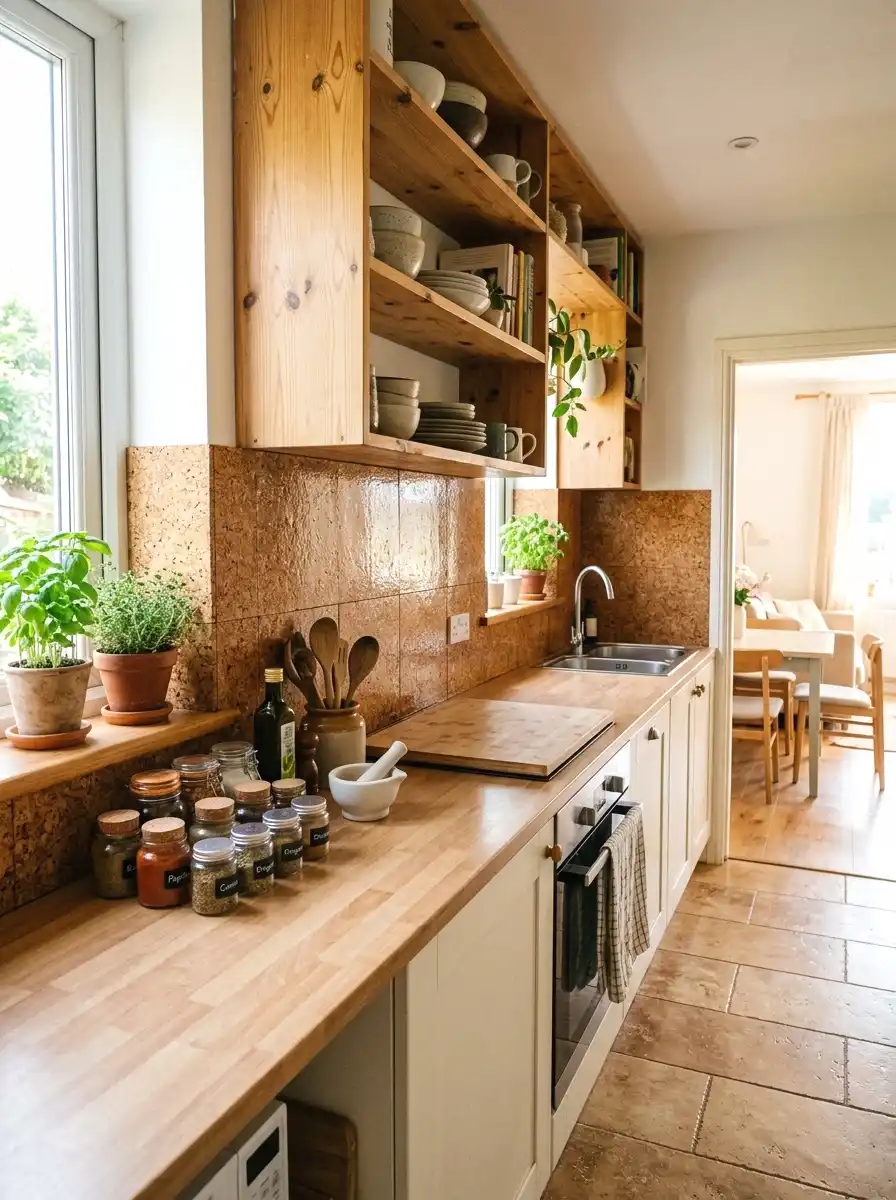
Cork tiles are warm, textured, and very easy to install. A pack of 12-inch by 12-inch cork squares costs about $20 to $40 and covers most standard backsplash areas. They go up with adhesive or with sticky backing on some brands.
The look is natural and quiet. Cork has a soft brown warmth that works well in kitchens with wood elements or earthy colors. It absorbs sound slightly, which is a small but real bonus in a busy kitchen. Seal them with a few coats of polyurethane to make them wipeable. Unsealed cork absorbs grease and moisture, which is the main mistake people make with this material.
18. Mosaic Glass Tile Sheet
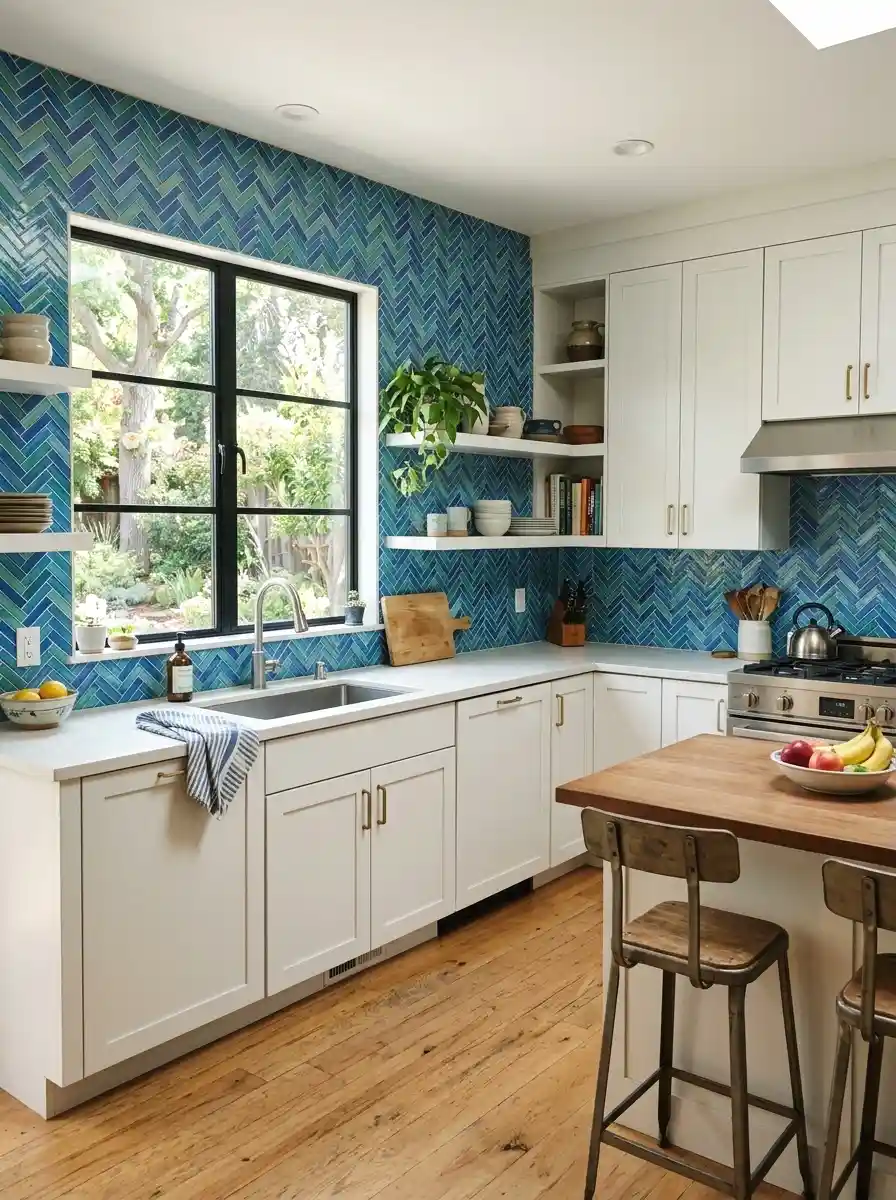
Individual mosaic glass tiles are pricey, but they come in pre-mounted mesh sheets that bring the price down to about $5 to $10 per square foot. A full backsplash runs $150 to $300 depending on the size of the space, which puts it at the higher end of this list but still far below standard tile installation costs.
The glass catches light differently at different times of day, which gives the kitchen a slightly changing feel throughout the day. Blue, green, and mixed neutral palettes are the most popular for kitchens. You do need thinset mortar and grout for these, so this project is a step up in skill level compared to peel-and-stick options. Budget a full weekend.
More Ideas:
19. Penny Tile Pattern with Painted Coins
Here’s a playful one. Buy a bag of copper pennies and create a grid of coins on your backsplash using tile adhesive. Sound strange? It’s done in actual bars and restaurants. The result is a dense copper-toned surface that looks intentional, handmade, and genuinely unique.
Cover an area of about 4 square feet with pennies. Press each into adhesive, let it set, then grout between them. The pennies total about $40 in face value if you use real coins, or you can use penny-look craft coins for less. Seal with a clear epoxy once grouted. It’s not a look for every kitchen but in the right space it’s completely unforgettable.
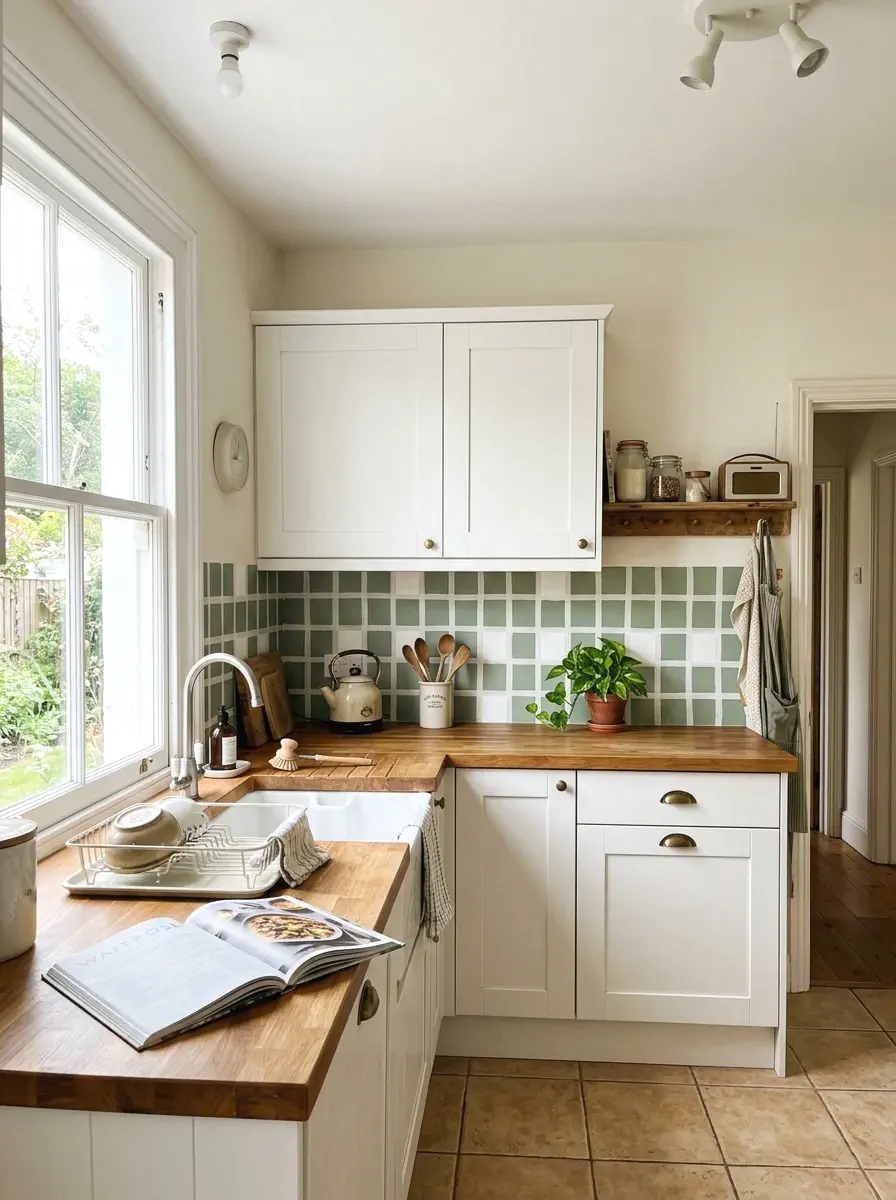
20. Wainscoting Panel Kit
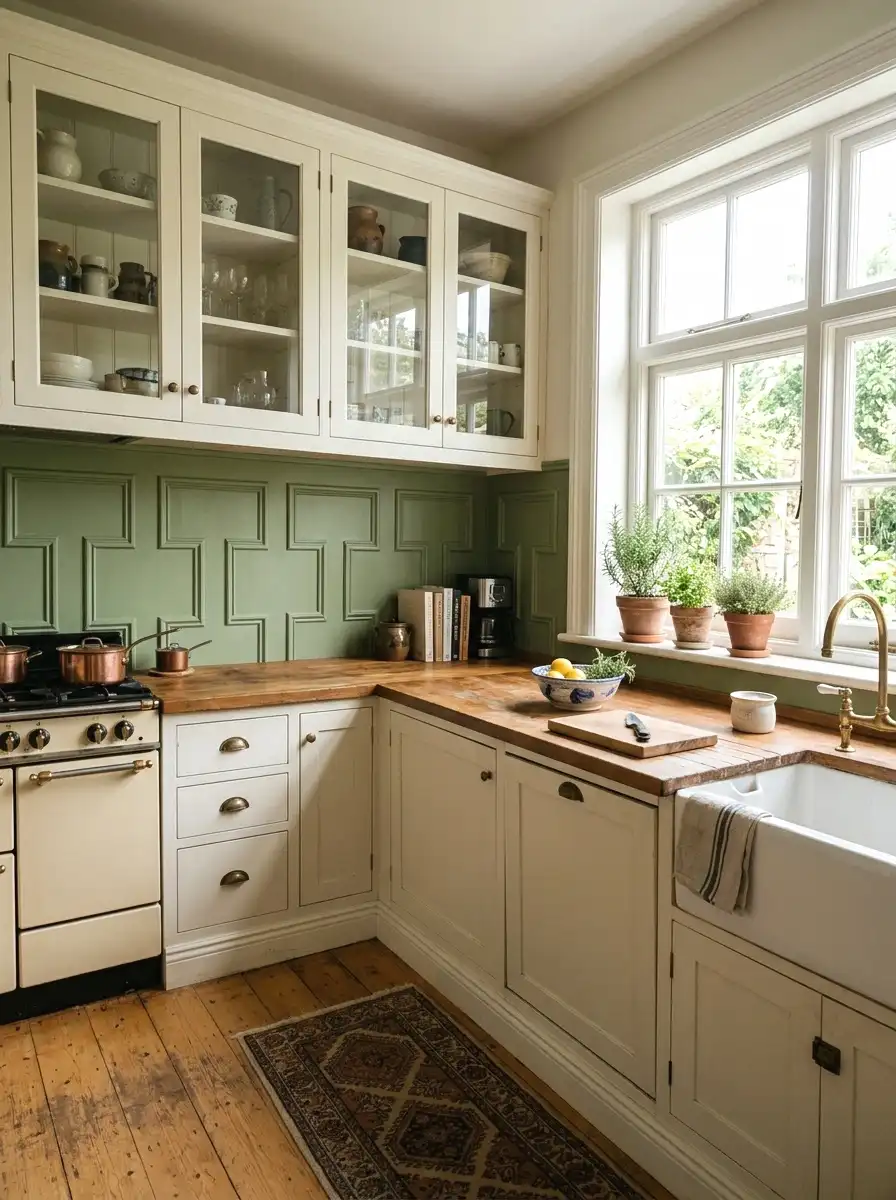
Wainscoting is the raised-panel look you see in more classic or traditional interiors. Most hardware stores sell wainscoting kits that include MDF panels with routed detail. The panels run about $30 to $50 each, and two panels cover a standard backsplash width.
You cut to height, glue to the wall, add a thin strip of trim at the top, and paint the whole thing. White is classic. Sage green reads as current without being trendy. The raised geometric detail is what makes it look expensive even though the materials cost under $150. It’s cleaner and more formal than shiplap, which makes it a good choice for kitchens with white or cream cabinets.
For more context on how these finishes come together, white cabinet kitchens done on a budget show exactly how far simple choices go.
21. Chicken Wire and Wood Frame Panel
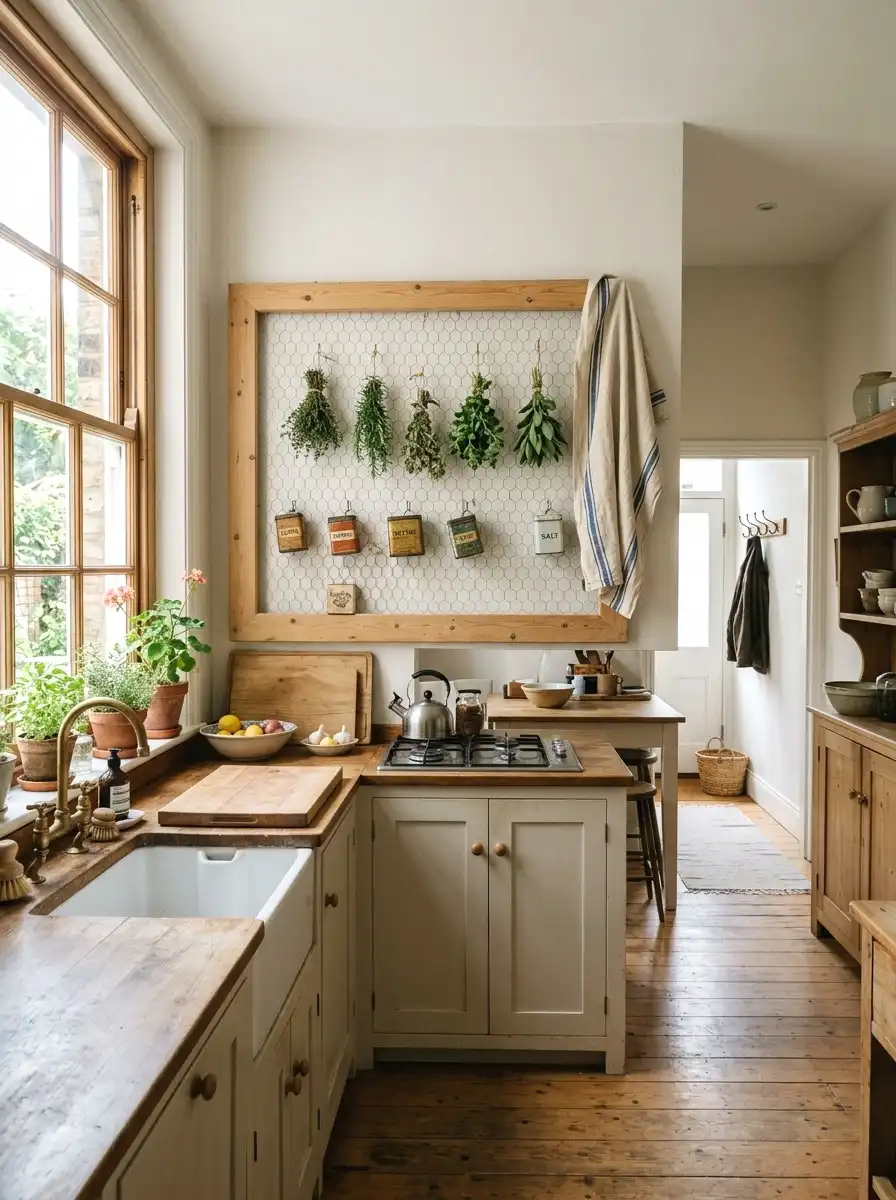
This sounds more DIY than it is. Take a simple wood frame, stretch chicken wire across it, staple it to the back, and hang it on the kitchen wall in the backsplash zone. The wire can hold small hooks, spices, or herbs. It’s functional and it looks collected and considered rather than busy.
The wood and wire together cost about $20 to $40. Paint the frame a color that matches your cabinets or goes slightly darker for contrast. The open wire lets the wall color show through, which means the backsplash works with whatever you change in the kitchen later. It’s one of the most practical ideas on this list because it adds storage and style at the same time.
If practical storage that doubles as decor is your goal, there are a few other small-scale kitchen additions worth looking at too.
22. Herringbone Peel-and-Stick in a Different Format
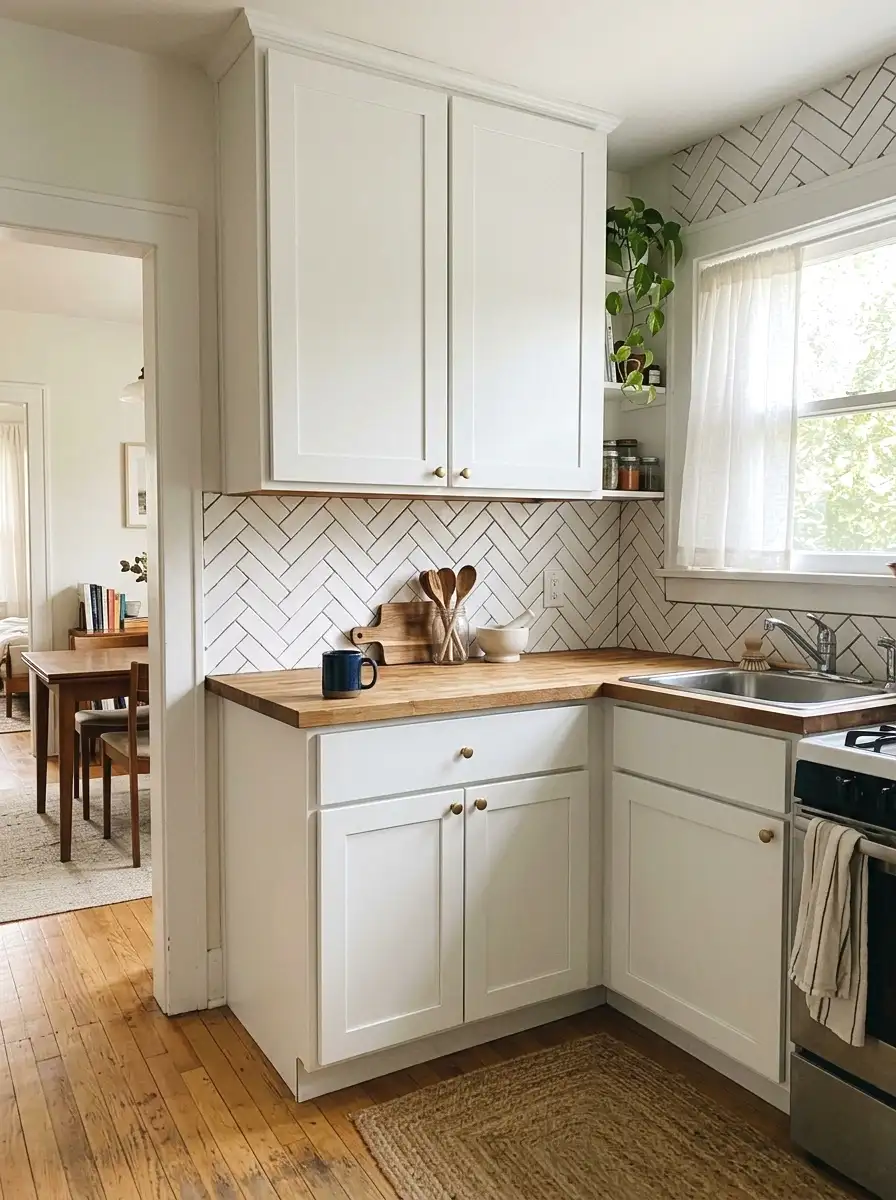
The same peel-and-stick tiles from idea one, but placed in a herringbone pattern instead of a straight grid. It’s the same material, same price range of $30 to $80, but the layout changes the whole feel. Herringbone reads as more intentional and higher-end than straight rows.
You do need to measure and plan more carefully before you start, because the angled cuts at the edges take some precision. Mark your center line first and work outward from there. Use a ruler and craft knife for clean cuts. The extra planning takes maybe an hour. The result looks significantly more polished than the same tile laid in a standard grid, and it costs nothing extra to do it this way.
More Ideas:
Final Thoughts on Inexpensive Backsplash Ideas
You’ve got 22 real options here, across a pretty wide range of styles, skills, and budgets. Some of these cost under $30. A few push toward $300 but still land well below what a contractor would charge for standard tile. What ties them together is that each one works in a real kitchen, not a styled photoshoot.
The biggest thing is picking one and starting. Don’t overthink the perfect option. Pick something that works with your cabinets and your budget, and go. If you’re truly not sure, start with peel-and-stick subway tile or a stencil. Both are reversible and inexpensive enough that changing direction later isn’t painful.
If you want more ideas like this, homelypop.com has a lot of practical home content in the same spirit. Real budgets, real homes, no fluff.
For anyone thinking beyond the backsplash, there’s a full breakdown of budget-friendly kitchen updates that actually last without a full renovation.


