
18 Laundry Room Cabinet Layout Ideas That Actually Make Sense

Your laundry room has cabinets, but nothing has a real home. Detergent sits on top of the washer, random cleaning supplies crowd the shelf, and every time you open a cabinet door, something falls out. It’s frustrating, and it’s not because you’re disorganized. It’s because the layout was never set up to work with how you actually do laundry.
These 18 laundry room cabinet layout ideas come from real homeowners, real spaces, and real before-and-after fixes. I looked at what people were doing in tight utility rooms, full laundry rooms with more space, and everything in between. Each idea earned its spot by being specific, affordable, and actually doable without calling a contractor. Budget-wise, most of these land somewhere between $100 and $300.
This list is for people who want their laundry room to function better without a full renovation. If you’re planning a gut reno with custom millwork, this isn’t that. But if you want real results with a real budget, you’re in the right place.
If you’re somewhere in between, there are ways to rethink your laundry space that go beyond just adding cabinets.
By the end, you’ll have a clear picture of how to lay out your cabinets so the room stops fighting you every laundry day.
What to Know Before You Start Laundry Room Cabinet Layout
- Standard upper cabinets hang 18 inches above the washer or dryer to allow the lid to open fully.
- Most laundry rooms are between 35 and 50 square feet, so every inch of cabinet space counts.
- Open shelving costs $40 to $80 less per unit than enclosed cabinets on average.
- Doors that swing out need at least 18 to 24 inches of clearance in front of them.
- Most people overlook the space above the door. A cabinet there adds 2 to 4 cubic feet of storage.
- Using the inside of cabinet doors for hooks or organizers doubles usable space without adding footprint.
- A common mistake is hanging all cabinets at the same height. Varying heights creates better workflow.
- For durability, avoid particle board cabinets in rooms with humidity. Plywood or MDF with a moisture-resistant finish holds up much longer.
1. Stack Upper Cabinets All the Way to the Ceiling
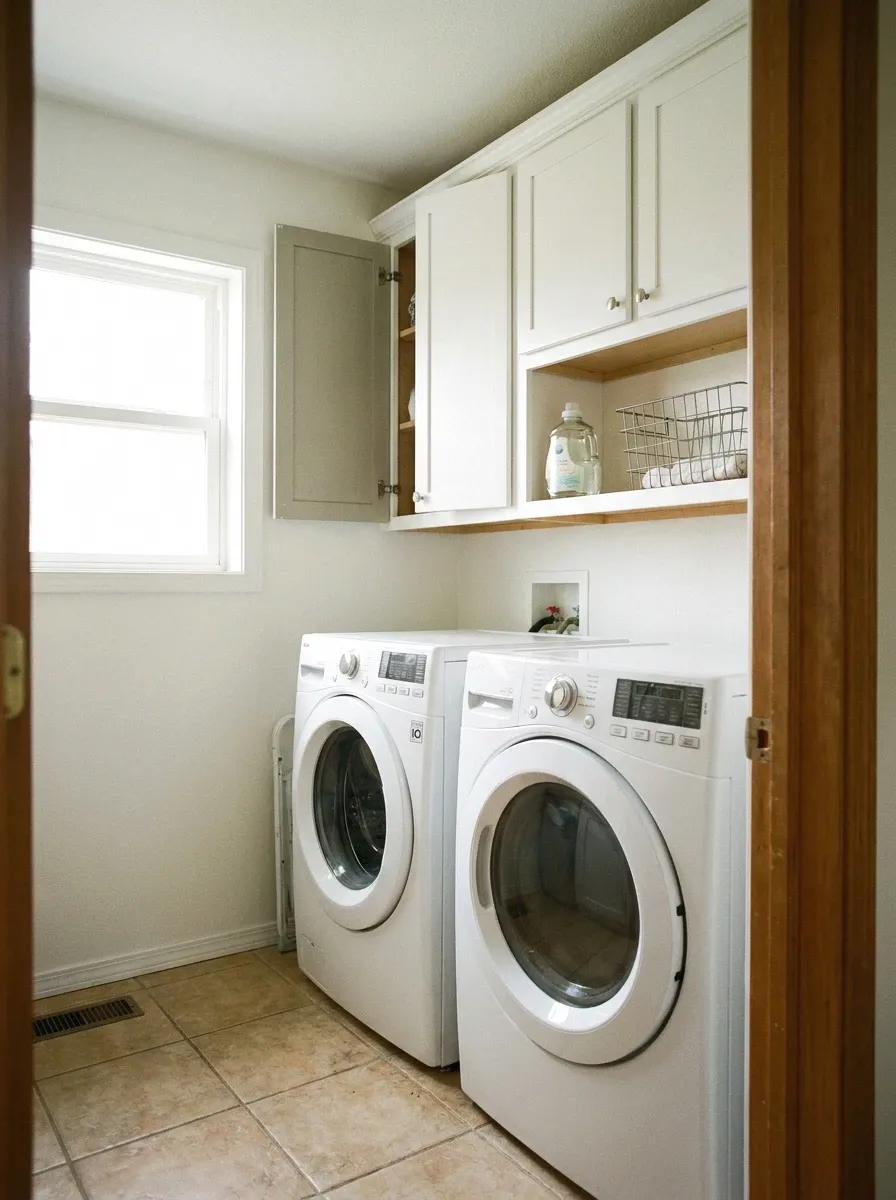
The gap between the top of your cabinets and the ceiling is wasted. I know it’s the awkward zone where nobody reaches without a step stool, but that space can hold everything you use once a month. Seasonal items, bulk detergent refills, extra hangers, spare lightbulbs for the whole house.
When I tried this in my own space, I added one extra cabinet row about 12 inches tall at the very top. It cost around $60 for a plain white flat-pack unit from IKEA. That extra row holds things I don’t need often but always used to lose in other rooms. You stop “just putting it somewhere” when there’s actually a dedicated high shelf.
2. Run a Continuous Cabinet Wall on One Side
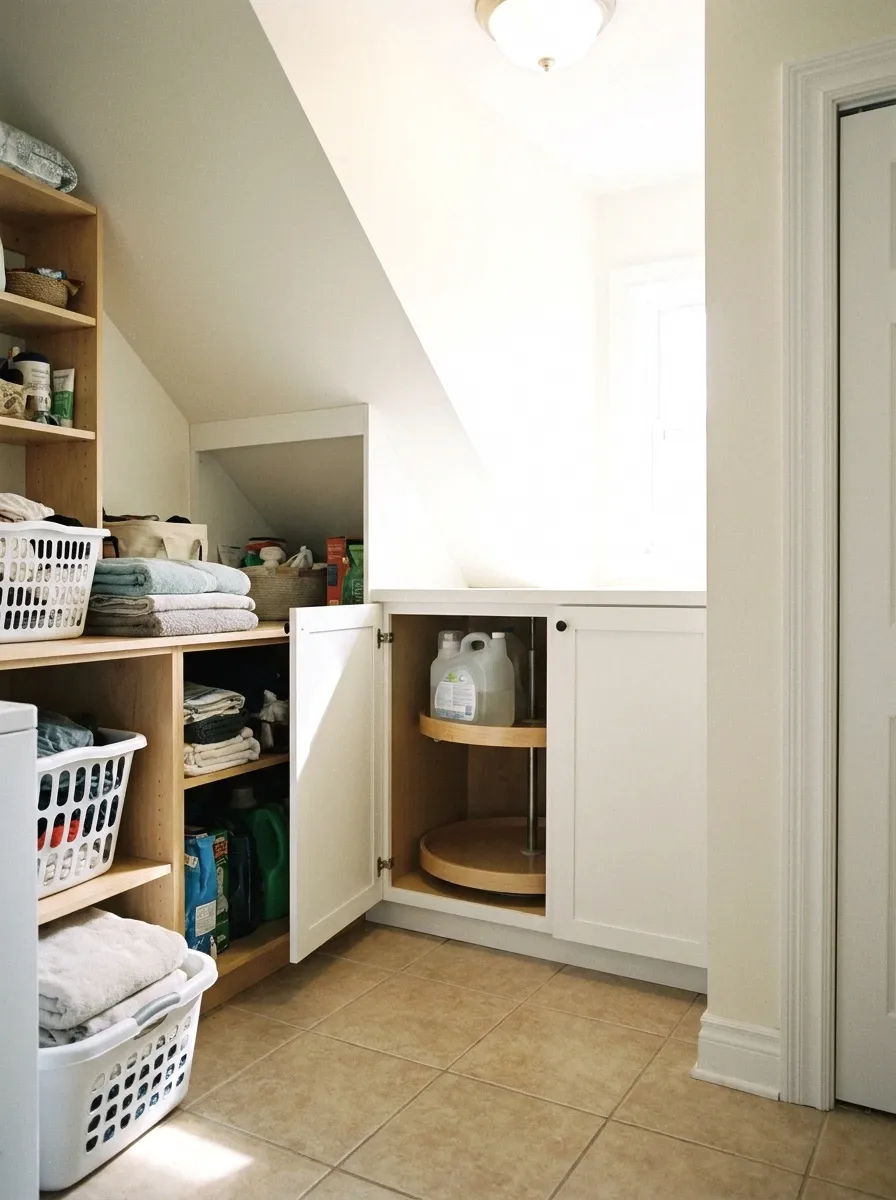
Instead of hanging individual cabinets with gaps between them, run them wall to wall on one side. No breaks, no awkward spaces. It looks more intentional and gives you far more storage than the same number of cabinets installed with gaps.
A standard 8-foot wall can hold three 24-inch-wide uppers and still leave room for a light fixture or vent. The visual effect matters too. A continuous line of cabinets reads as a real feature rather than an afterthought. You can do this with stock flat-pack cabinets for $150 to $250 total depending on size.
Once the cabinet run is in place, finishing the look with shelving in between can tie the whole wall together.
More Ideas:


3. Add a Tall Broom Closet Cabinet on One End

Here’s one most people skip: a full-height utility cabinet, basically a floor-to-ceiling column, at the end of your cabinet run. That column becomes home to your broom, mop, ironing board, and anything tall and annoying that never fits anywhere else.
Standard tall utility cabinets are 84 inches high and about 18 to 24 inches wide. IKEA’s PAX with a custom door works. So do freestanding utility cabinets from Home Depot in the $80 to $140 range. The ironing board alone justifies it. No more leaning it against the wall hoping it doesn’t fall on someone.
4. Lower Cabinets Under a Folding Counter

A folding or built-in counter at 36 inches high runs along one wall, and the lower cabinets underneath hold supplies, baskets, and bins. It’s basically a laundry version of a kitchen base cabinet setup, and it works the same way.
The counter itself is where you fold. The cabinets below hold detergent, dryer sheets, stain remover, and whatever else you reach for every single load. Pull-out drawers in the lower cabinet are worth the upgrade. They cost $20 to $40 more per unit but save you from crouching and digging every time. You can find prebuilt base cabinet units at Home Depot or IKEA for $90 to $180.
If you’re working with a tight budget overall, there are solid approaches to organizing the whole room on a budget without sacrificing function.
5. Use Open Shelving Between Two Closed Cabinets

So here’s the thing: full enclosed cabinets everywhere can actually make a laundry room feel heavy. Breaking it up with open shelving between two closed sections keeps the room feeling more open, and it’s practical too.
The open shelves hold things you grab every time, like detergent, dryer sheets, and a small basket for dryer lint and loose change. The enclosed cabinets on either side hold the messier stuff. This layout costs less overall since open shelves run $30 to $60 each. And it makes the wall look like it was planned, even if you just pieced it together.
6. Install Cabinets Above the Washer and Dryer Separately

Most people think of the washer and dryer as one unit and hang cabinets that span both. But separating them, one cabinet above the washer and one above the dryer, gives you different storage zones. The one above the washer holds detergent and stain removers. The one above the dryer holds dryer sheets and the stuff you add when things come out.
This sounds minor but it actually helps a lot. You reach for the right thing at the right machine without hunting. Keep 18 inches between the top of the appliance and the bottom of the upper cabinet. If you have top-loading machines, go to 24 inches so the lid opens fully without hitting the cabinet.
More Ideas:
7. Create a Dedicated Cleaning Supply Cabinet

One cabinet, floor to ceiling if possible, just for cleaning supplies. This one sounds obvious but almost nobody does it. Instead, cleaning supplies end up scattered across three different cabinets and two shelves and still nobody knows where the toilet cleaner is.
A tall single cabinet with adjustable shelves inside can hold every cleaning product in your home in one organized spot. Label the shelves by room if you want to get specific. The cabinet itself can be a freestanding unit at $70 to $100 or a built-in upper plus lower combo at around $130. Either way, you will notice the difference the first week.
Pairing this with smart bins and labels is one of the cleaner methods for storing supplies without losing the floor to clutter.
8. Add a Pull-Out Hamper Cabinet
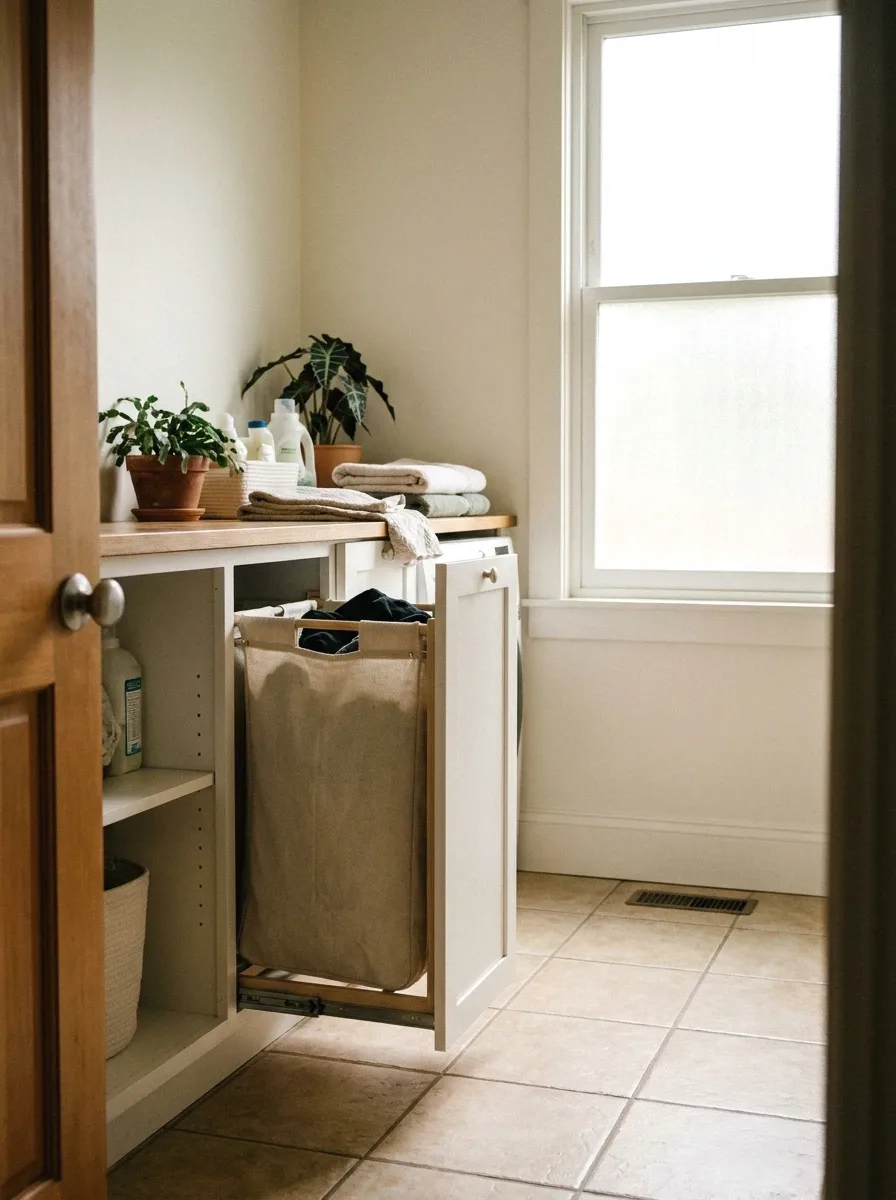
This is so underrated. Instead of a freestanding hamper taking up floor space, a pull-out hamper built into the lower cabinet run keeps the floor clear and the dirty laundry contained. You pull out the drawer, drop in the clothes, push it closed. Done.
These come as full cabinet units with the pull-out frame included. IKEA’s UTRUSTA drawer frame works inside their base cabinets. Pre-built pull-out hamper cabinets run $120 to $180 at most home improvement stores. If you already have a base cabinet and just need the insert, it’s closer to $40 to $70 for the pull-out mechanism alone.
While you’re picking out the cabinet unit, it’s worth thinking through color choices that hold up over time in a high-humidity space.
9. Float Shelves at Counter Height for Staging

A floating shelf at counter height, around 36 inches off the floor, gives you a staging spot without taking up floor space. This works especially well in narrow laundry rooms where there’s no room for a full base cabinet run.
You set things down here while you’re moving laundry from machine to basket. It’s not a folding station. It’s a pause spot. Deep floating shelves, around 12 to 16 inches, hold a laundry basket without it sliding off. They’re easy to install and cost $25 to $60 depending on size and material. Add a lip rail along the front edge and things won’t fall off.
10. Use the Space Above the Door
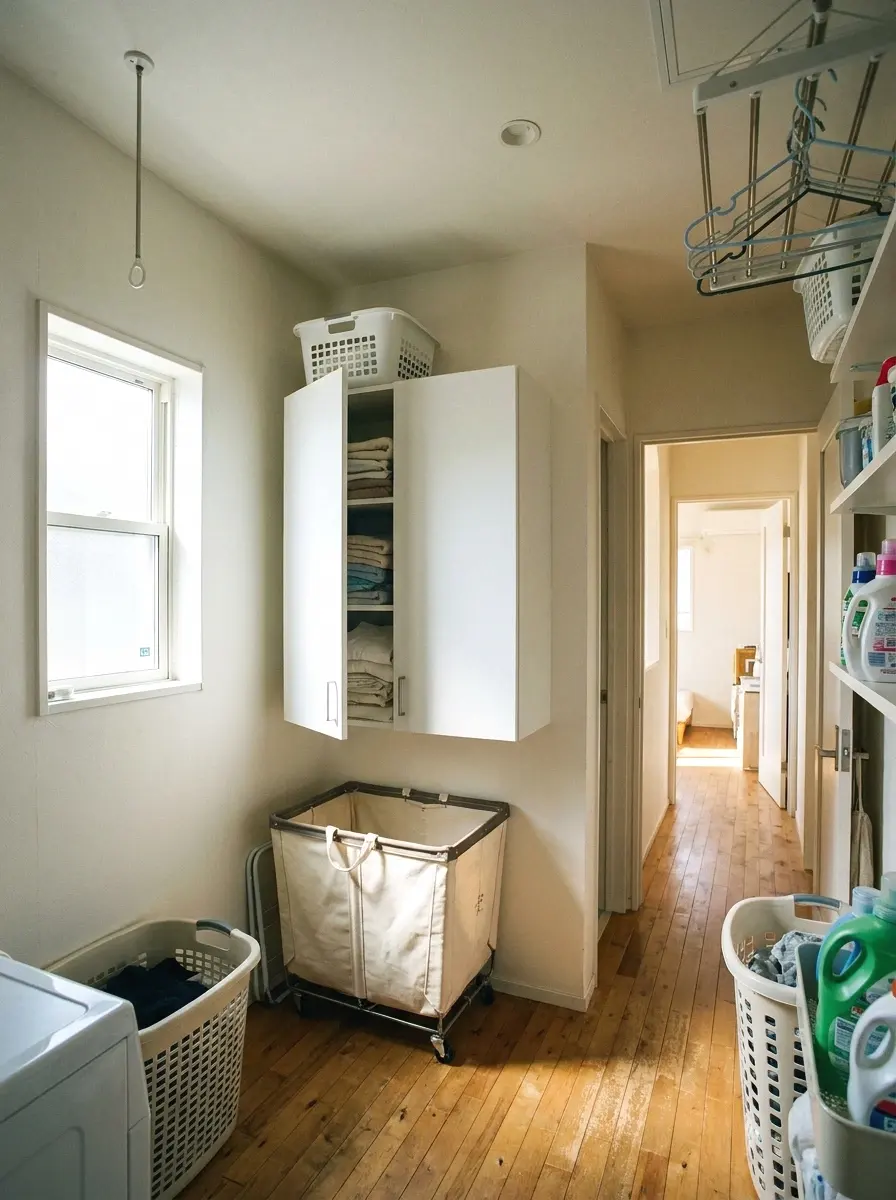
I was skeptical about this one but it genuinely works. The wall above the door frame, usually 12 to 18 inches of space before the ceiling, can hold a shallow cabinet or a floating shelf that stores things you almost never need but have to keep somewhere.
Think: extra extension cords, bulk replacement items, the spare toilet paper overflow. A custom cabinet above the door runs $60 to $90 if you go flat-pack. A simple shelf with brackets is $20 to $35. Just make sure whatever you put up there doesn’t require a ladder every time. Save it for the once-a-month stuff.
This same approach works throughout the room — turning blank walls into something useful without committing to full cabinetry.
More Ideas:
11. Put Lower Cabinets on One Side Only
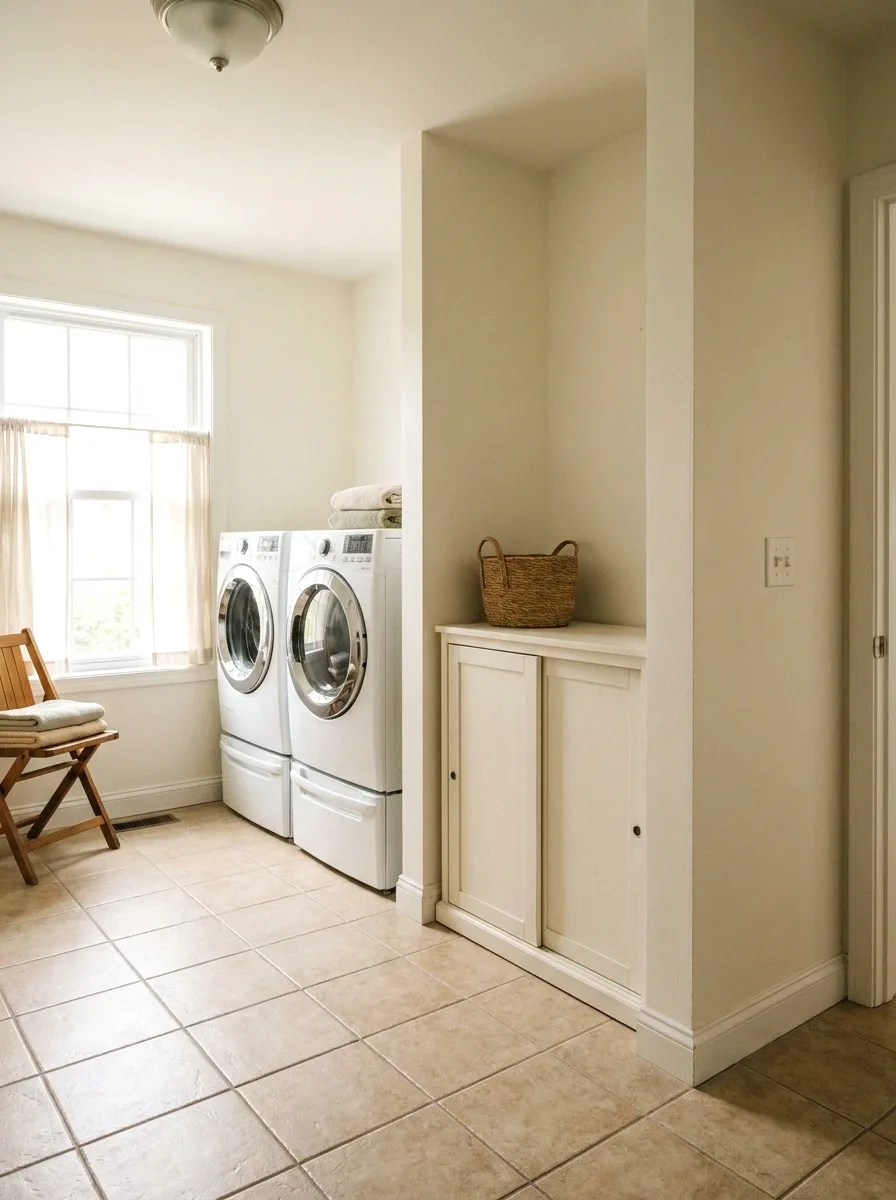
If your laundry room is narrow, say under 6 feet wide, lower cabinets on both walls create a corridor that’s hard to work in. Lower cabinets on one side only, with the opposite wall staying clear, keeps the room functional.
The single-side lower cabinet run can go floor to ceiling on that wall. You keep your movement space on the open side. A 6-foot run of lower cabinets gives you roughly 12 to 15 cubic feet of storage, which is plenty for most households. Base cabinets for a 6-foot run will run $200 to $280 depending on brand.
12. Build In a Linen Closet Cabinet at the End

The end of a cabinet run, especially if you have a small wall jog or corner to work with, is a natural spot for a dedicated linen cabinet. Towels, extra sheets, bathroom overflow. Things that have no logical home elsewhere in the house suddenly have one.
A tall cabinet 24 inches wide holds a surprising amount of folded linens. Four to six adjustable shelves inside and you’re holding 20 or more towels plus extras. You don’t have to do anything elaborate here. A plain white tall cabinet from any flat-pack brand at $90 to $130 works. Add a label on the outside if you share the space with other people.
13. Use Cabinets with Glass Doors in One Section

Glass door cabinets force you to keep one section organized because you can see inside. That gentle pressure actually works. Put them in the most visible section of the room, usually near the entrance, and fill them with things that look decent: folded cloths, baskets, detergent bottles you don’t mind seeing.
Glass door inserts are available for IKEA SEKTION cabinets and most stock cabinet lines. Expect to pay $20 to $40 more per door for glass over solid. The result looks more intentional and a little bit more like a real room and less like a utility closet. That matters if this is a space you actually spend time in.
14. Add a Cabinet Rail System on the Inside of Doors
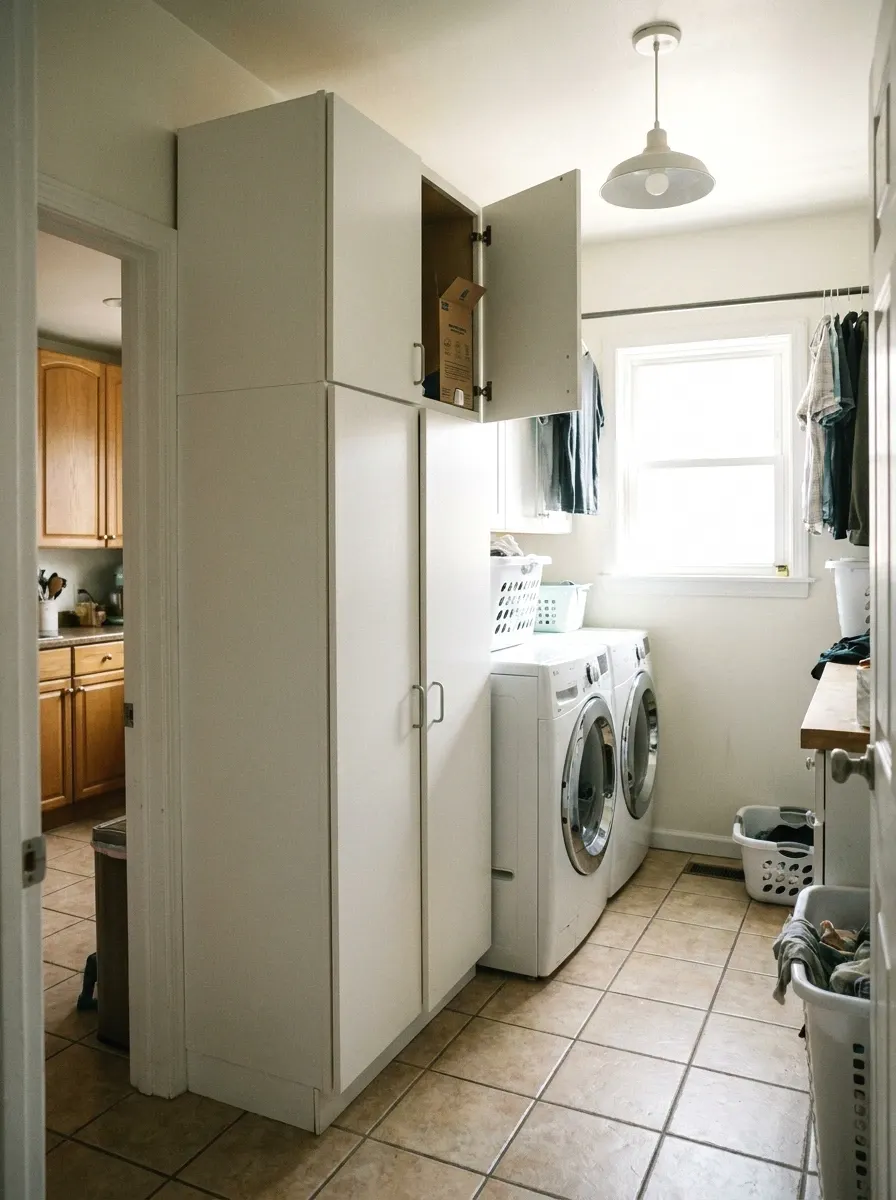
The inside of every cabinet door is wasted space. A rail system with hooks, small baskets, and slim bins turns each door into functional storage. It’s the same idea as inside-the-cabinet-door organizers for kitchens, just applied to laundry.
Took me ages to figure this out. The door inside holds small items that used to disappear into the bottom of cabinets. Stain sticks, small scissors, dryer balls, a roll of packing tape. Rail systems from IKEA or Rev-A-Shelf run $15 to $35 per door. Install takes about 20 minutes per door. You get storage without adding a single cabinet.
More Ideas:
15. Build a Dedicated Wrapping and Supplies Station
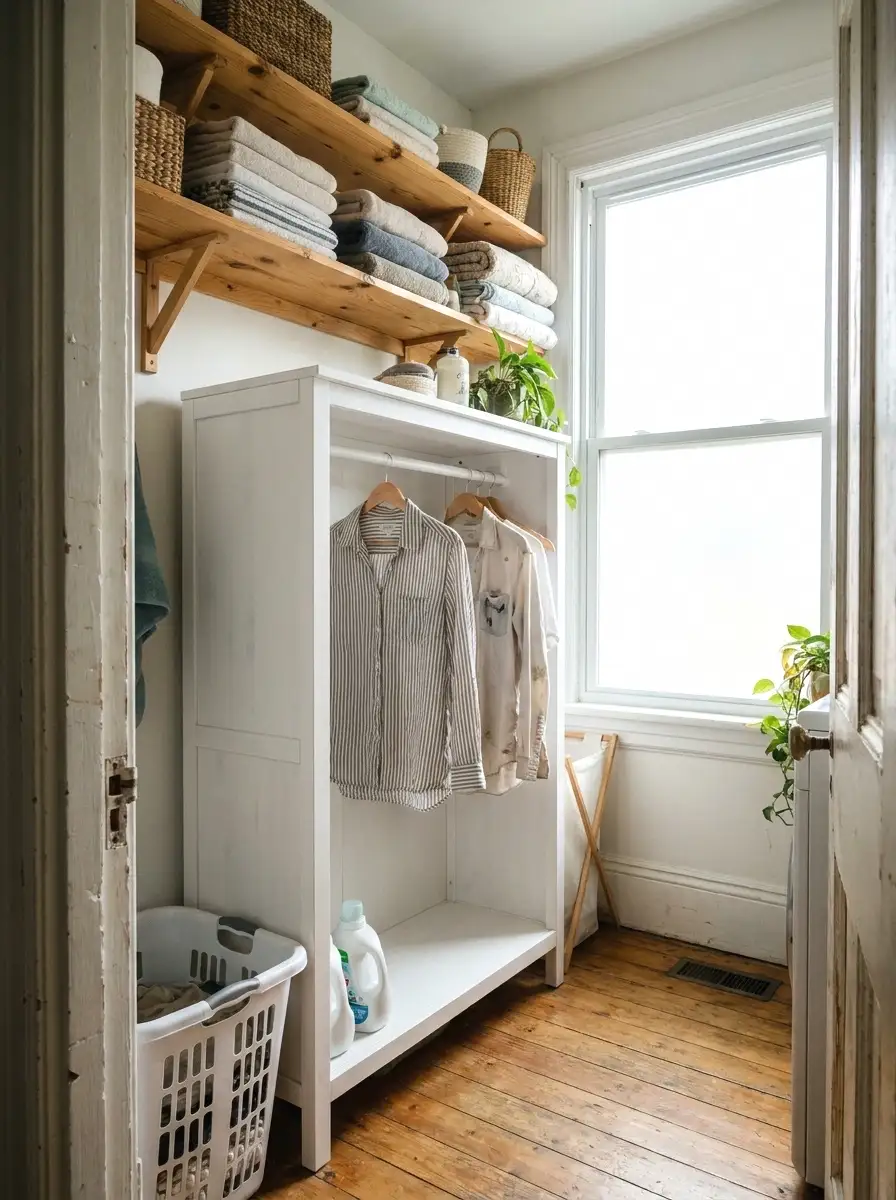
One lower cabinet section, maybe 24 inches wide, configured specifically for gift wrap, tape, scissors, bags, and tissue paper. It sounds specific, but this stuff ends up in laundry rooms anyway. Might as well give it a real home.
A tall pull-out divider inside the cabinet holds rolls of wrapping paper vertically. Add a small drawer for tape and scissors. The cabinet itself is standard. The organization inside is what makes it work. You can set this up inside any existing base cabinet with a pull-out roll organizer insert for around $25 to $40.
16. Hang Cabinets at Two Different Heights
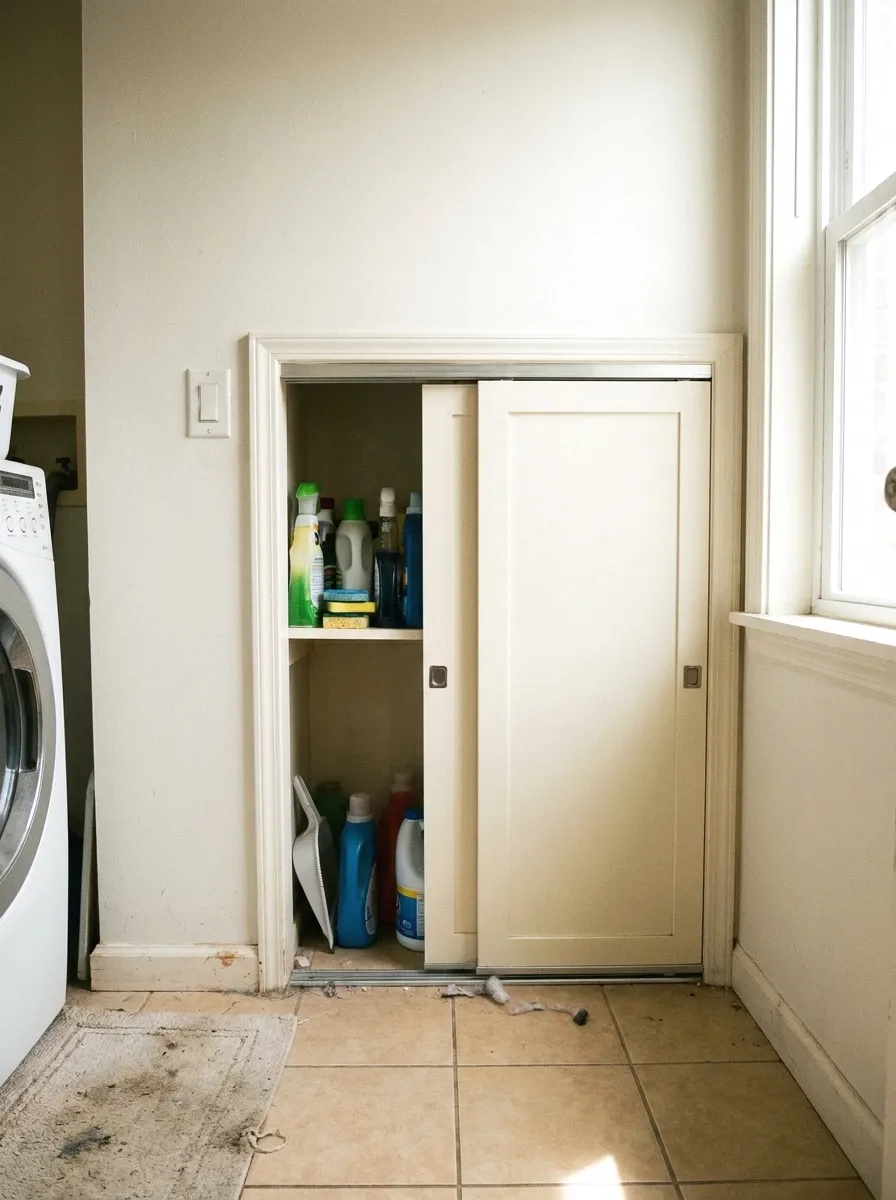
Mixing upper cabinet heights breaks the visual monotony and creates zones. Taller cabinets, around 42 inches, at one end for bulk storage. Standard 30-inch uppers at the other end for everyday reach. The height change signals different use zones, which helps you stay organized.
This layout is common in kitchens but almost nobody does it in laundry rooms. And it works the same way. The taller section near the corner or end holds bulk and overflow. The shorter section near the machines holds what you use every day. Using two heights costs the same as all one height since you’re just choosing different cabinet sizes.
Pair the varied cabinet heights with paint colors that make the room feel larger and the whole layout reads as intentional.
17. Create an Open Display Shelf Section for Everyday Items

A dedicated open section in your cabinet layout, one 12-inch-deep shelf, 24 to 36 inches wide, holds the things you grab every single laundry load. Detergent, fabric softener, dryer sheets. No doors to open, no digging. You just reach and grab.
This is different from item number 5 because it’s intentionally sized for your laundry products specifically. Measure your actual bottles before cutting or buying. A standard detergent bottle is about 11 inches tall. A shelf at 14 to 16 inches high clears it easily. Open shelving brackets and a board cost $20 to $40 total if you build it yourself.
18. Add a Slide-Out Ironing Board Cabinet
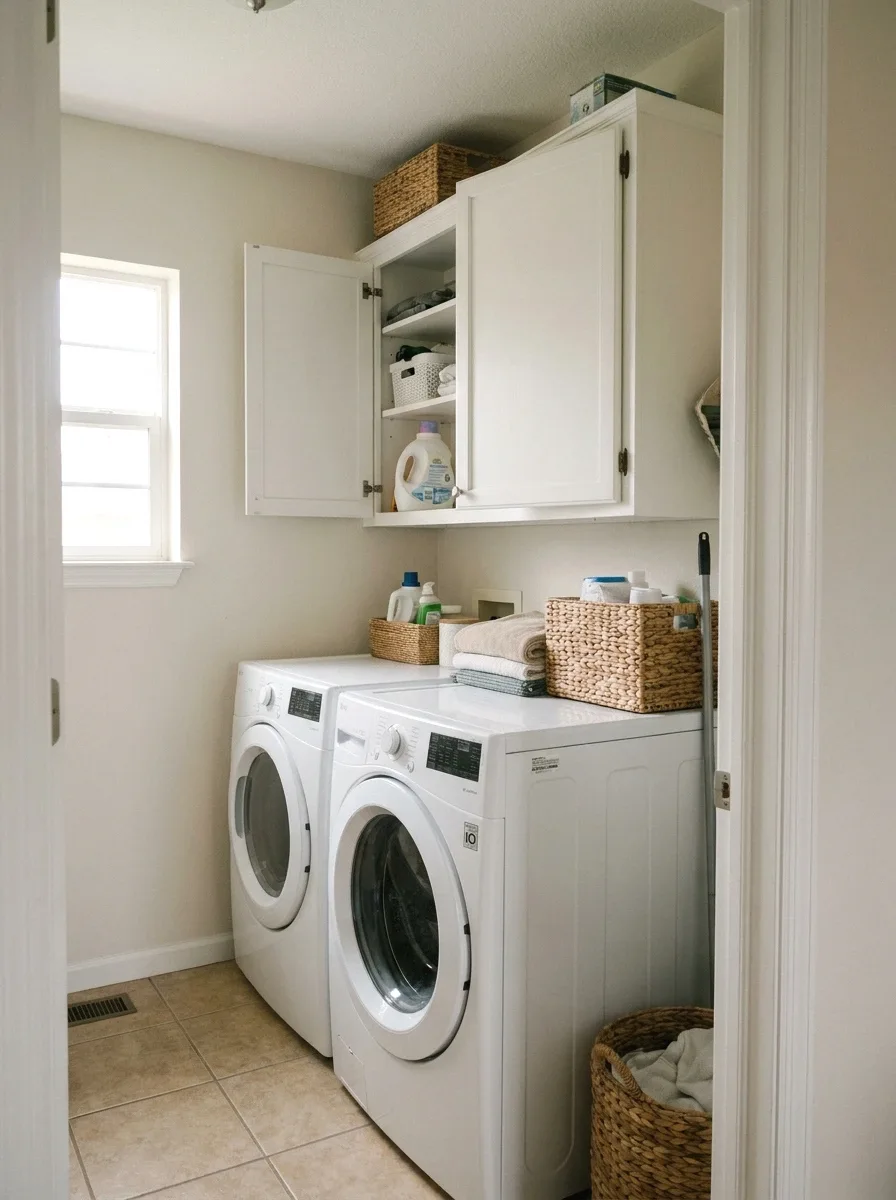
And finally, the ironing board problem. If you iron at all, you know the ironing board takes up more space than anything else in the room when it’s out, and when it’s stored, it’s awkward no matter where you put it. A slide-out ironing board cabinet solves this permanently.
These are wall-mounted cabinet units with the ironing board folded inside. Pull open the door, pull out the board, iron, fold it back, close the door. They run about $150 to $250 installed yourself. The board inside is usually 42 to 45 inches long, which is full size. The cabinet takes up about 15 by 48 inches of wall space. Worth every inch.
Once the wall storage is sorted, what goes on the floor underneath makes a bigger difference to how the room feels than most people expect.
More Ideas:
Final Thoughts on Laundry Room Cabinet Layout
You now have 18 ways to rethink how your laundry room cabinets actually work. The real thread running through all of them is zones: a spot for daily supplies, a spot for bulk, a spot for overflow, and a spot for the things that don’t belong anywhere else. When each category has a home, the room stops being a place you just dump things.
Pick one thing and do it this weekend. Seriously. The pull-out hamper, the door rail system, the over-door shelf. Pick the one that solves your most annoying problem and start there. One thing fixed changes how the whole room feels.
From there, a few simple decor ideas that pull it all together can make the space feel finished rather than purely functional.
If you want more ideas like these for every room in the house, homelypop.com has a lot more to work with.