20 Bathroom Counter Organization Ideas That Look Beautiful Too
Your bathroom counter looks like a small explosion happened on it. There’s a half-open moisturizer tipped on its side, three lip balms you thought you lost, and toothpaste residue that’s basically become part of the counter at this point. You’ve tried to clean it up before. It looks fine for two days. Then it’s back.
This list covers 20 bathroom counter organization ideas pulled from real homeowners, Reddit threads, and people who’ve actually dealt with small counters, shared bathrooms, and tight budgets. Each idea was picked because it solves a real problem, not just because it looks nice on a Pinterest board. Most fall between $10 and $80, and a few cost almost nothing. It covers everything from tiny studio bathrooms to double-sink setups.
This is for you if your budget is somewhere in the $100 to $300 range total, and you want real results without a renovation. It’s not for people looking to gut their bathroom and start fresh. But if you want a counter that actually stays organized? That’s completely doable.
By the end of this, you’ll have a clear plan for your counter and know exactly where to start.
If you’re working with a tight layout overall, there’s some small bathroom storage worth knowing before you dive in.
What to Know Before You Start Bathroom Counter Organization
- Most bathroom counters are 20 to 22 inches deep, which leaves less usable space than people expect.
- Measure your counter before buying anything. A $25 tray that’s 2 inches too wide ruins the whole setup.
- Budget reality: a complete counter refresh usually runs $60 to $150 if you’re buying new pieces.
- The biggest thing people overlook is vertical space. A small riser or shelf stand doubles your surface instantly.
- Common mistake: buying too many containers. Start with three zones max or things get complicated fast.
- Moisture warps wood quickly in bathrooms. Opt for sealed wood, acrylic, or metal organizers near the sink.
- Wipe down organizers once a week. Residue builds under trays and ruins the surface over time.
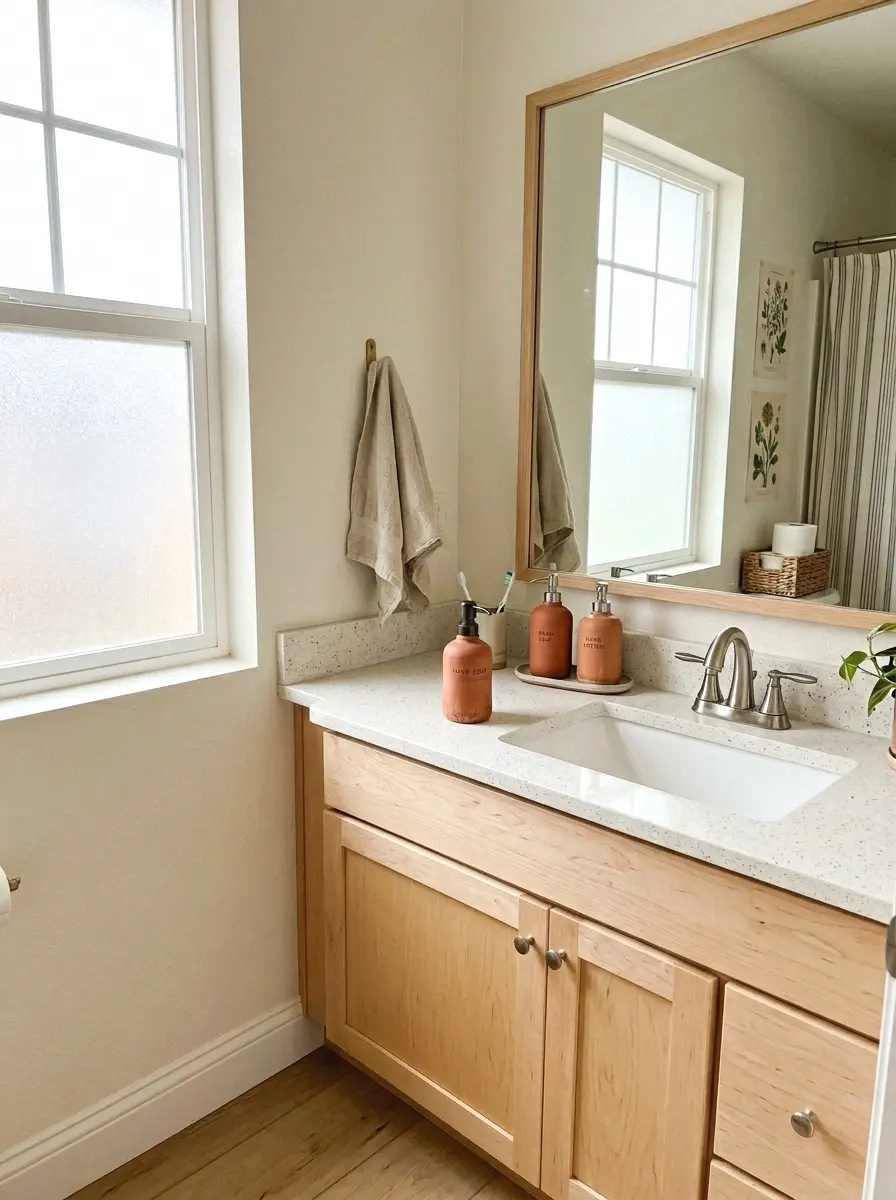
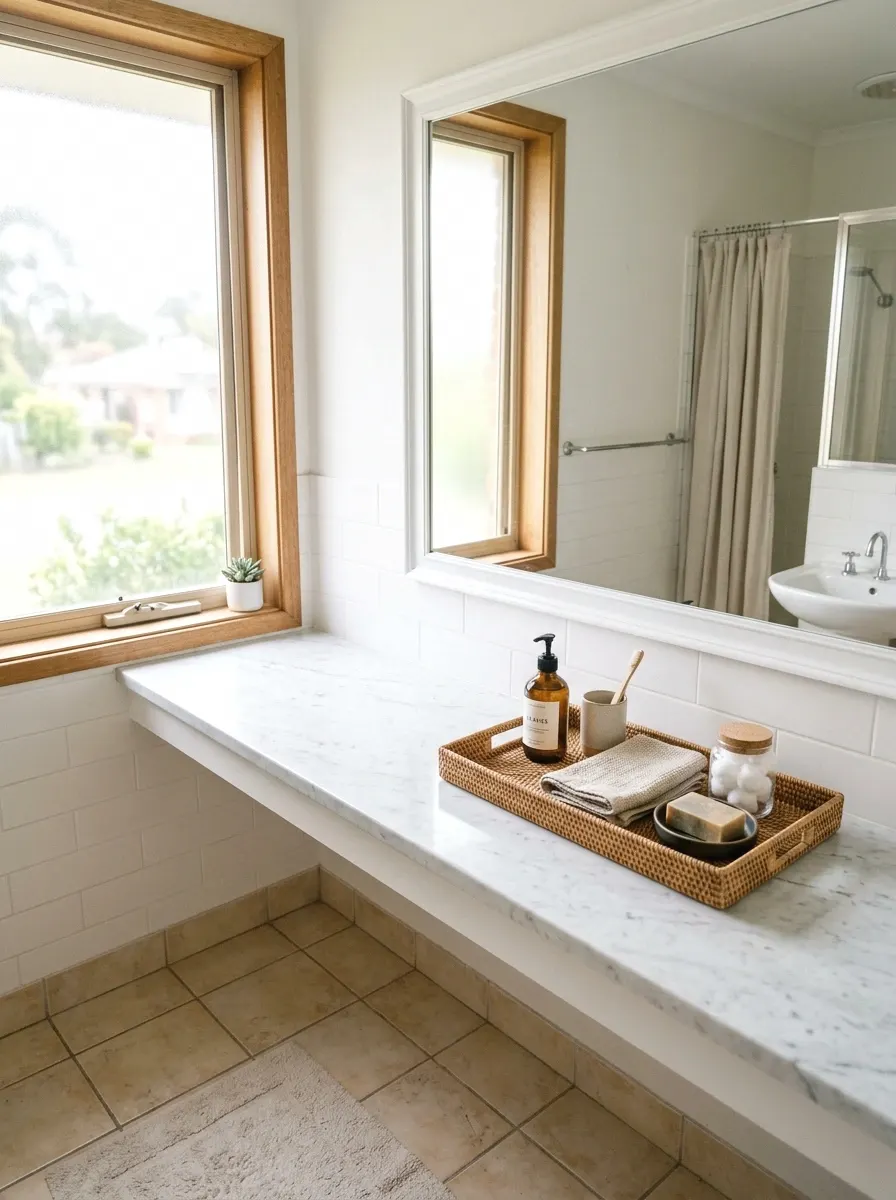
1. Use a Tray to Create One Clear “Landing Zone”
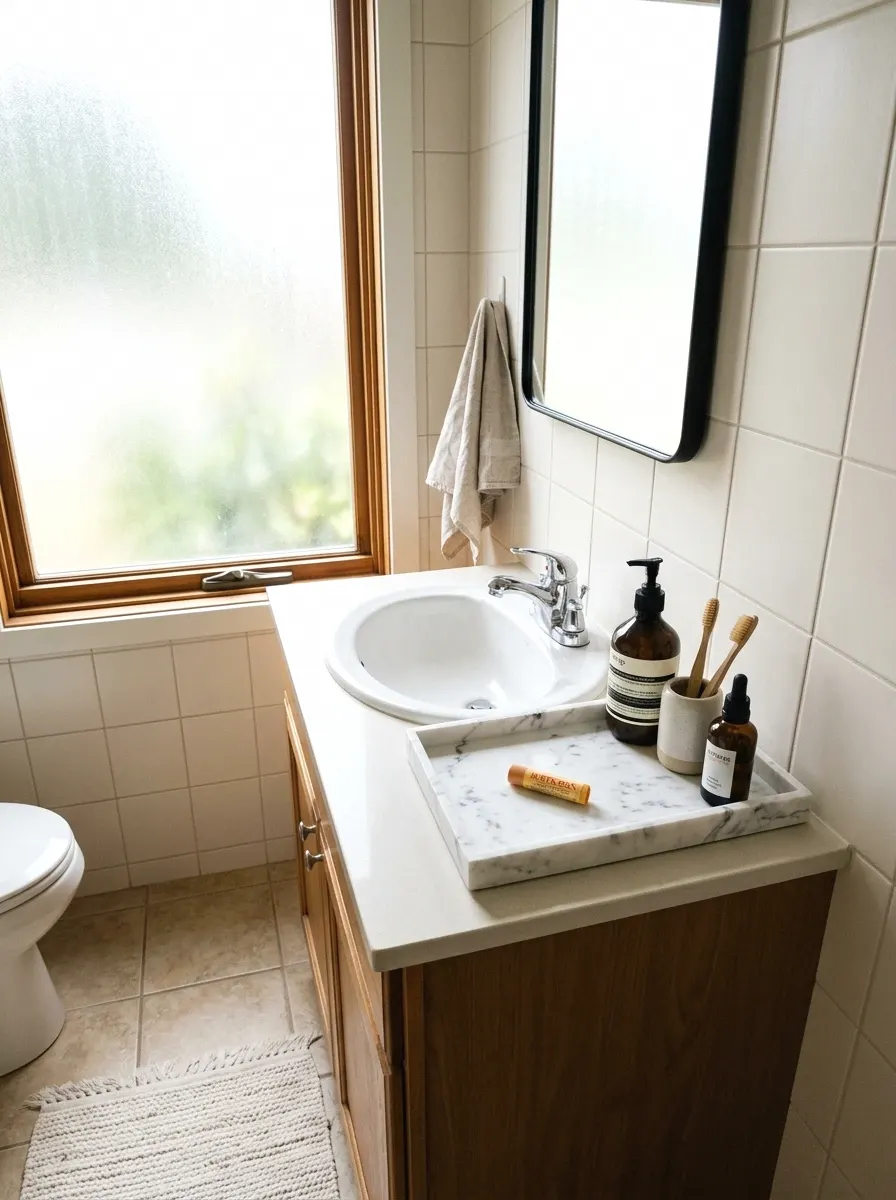
The counter chaos usually starts because everything just lands wherever. A tray fixes that by giving your most-used items one defined home. It sounds too simple, but it genuinely works. When I tried this in my own space, I realized I’d been fighting clutter when I just needed boundaries. One tray, one zone.
Pick a tray that’s about 10 to 12 inches wide and fits your most-used four or five items. Marble-look acrylic trays run about $12 to $20 at most home stores. Stone resin trays look more polished and run $30 to $45. The key is sticking to the rule: if it doesn’t fit on the tray, it lives somewhere else.
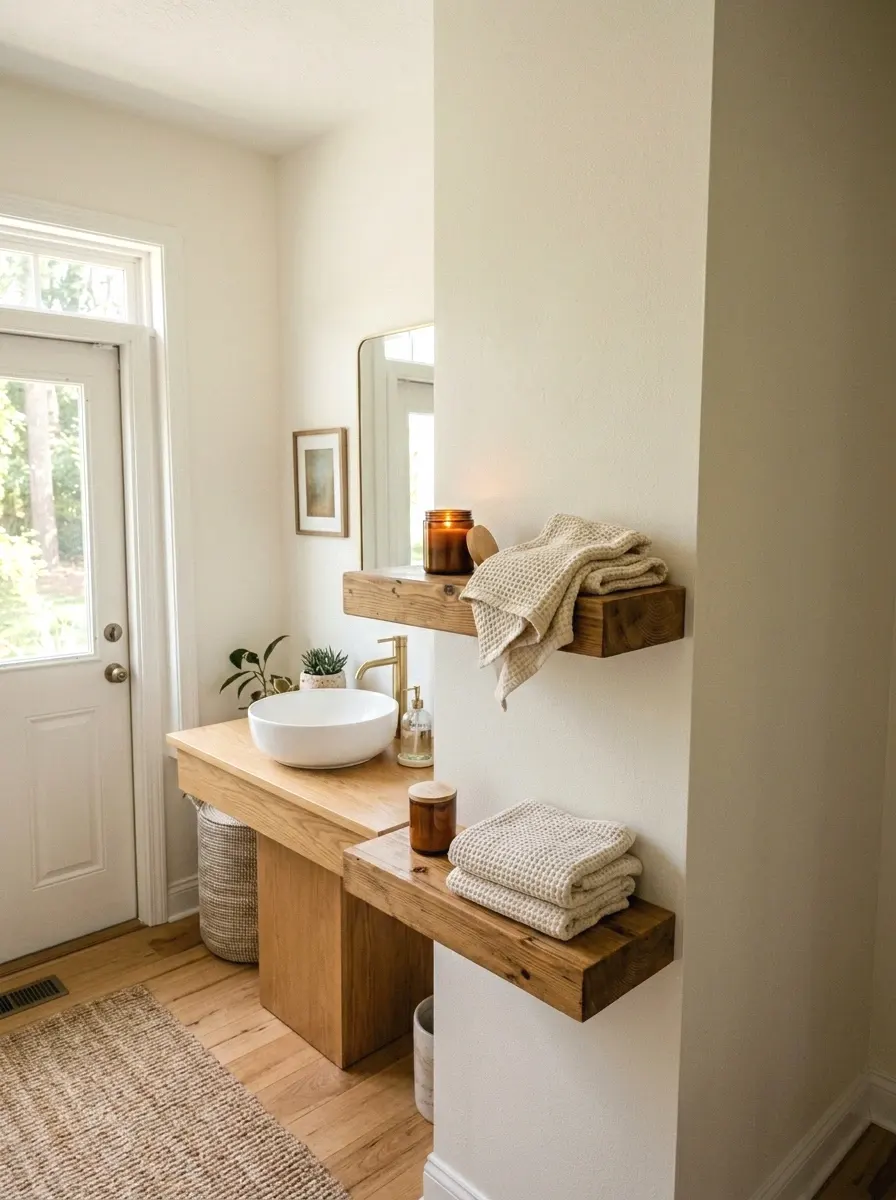
2. Add a Small Riser or Shelf to Go Vertical
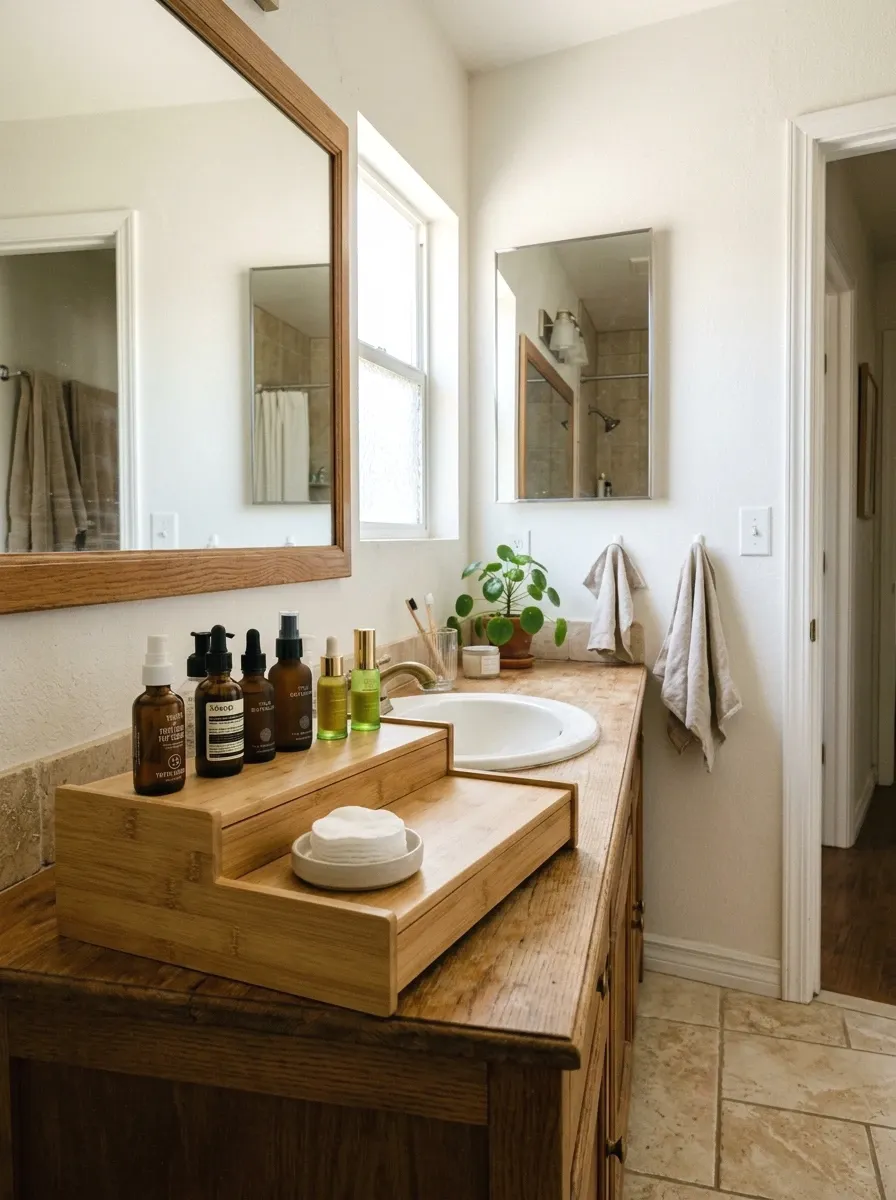
Here’s something that takes less than five minutes to set up and immediately makes your counter look twice as organized. A small riser or stepped shelf lets you store items behind and below each other instead of side by side. That one change opens up serious space.
Look for two-tier bamboo shelf risers or metal wire risers in the $15 to $30 range. They’re usually about 8 to 10 inches wide, which is the right size for most bathroom counters. Taller items like serums or toners go on the back tier. Shorter things, like cotton rounds or a small candle, sit up front.
If you want to take this further, there are some vertical shelf options that actually work well in tight bathroom spaces.
More Ideas:


3. Switch to a Wall-Mounted Toothbrush Holder

Your toothbrush holder is taking up prime counter real estate and it doesn’t have to. Moving it to the wall is one of the fastest wins you can get. A wall-mounted holder keeps brushes off the counter entirely and actually looks much cleaner in the process.
Self-adhesive options work well for renters and run $8 to $18 depending on material. Stainless or matte black finishes are popular right now and hold up well against steam. Make sure the adhesive is rated for bathroom humidity or it’ll peel within a few weeks. Most come with a mounting strip and take under two minutes to install.
If you like the idea of getting more off the counter entirely, there are wall-mounted storage ideas for bathrooms that go well beyond just the toothbrush.
4. Try a Spinning Organizer for High-Use Items
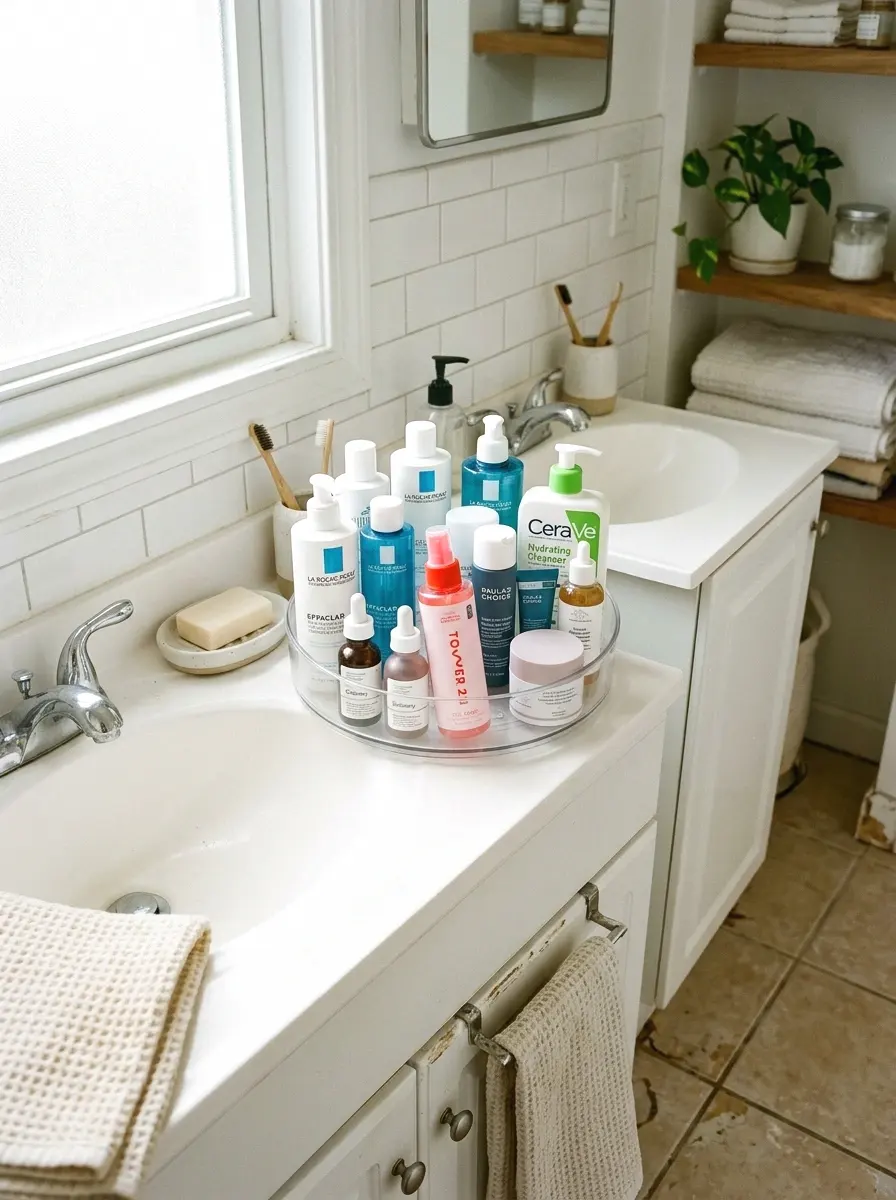
So if you’re constantly reaching past things to get to what you actually need, a small lazy Susan style spinning organizer is the fix. You spin it instead of shuffling everything. It sounds minor until you’ve used one for a week and you can’t imagine going back.
These run $14 to $35 for bathroom-sized versions. Look for ones with a lip around the edge so things don’t slide off mid-spin. A 6 to 9 inch diameter fits most counters well. Clear acrylic shows everything at a glance, which is the version I’d suggest if you tend to lose track of products.
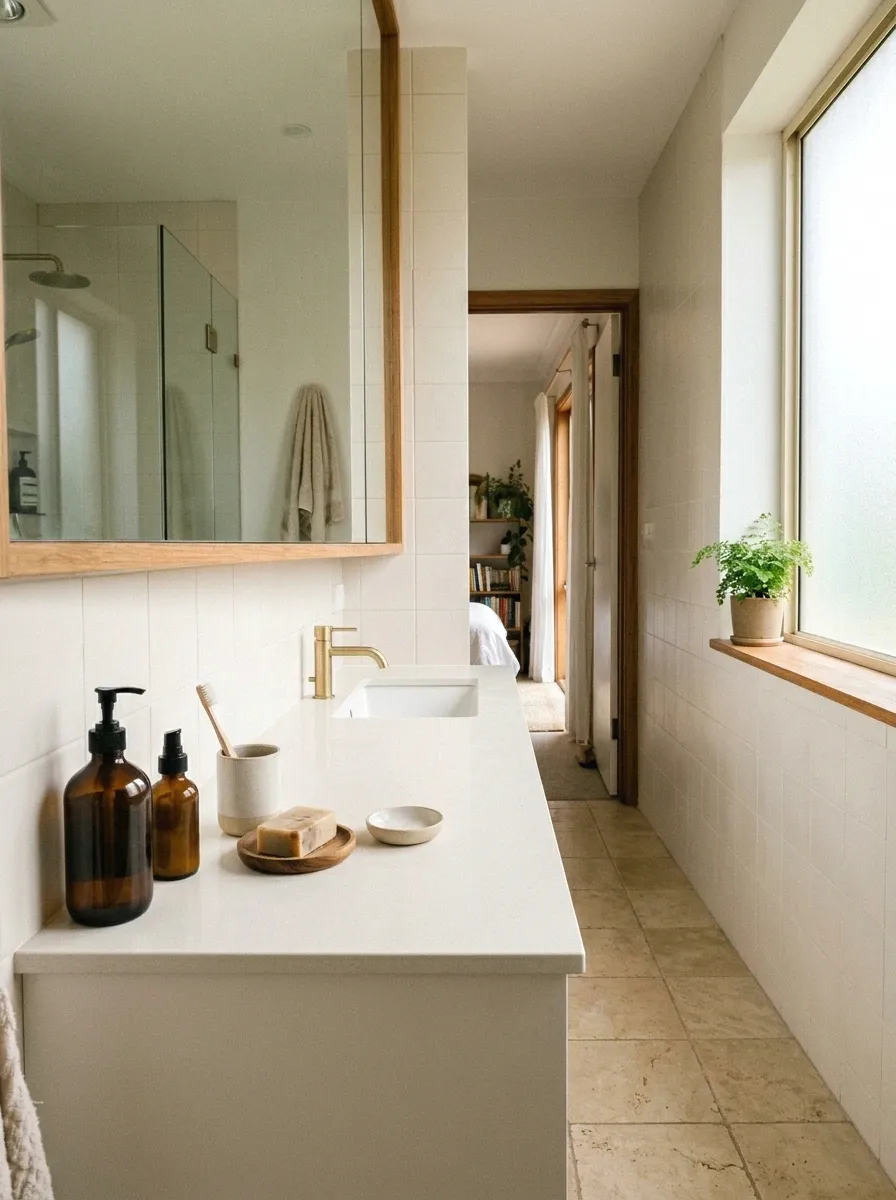
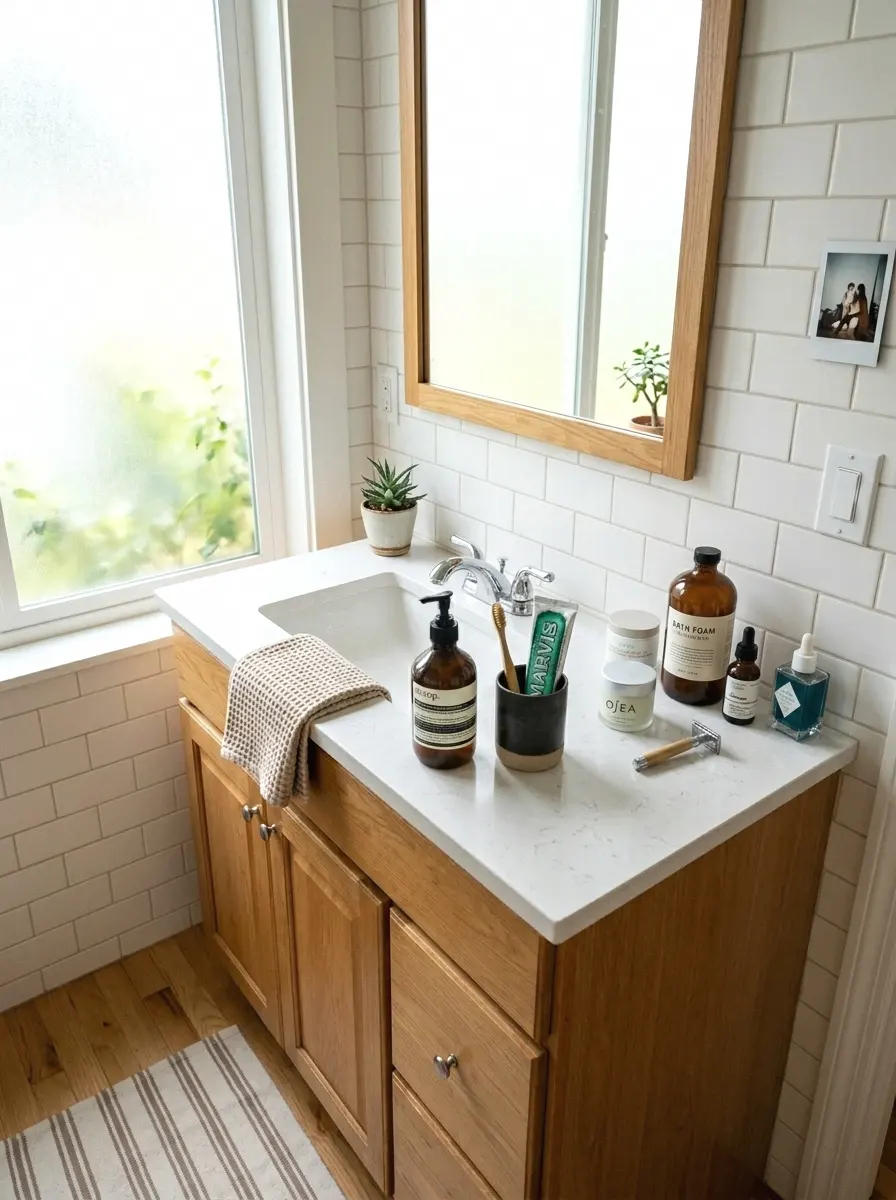
5. Decant Your Products Into Clean Matching Containers
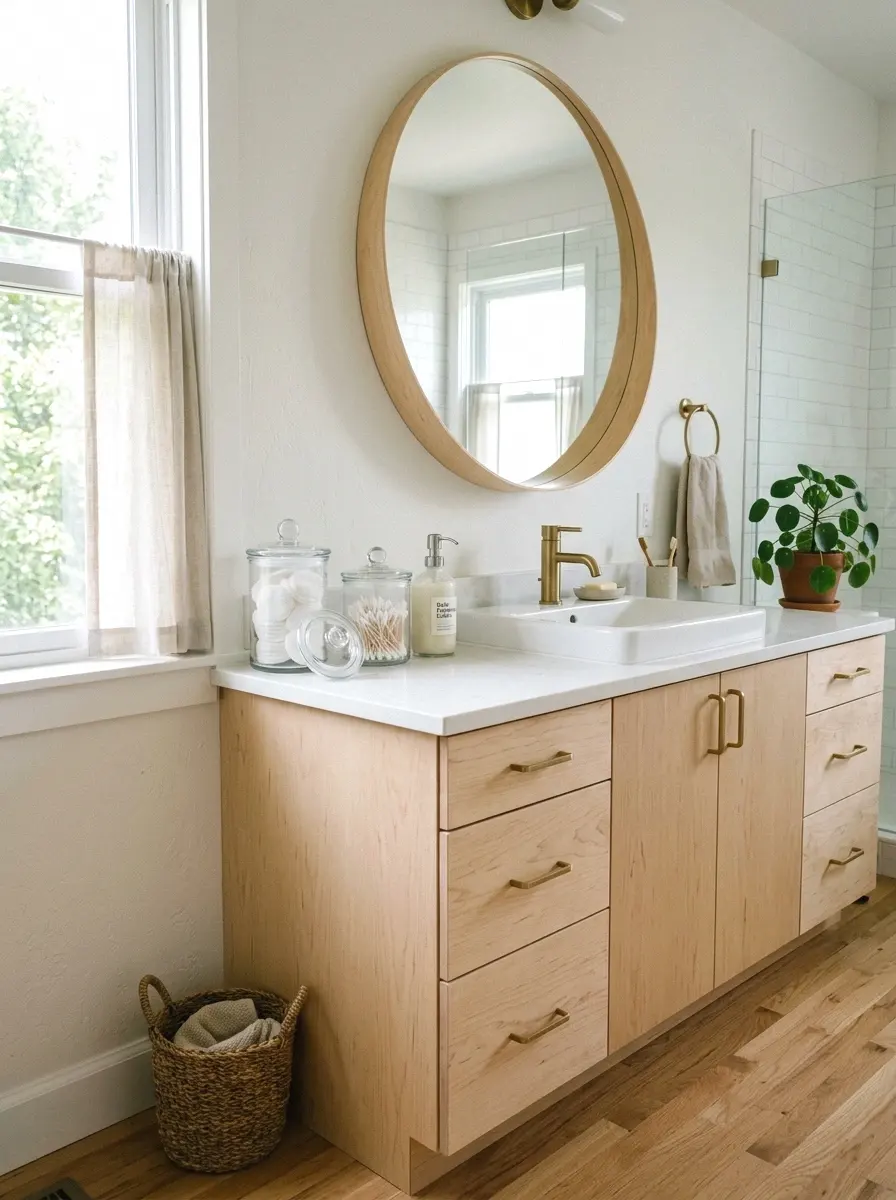
This one changed how my whole counter looked overnight. Your original product packaging is often bulky, different sizes, and kind of visually loud. Putting lotions, cotton swabs, and Q-tips into matching containers makes the counter look intentional instead of like a random collection.
Clear apothecary jars or small dispenser bottles run $20 to $40 for a set of four to six. Pump dispensers for hand soap and lotion make the area look much more put-together without changing anything functional. Label the lids if you have multiple similar containers. Refilling them takes maybe two extra minutes and it’s genuinely worth it.
If you’re going this route, it helps to have a sense of the overall look you’re building toward — matching bathroom decor that feels cohesive makes the effort really show.
6. Install an Over-the-Faucet Caddy
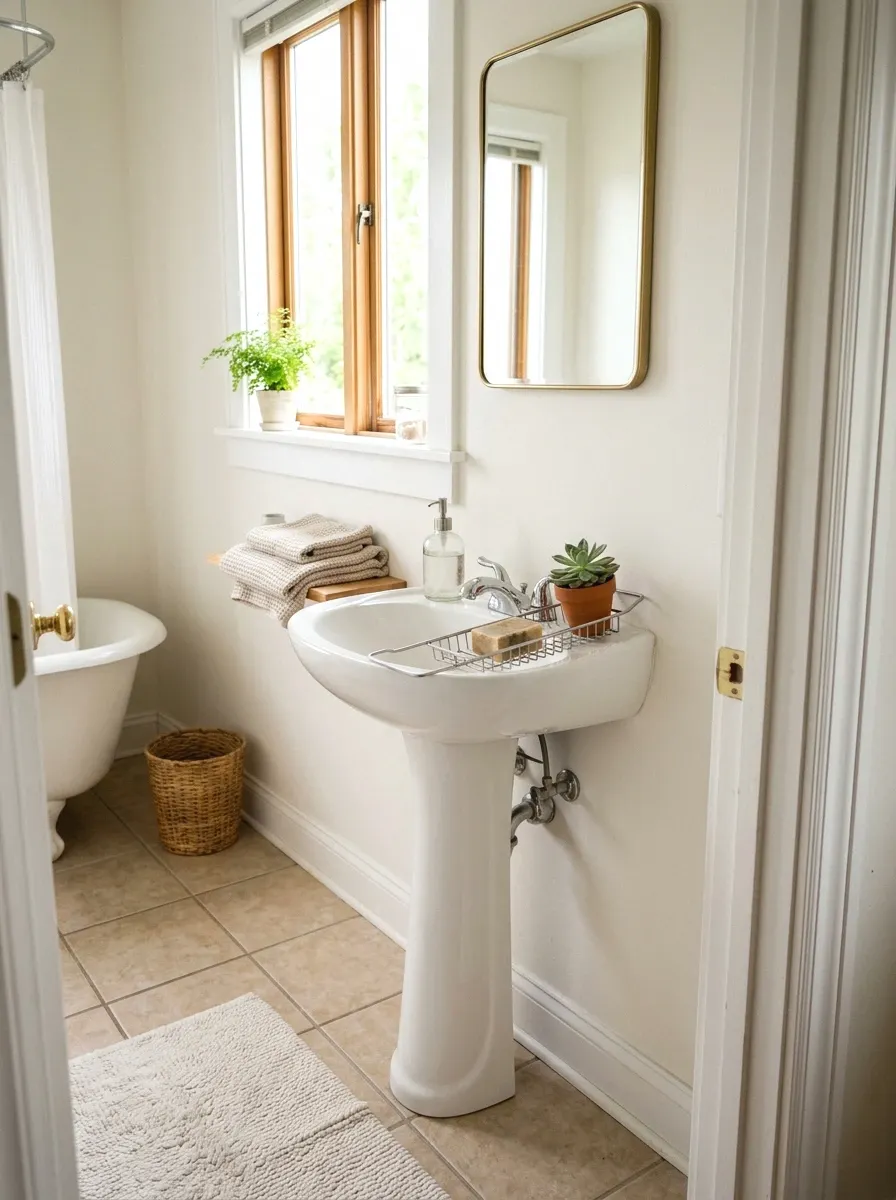
The space right over the faucet is almost always wasted. An over-faucet or bridge caddy sits across both sides of the sink and uses that space for sponges, soap, or a small plant. It works especially well in pedestal sink setups where you have zero counter space to work with.
These caddies run $20 to $45 and are usually made from stainless or coated wire. They fit most standard faucets but check the width before you buy, since some won’t clear taller gooseneck faucets. A small succulent or air plant on the caddy also adds a bit of life without taking up counter space.
More Ideas:
7. Use Clear Stackable Bins for Drawer Overflow
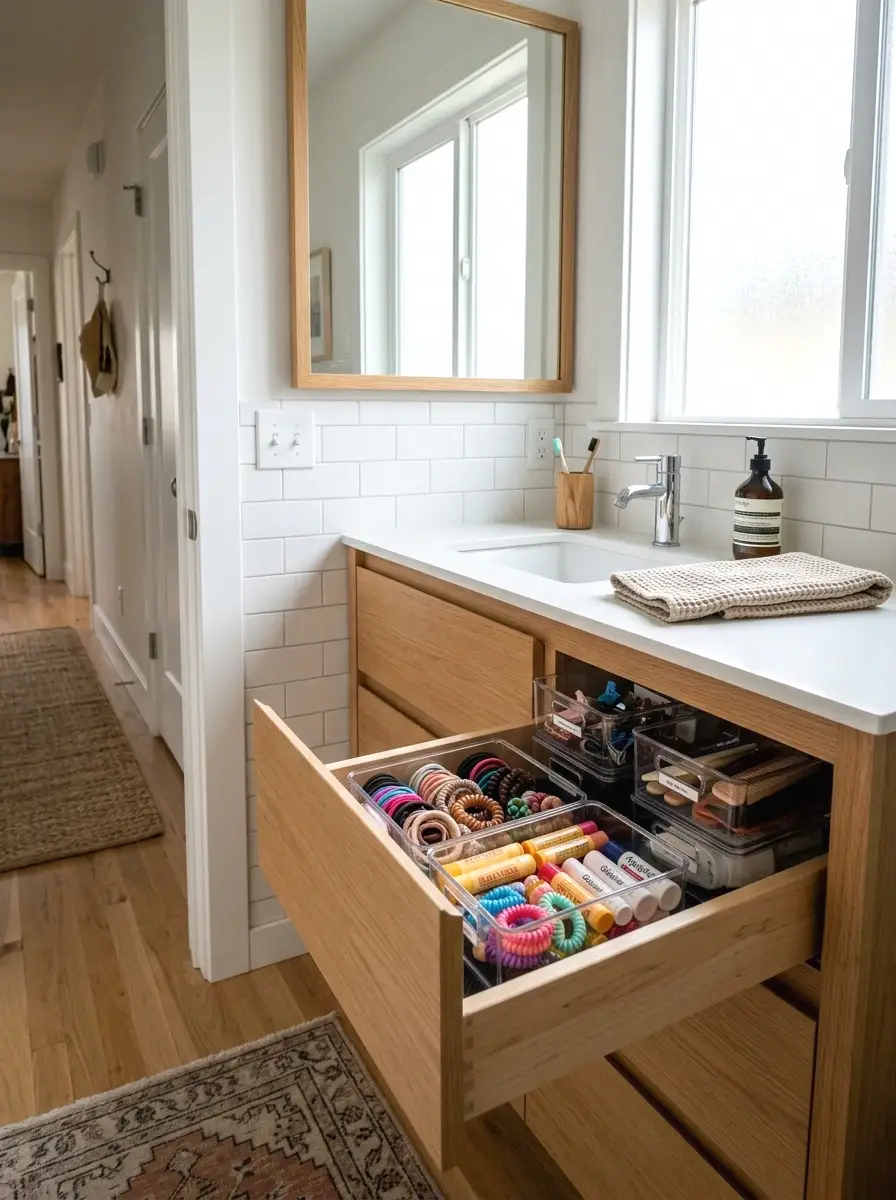
Here’s what nobody tells you: half of counter clutter is stuff that should be in a drawer but doesn’t fit because the drawer is already a mess. Getting the drawer organized first actually fixes the counter. Small clear stackable bins inside the drawer create real sections instead of one jumbled pile.
Sets of four to six small acrylic bins run $15 to $30. The sizes that work best for bathroom drawers are about 2 by 4 inches for small things like hair ties and lip balm, and 4 by 6 for bigger items like a flat iron or a full-size tube of toothpaste. Once the drawer is sorted, a lot of what’s on the counter finally has somewhere to go.
8. Add a Small Catch-All Dish for Jewelry and Extras
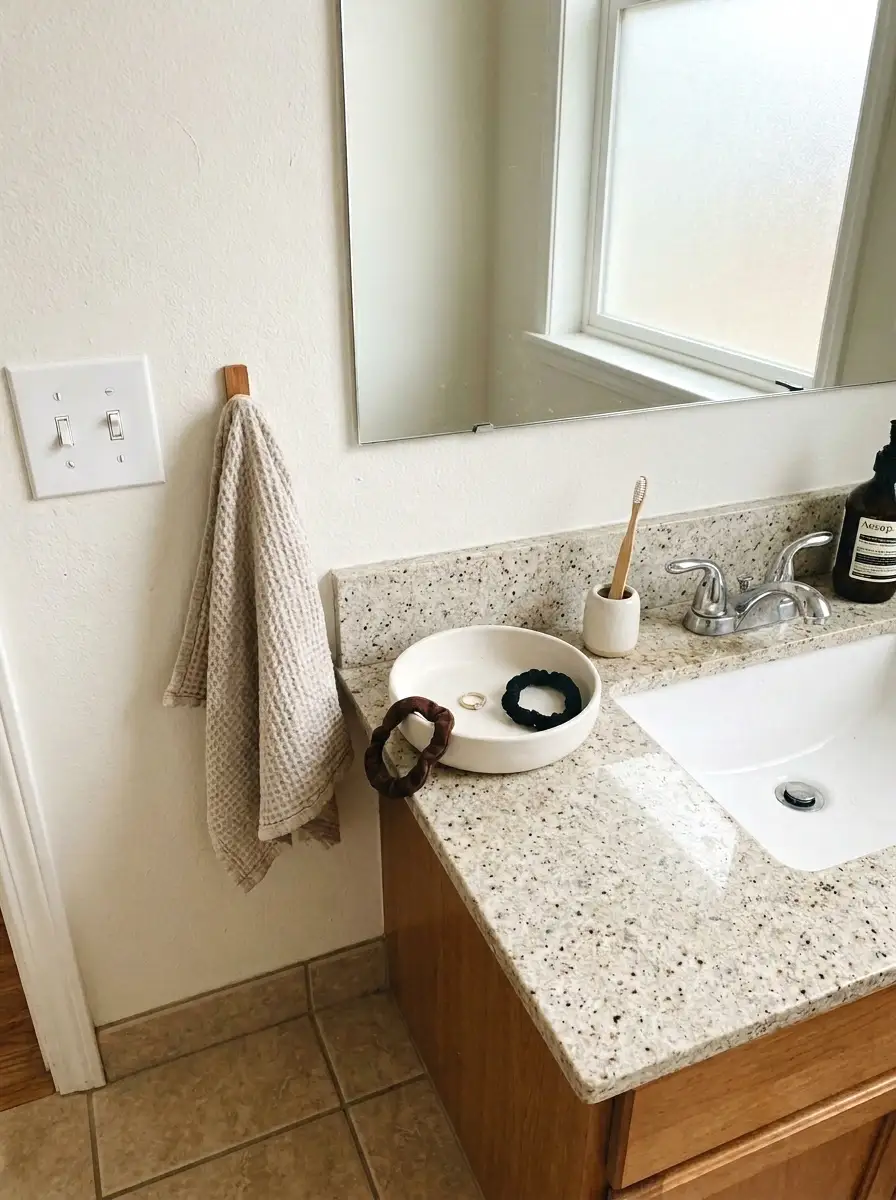
There’s always a watch, a ring, two hair ties, and a lip gloss sitting loose on your counter. They don’t belong in the organizer, but they also don’t have a home. A small ceramic or glass catch-all dish is the answer. It contains the random stuff without making it look messy.
Small ceramic ring dishes run $8 to $20 and come in a ton of styles, from minimal matte white to painted patterns. A 4 inch dish is usually enough. Keep only the stuff you use daily in it. If it overflows, that’s a sign you need to actually put some things away, not buy a bigger dish.
9. Mount a Small Mirror-Side Organizer
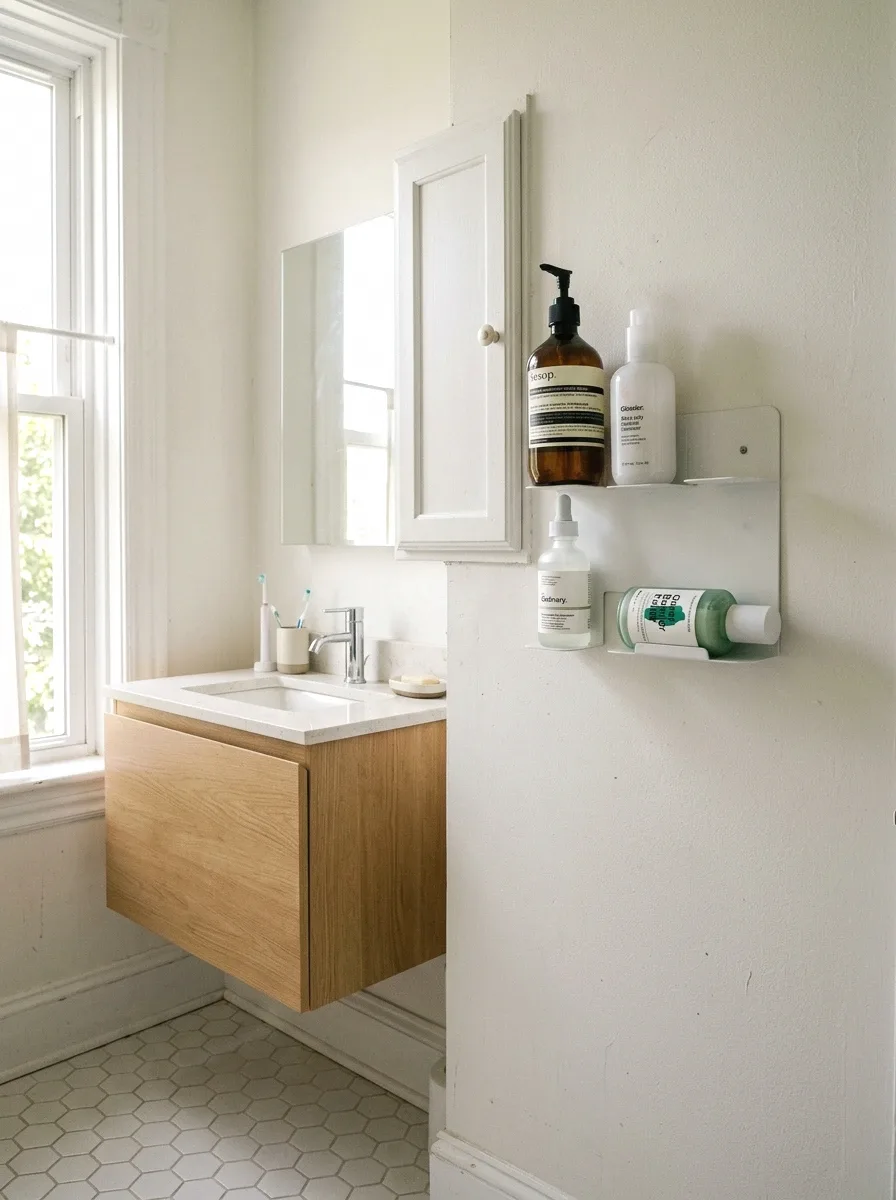
The space right next to or on the side of a medicine cabinet is another spot most people ignore completely. A slim wall-mounted organizer there can hold a handful of daily-use things without touching the counter at all. It’s one of the better ways to add storage in a bathroom where the counter is too small.
Slim side-mount organizers run $18 to $40 and usually hold four to six items. Look for ones with adjustable shelves or small cups if your products vary in height. Adhesive strips or small screws both work depending on your wall surface. This one is so underrated, especially in bathrooms where you’re sharing space.
For anyone splitting a bathroom with a partner, there are some double sink setup ideas and layouts that make shared counters much easier to manage.
10. Keep Only a 7-Day Supply of Products Out
Most of the clutter on a bathroom counter isn’t actually stuff you use. It’s backup products, things you bought and forgot about, and things you use once a month. The rule I follow now: only what I touch this week lives on the counter. Everything else goes under the sink or in a cabinet.
This is more of a habit shift than a purchase, but it’s the one that actually makes every other organization idea stick. Backstock goes in labeled bins under the sink. If you run out of something, you refill from there. The counter becomes a working surface instead of a storage dump.
This mindset pairs really well with minimalist bathroom styling on a budget, where the whole point is keeping only what earns its place.
More Ideas:
11. Use a Soap Dispenser That Doubles as Decor
A regular bar soap dish is always kind of grimy. And a plastic pump bottle from the drugstore looks fine, but it doesn’t add anything to the space. A pump dispenser that actually looks good is one of those small upgrades that pulls a whole counter together.
Ceramic or matte-finish dispensers run $14 to $35. Matte black and warm terracotta are popular right now and both age really well without looking trendy in a dated way. Get one that holds at least 10 oz so you’re not refilling it every week. A matching hand lotion dispenser next to it and your whole sink area looks genuinely put-together.
If that warm, timeless feel appeals to you, there are some vintage bathroom looks that age well and work with almost any counter setup.
12. Add a Small Potted Plant or Dried Botanicals
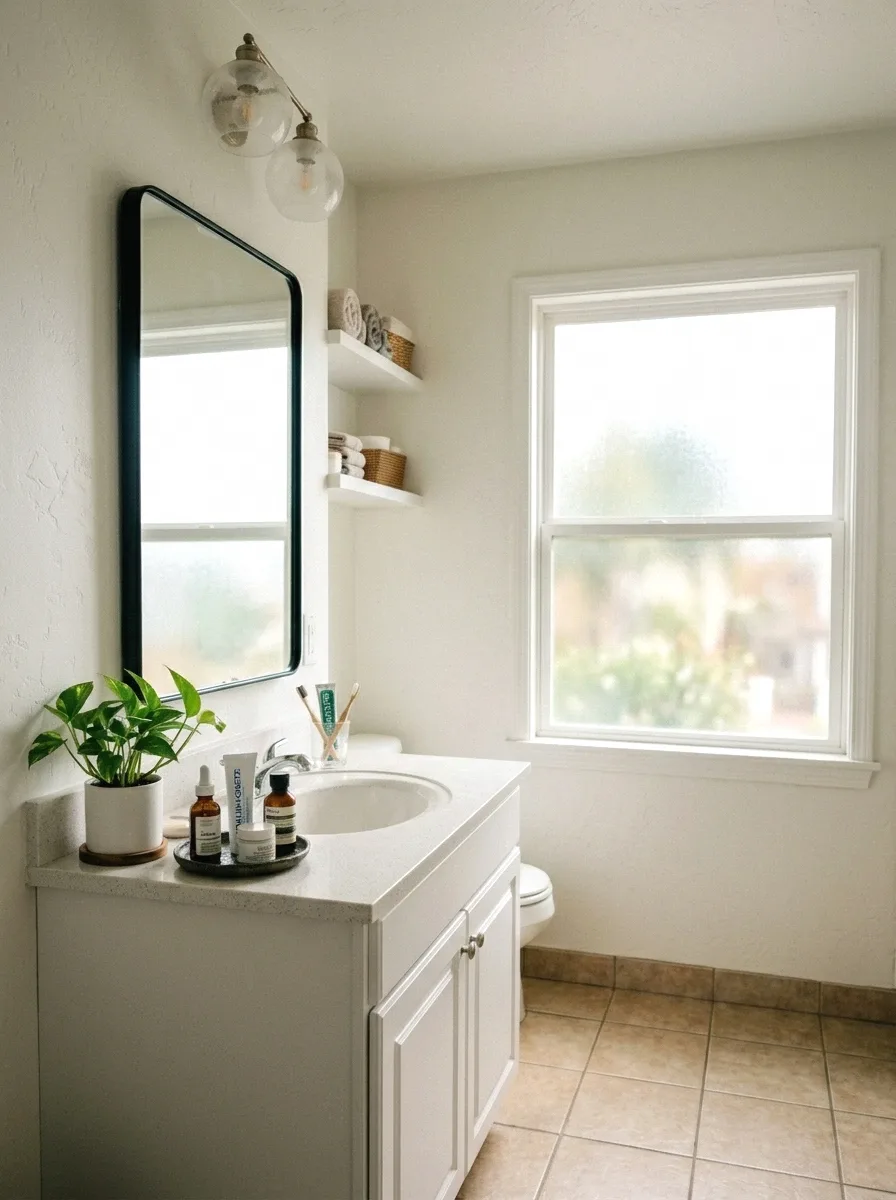
I was skeptical about this one, but adding a small living element to the counter actually changes how the whole room feels. It doesn’t have to be fancy. A small pothos cutting in a 3-inch pot, or even a tiny bundle of dried pampas grass in a bud vase, adds warmth in a way that organizing tools alone don’t.
Low-light tolerant plants like pothos, ZZ plants, or small snake plant cuttings all handle bathroom humidity well. A 2 to 4 inch pot costs almost nothing, $3 to $8 at most garden centers. Keep it small or it just becomes another thing taking up space. The goal is one living detail, not a full plant shelf.
13. Create a “Daily Routine” Section vs. “Weekly Use” Section
Here’s a simple system that takes about ten minutes to set up and makes a real difference. Divide your counter into two zones: one for things you use every single day, one for things you use a few times a week. Daily stuff stays front and center. Weekly stuff gets tucked toward the back or into a small drawer basket.
You don’t need extra products to make this work. Just rearrange what you have. Most people find that their actual “daily” items are only about five to seven things. Once you see how few items you truly need up front, the counter starts to feel manageable. It’s a perspective shift more than anything else.
14. Use Magnetic Strips for Metal Beauty Tools
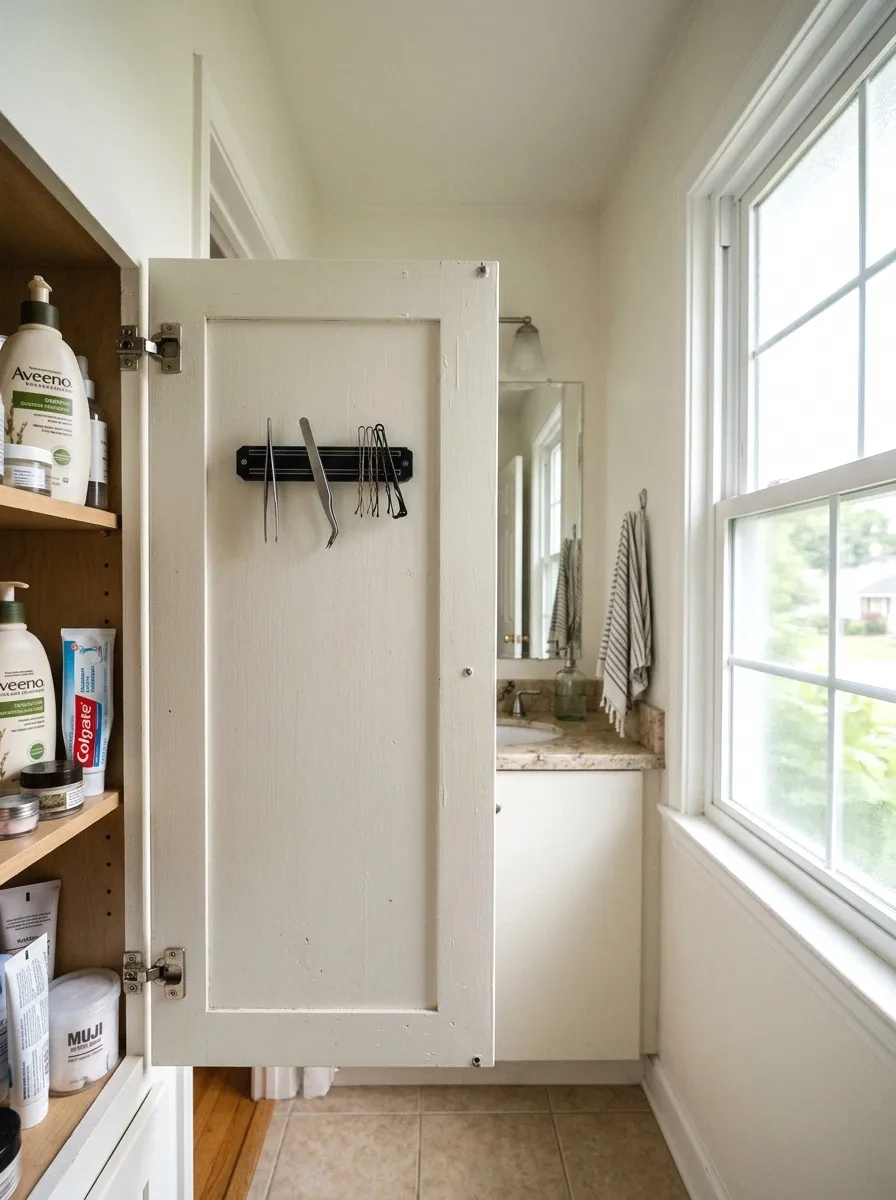
If you have metal bobby pins, tweezers, nail scissors, or small metal tools that always get lost in a drawer, a small magnetic strip mounted inside a cabinet door or on the wall near the counter is the fix. It took me ages to figure this out. Everything that was constantly missing is now always right there.
Small magnetic strips designed for tool storage run $10 to $25 and mount easily with screws or strong adhesive. A 6 to 8 inch strip holds a surprising number of small metal tools. Mount it inside a cabinet door to keep the look clean or on a side wall if you want it accessible. Bobby pins especially, these things are always everywhere without it.
More Ideas:
15. Add a Narrow Shelf Above the Counter
If you’ve got wall space above your counter and no upper cabinet there, a floating shelf adds significant storage without touching the counter at all. This works especially well in bathrooms with high ceilings or where the mirror doesn’t extend to the ceiling.
A simple 24-inch floating shelf runs $25 to $60 depending on material. Wooden shelves with a sealed or painted finish hold up fine in bathroom humidity as long as you’re not putting them directly in a splash zone. Put things you don’t grab every day up there, like extra towels, a candle, or backup products. It keeps the counter clear without relocating everything to a cabinet.
If a full floating shelf feels like too much commitment, there are also bathroom stand ideas for tight spaces that add similar storage without any drilling.
16. Get a Countertop Tissue Box Cover
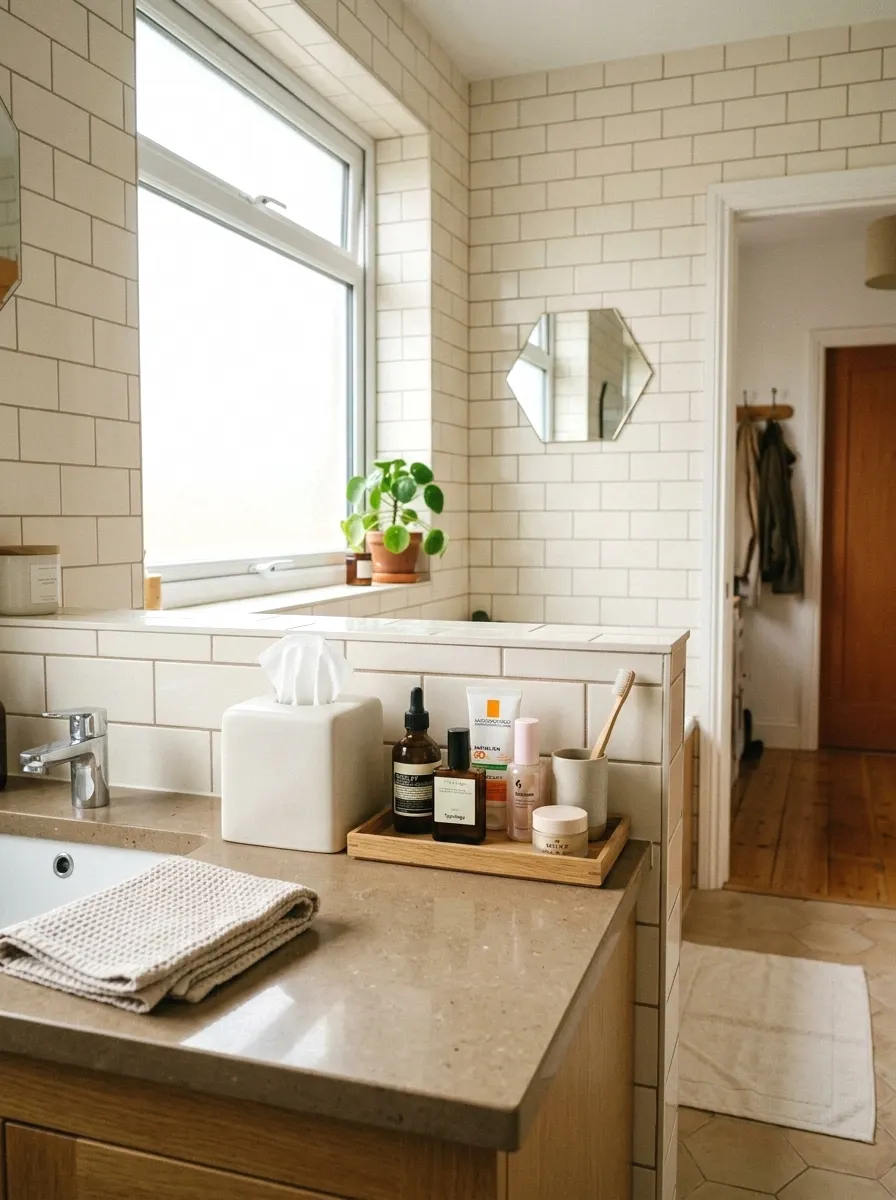
A bare tissue box in a cardboard sleeve looks kind of out of place when everything else on your counter is organized. It’s a small detail, but swapping in a solid tissue box cover makes the whole surface feel more considered. It’s one of those things people notice without knowing why.
Ceramic or resin tissue box covers run $15 to $30 and come in most standard sizes for rectangular tissue boxes. Matte white, brushed brass, and woven rattan are the styles that hold up best across different bathroom aesthetics. Make sure you measure your tissue box first since some decorative covers only fit specific sizes.
17. Use a Label Maker on Everything
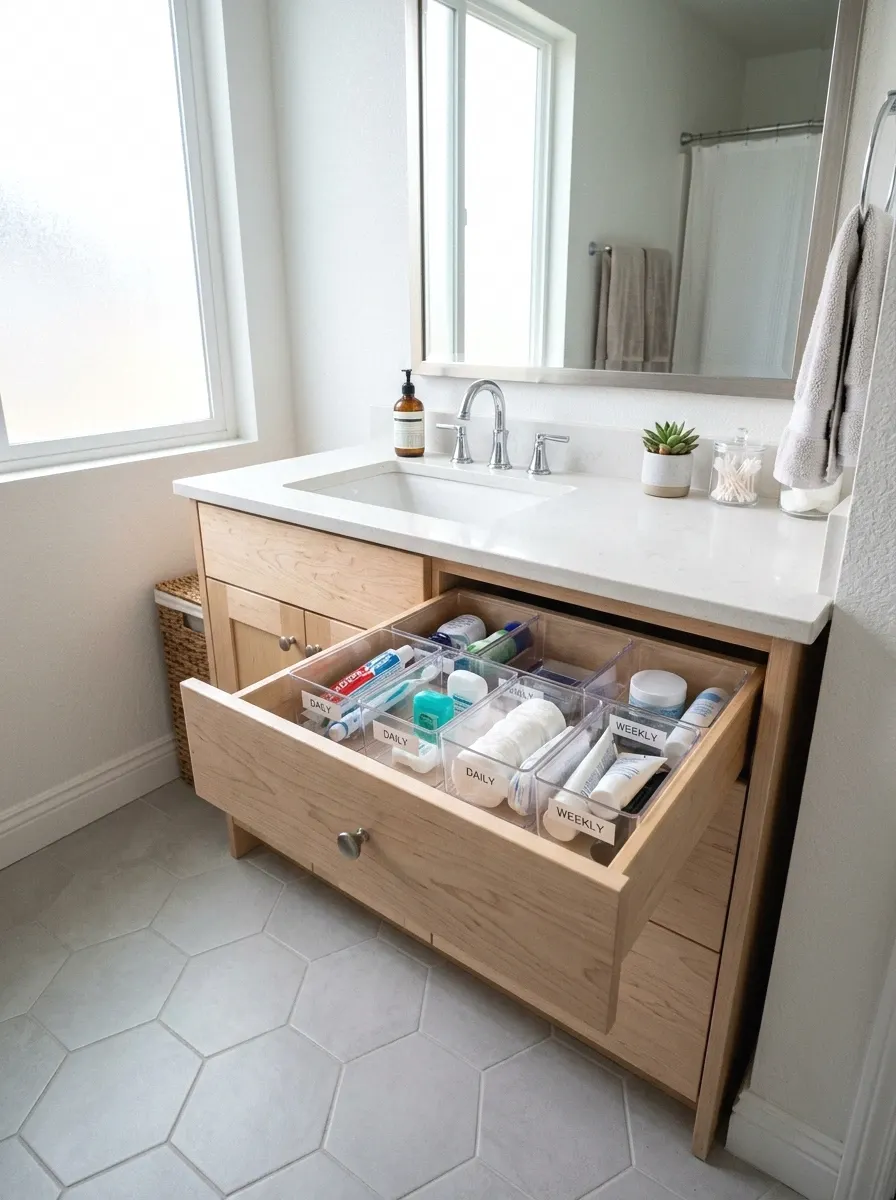
This sounds very “organizing content” of me, but hear me out. Labels are what keep a system working after two weeks when the energy for organizing starts to fade. When everything has a label, things go back where they belong without any extra mental effort.
A basic label maker runs $20 to $35. Print clear, simple labels for each container, tray, or basket. Even just “daily,” “weekly,” and “extra” on three bins under the sink makes restocking feel automatic. The system doesn’t have to be elaborate. Simple labels mean less decision fatigue, which means the system actually survives contact with real life.
18. Add a Slim Drawer Insert for the Vanity
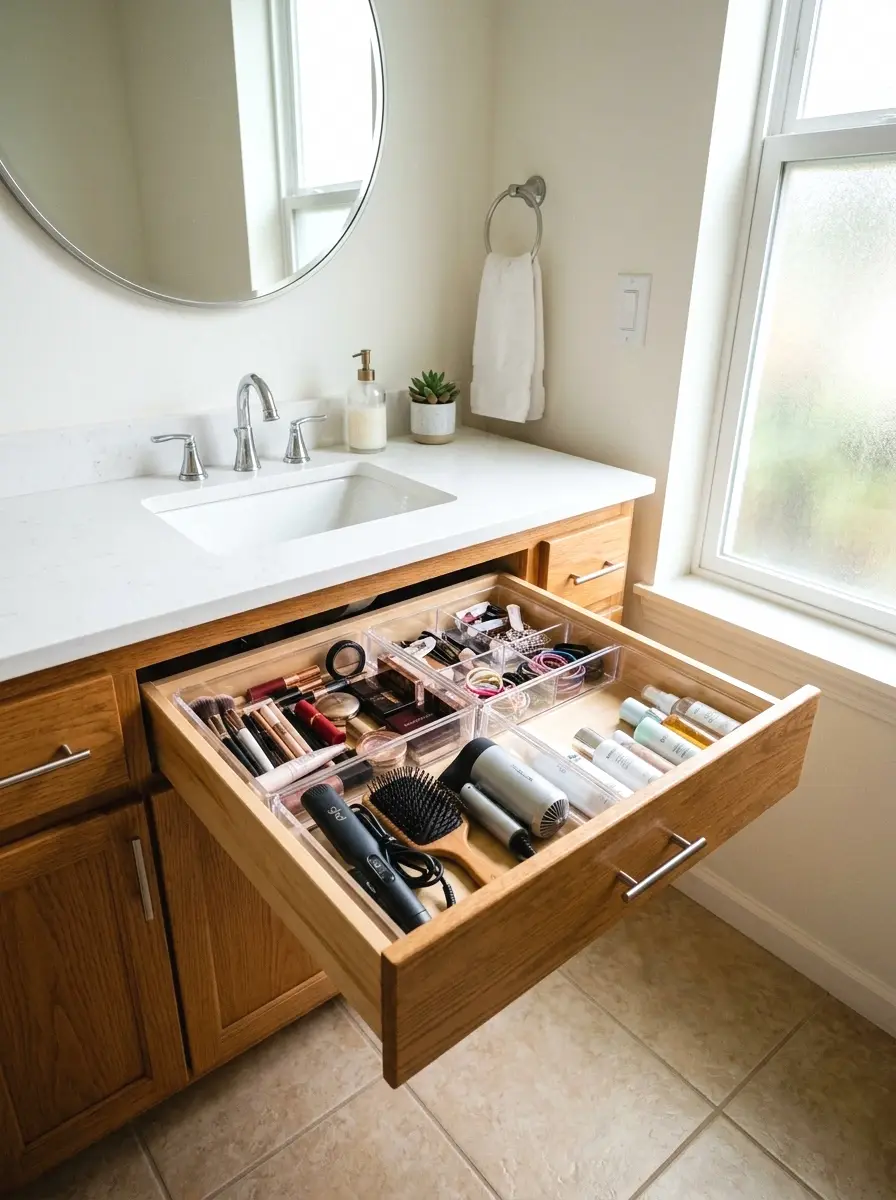
If your vanity has at least one shallow drawer and it’s currently just a pile of stuff, a drawer organizer insert is the single best thing you can do for your counter. When the drawer works properly, the counter almost organizes itself because things have somewhere real to go.
Slim adjustable drawer organizer sets run $20 to $45 and most can be cut or rearranged to fit different drawer widths. Look for sets that include at least four dividers so you can create distinct sections. The goal is one section for daily makeup or skincare, one for hair tools, and one for extras. Fifteen minutes to set up, and your counter gets noticeably easier to maintain from that day forward.
More Ideas:
19. Try a Countertop Mini Cabinet or Box Organizer
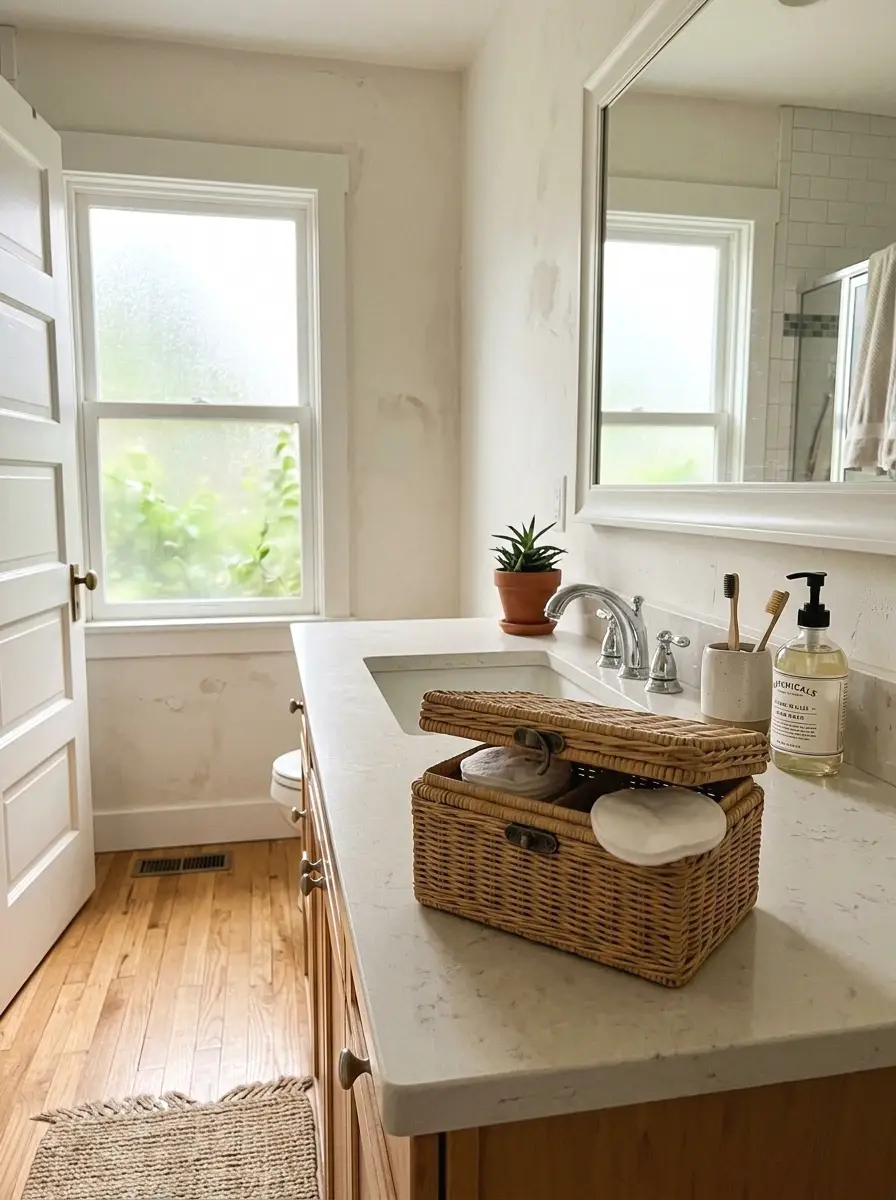
If your counter has space for a small box-style organizer, this is the version of “add more storage” that actually looks intentional. A small countertop cabinet, usually about 6 to 8 inches wide and 8 to 10 inches tall, gives you hidden storage right on the surface. Useful for skincare steps, cotton rounds, or things you’d rather not have visible.
These run $25 to $65 depending on material. Rattan boxes with a hinged lid look really nice and hold up well in bathroom conditions as long as they’re not right next to the sink. Acrylic or mirrored mini cabinets work better in humid spots. The key is getting one that’s proportional to your counter. Too big and it just becomes a new problem.
20. Do a Monthly Counter Audit
The last idea isn’t a product. It’s a habit, and it might be the most useful one on this list. Once a month, take everything off your counter, wipe it down, and only put back what you actually used that month. Anything that didn’t get touched goes into a “decide later” bin under the sink.
This audit takes about ten minutes and it resets the whole system. Products expire, routines change, and stuff accumulates without you noticing. The monthly reset is what keeps a well-organized counter from slowly sliding back into chaos over time. It’s the maintenance step most people skip, and it’s the reason most organization systems stop working after a few months.
Final Thoughts on Bathroom Counter Organization
You’ve got 20 real ways to fix your counter, and most of them cost less than $40 each. The common thread across the best ideas here is this: every item needs a defined place, and the counter should only hold what you actually use. That’s the whole system, and it works.
Start with the tray. Set it up today, put your five most-used items on it, and move everything else off the counter. That one step will show you immediately how much space you actually have to work with.
For more visual inspiration, there are real homes with organized counter setups built around small sinks that show exactly how this comes together.
If you want more ideas like this for real homes and real budgets, homelypop.com has a lot more to explore.