21 Washer Dryer Bathroom Ideas That Actually Work in Real Homes
Your bathroom is already tight on space, and now your washer and dryer are living in there too. It feels chaotic. The hoses show. The lint trap is always full. You’re stepping around laundry baskets just to brush your teeth.
This list covers 21 washer dryer bathroom ideas pulled from real homeowner discussions, budget breakdowns, and what people actually tried in small apartments and older homes. Every idea was checked against what works in tight, awkward layouts, not showroom floor plans. Prices range from $30 to around $300, so there’s something here whether you’re renting or own the place.
This is for people with $100 to $300 to spend and a bathroom that’s doing double duty whether they chose that or not. It’s not for anyone building a dedicated laundry room from scratch. But if you’re working with what you’ve got, these ideas are all doable.
If you’re figuring out how to make that work long-term, there’s a whole breakdown on combining both rooms without chaos.
By the end, you’ll have a clear picture of how to make your washer dryer bathroom feel less like a utility closet and more like a room you don’t mind being in.
What to Know Before You Start Washer Dryer Bathroom Ideas
- Ventilation is the biggest issue. A dryer in a small bathroom needs at least 4 inches of clearance behind it for the exhaust hose.
- Stack units save about 9 square feet of floor space compared to side-by-side placement.
- Budget reality: a basic stacking kit runs $25 to $60. Don’t skip it thinking tape or brackets will hold.
- Most people forget to measure the door swing. A 32-inch door opening into a tight layout blocks access to front-load machines.
- Common mistake: painting over water-damaged drywall near machines. Fix the moisture issue first or the paint peels in weeks.
- Use moisture-resistant paint (look for “bathroom” or “kitchen” on the label) on any wall within 3 feet of the machines.
- For long-term function, clean the lint trap after every single load. A clogged dryer in a small bathroom is a fire risk, not just an inconvenience.
- A tension rod between the washer and wall costs about $8 and gives you a spot to hang clothes straight from the machine.
1. Stack Your Machines and Reclaim the Floor

The single biggest shift you can make in a washer dryer bathroom is going vertical. Stacking your front-load washer and dryer frees up anywhere from 8 to 12 square feet of floor space, depending on the machine size. That’s enough room to add a small hamper, a narrow shelf, or even just the ability to stand without turning sideways.
You’ll need a stacking kit designed for your machine brand. These run $25 to $60 at most hardware stores and are worth every penny for stability. When I first stacked my machines in a small bathroom, the floor space it opened up felt almost unreal. Don’t try to balance one on top of the other without the kit.
Once your machines are stacked, it also opens up a lot of options for vertical storage built around the machines.
2. Build a Curtain Surround Instead of a Cabinet
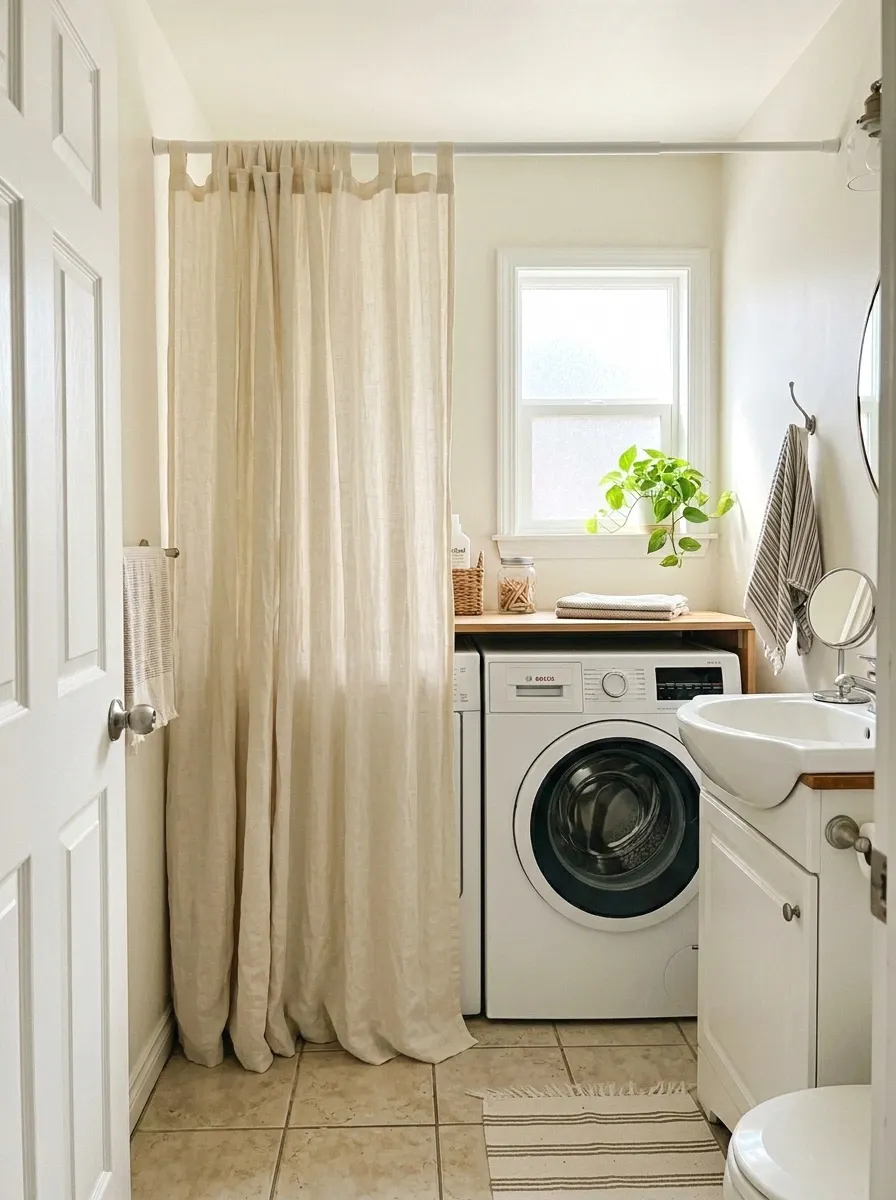
So here’s a thing that looks way better than it sounds. A tension rod and a simple curtain panel hung in front of your machines creates a clean, hidden look without spending $300 on a cabinet. You pick the curtain based on your bathroom’s color story, and the machines disappear when you’re done with laundry.
This works especially well if your machines sit in an alcove or a recessed corner. Curtain panels that fit a tension rod are around $15 to $30 at most home stores. Linen or cotton in off-white or a warm grey tend to hold up best with the humidity. Machine wash them every few weeks and they stay looking fresh.
More Ideas:


3. Add a Floating Shelf Directly Above the Machines
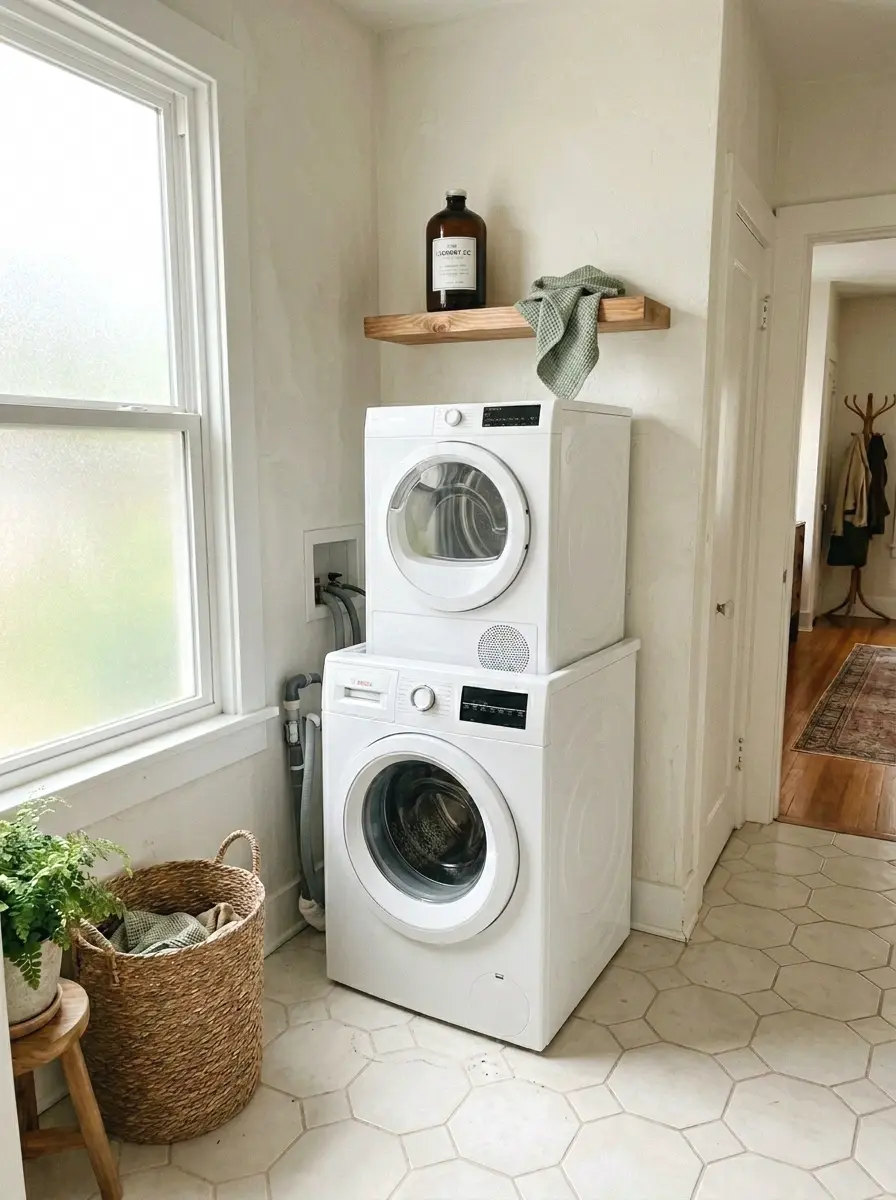
Here’s what a lot of people miss: the wall above stacked machines is usually completely empty. A floating shelf at about 72 inches from the floor gives you a spot for detergent, dryer sheets, and folded items without touching any floor space. It puts everything within reach and keeps the counters clear.
Floating shelves in wood or MDF run about $20 to $45 depending on width and depth. You want at least 10 inches deep and 24 inches wide to be actually useful. Mount it into studs, not just drywall anchors, since detergent bottles are heavier than people expect. One shelf can hold everything you use weekly.
If one shelf isn’t going to cut it, there are shelf and cabinet combos that actually work in tight laundry setups.
4. Use a Pegboard Panel for Tools and Accessories
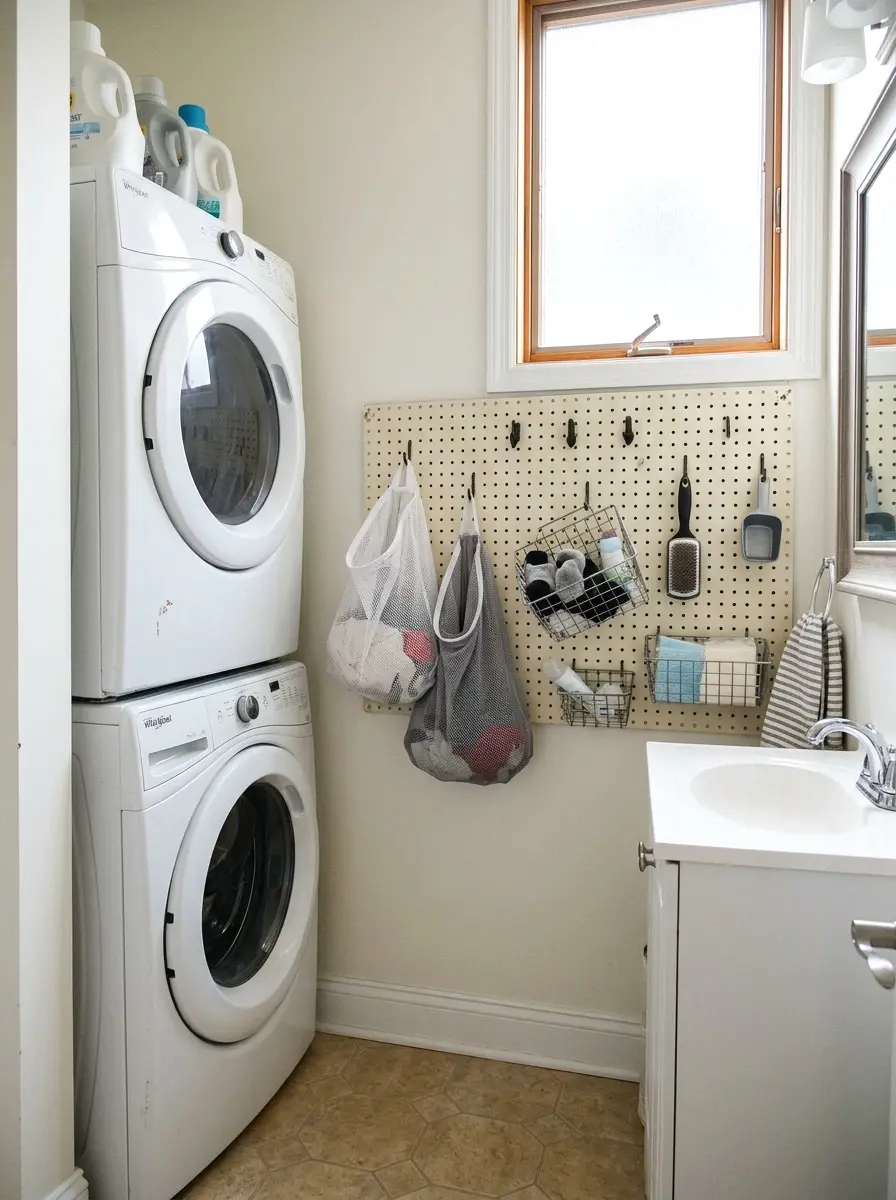
The wall beside or behind your machines is prime real estate. A pegboard panel, painted to match your wall color, lets you hang dryer balls, mesh bags, a lint brush, and small baskets for supplies. It turns a blank wall into a functional laundry station without any permanent installation.
For more ways to use the wall space around your machines, there are a lot of wall storage ideas worth considering.
Pegboard sheets are usually around $15 to $25 for a 2×4 foot section, and the hooks and accessories are cheap. Paint it first, let it dry fully, then install. If you’re renting, some people hang pegboard from a tension-mounted wood frame instead of screwing into the wall. It’s not perfect but it works.
5. Install a Pull-Out Drawer Between the Machines and Wall
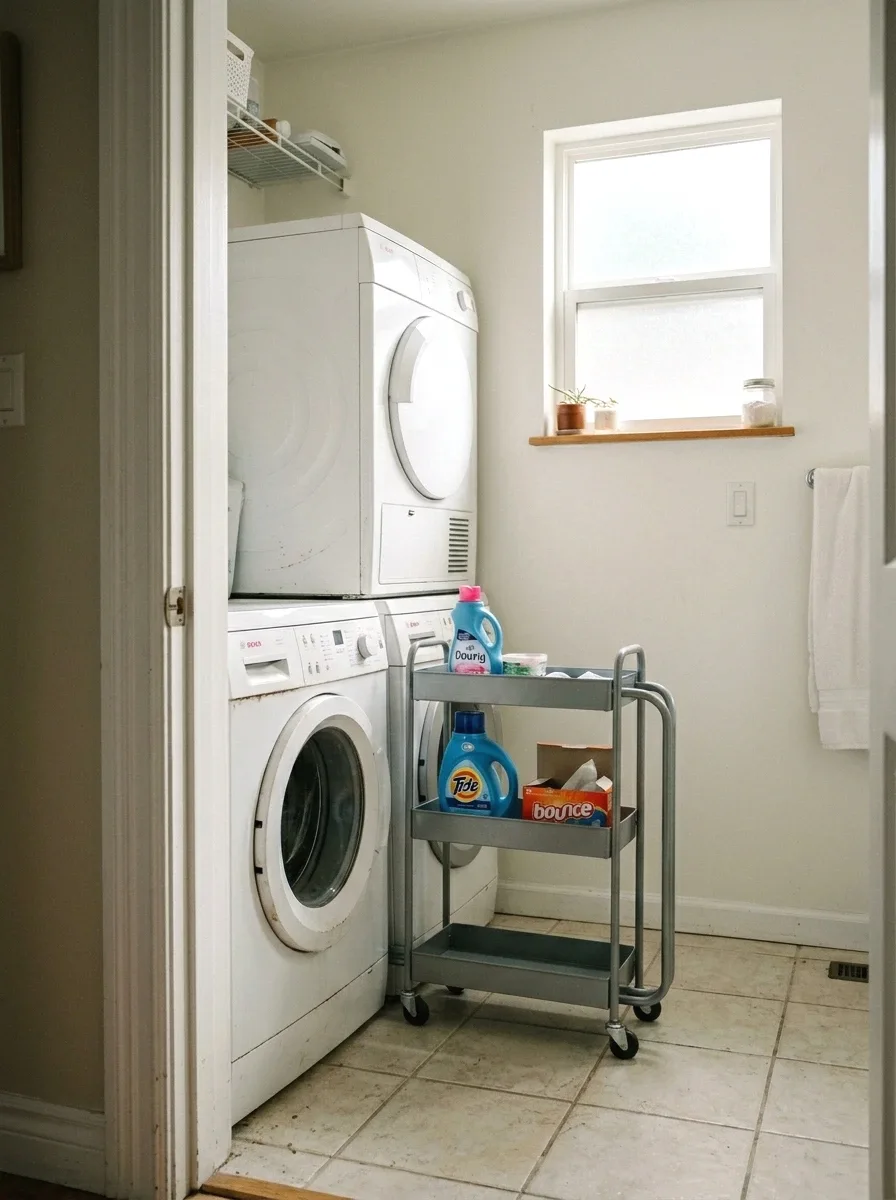
You probably have 3 to 6 inches of space on one side of your machines that’s doing absolutely nothing. A slim rolling cart or a custom pull-out drawer fits right in that gap and gives you real storage. These are sometimes called “laundry tower gap fillers” and they come in several widths.
Rolling versions with metal frames run about $30 to $55 and often include small shelves or hooks on the side. I was skeptical about this one but a 4-inch gap cart next to my machine ended up holding a full bottle of detergent, a dryer sheet box, and a small bag of clothespins. It just disappears when pushed in.
6. Mount a Fold-Down Ironing Board on the Back of the Door
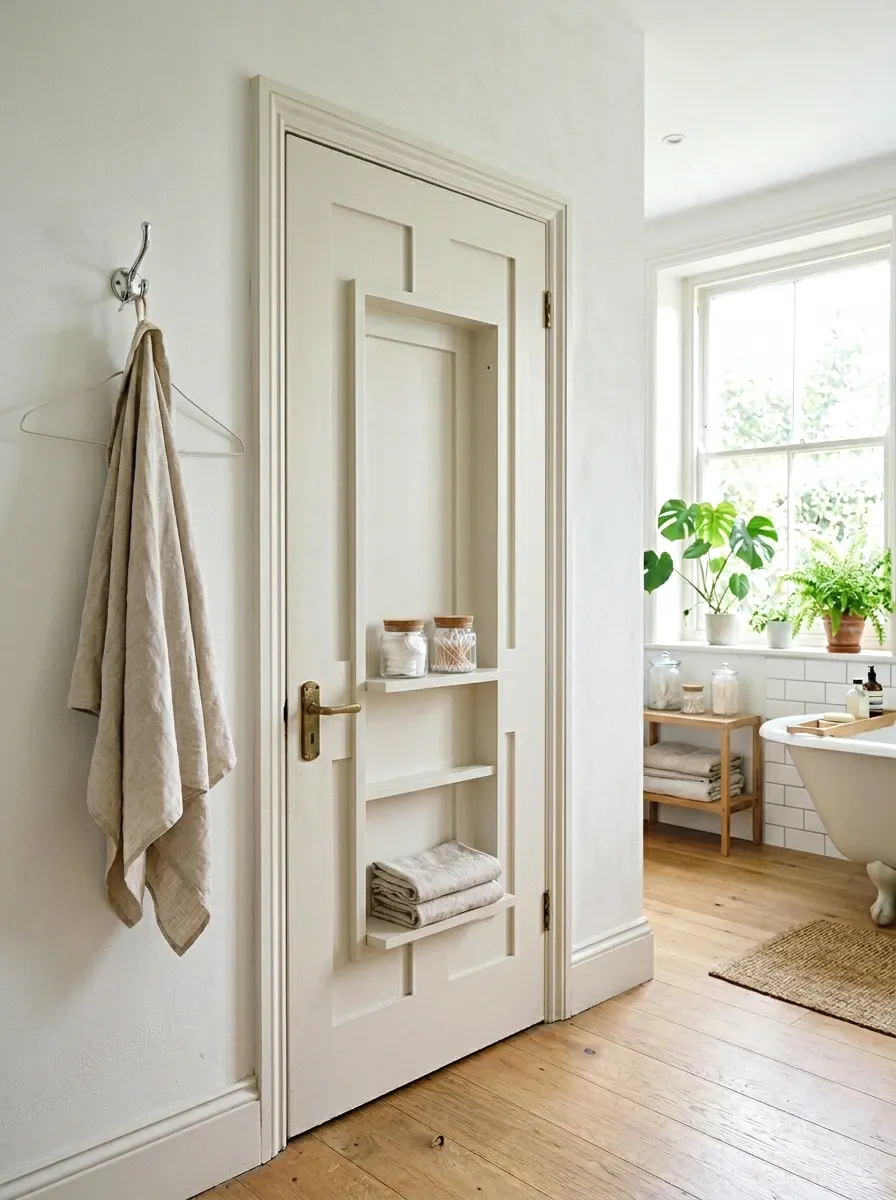
The back of your bathroom door is wasted space in almost every setup. A wall-mounted or door-mounted fold-down ironing board takes about 5 minutes to install and stores flat when you’re done. You get a full ironing surface without needing a separate room for it.
These mount-behind-the-door versions run from $45 to $90 and fold to about 4 inches deep when closed. Make sure the door clears the machines before buying. A standard interior door has enough room on the back for this in most bathrooms. And once it’s up, the “I’ll iron later” excuse disappears completely.
More Ideas:
7. Paint the Wall Behind the Machines an Accent Color
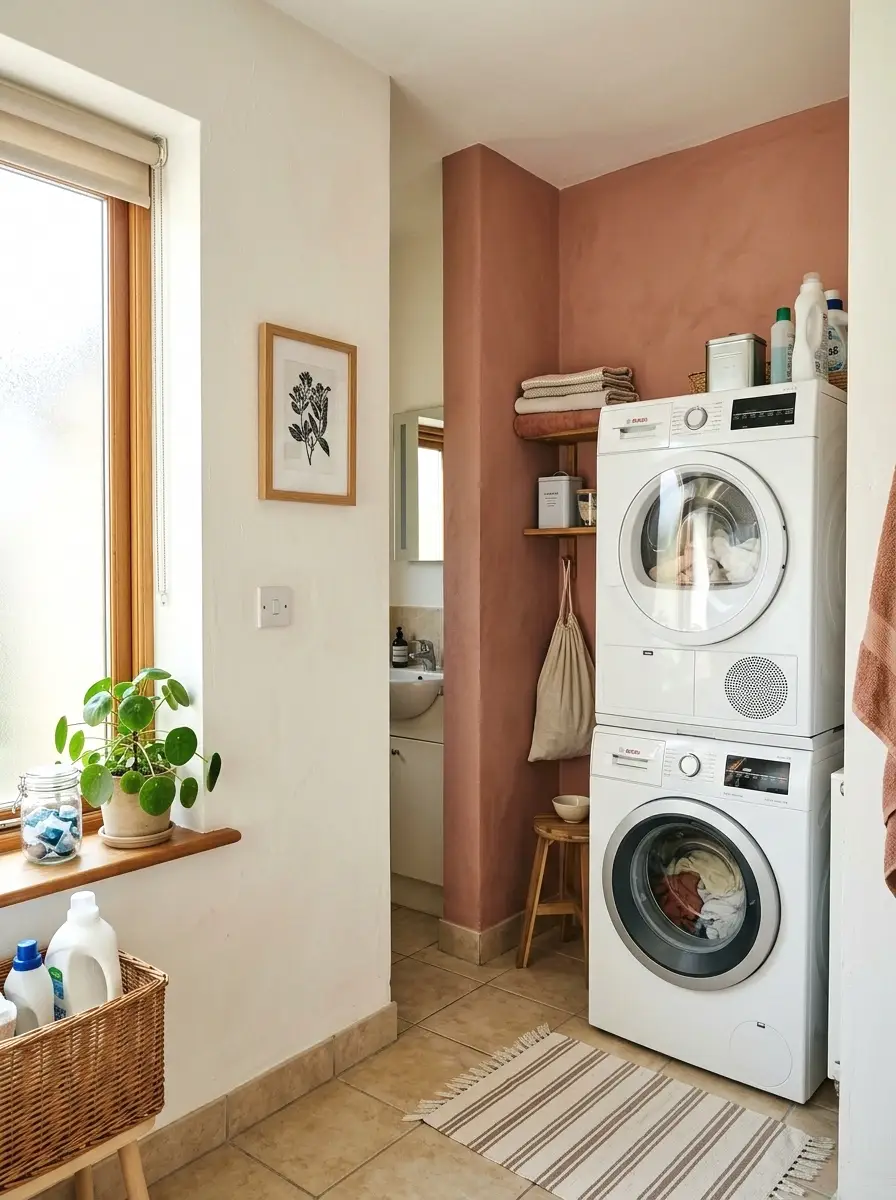
The wall directly behind your machines is usually ignored or dirty or both. Painting just that wall a different color, something that contrasts with the rest of the room, turns that back wall into something intentional. It makes the whole corner feel designed, not accidental.
Pick a color with a slight warmth. Dusty terracotta, muted sage, or a deep navy all work well with the white machines in front. You’ll use less than a quart of paint, which is about $12 to $20. Use moisture-resistant paint here because of the heat and steam from the dryer. This is genuinely one of the cheapest ways to change how the whole room reads.
If you’re also thinking about any cabinetry in the room, it’s worth looking at color choices that hold up over time in high-humidity spaces.
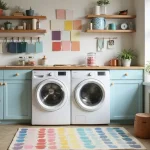
8. Add a Countertop Over a Side-by-Side Pair
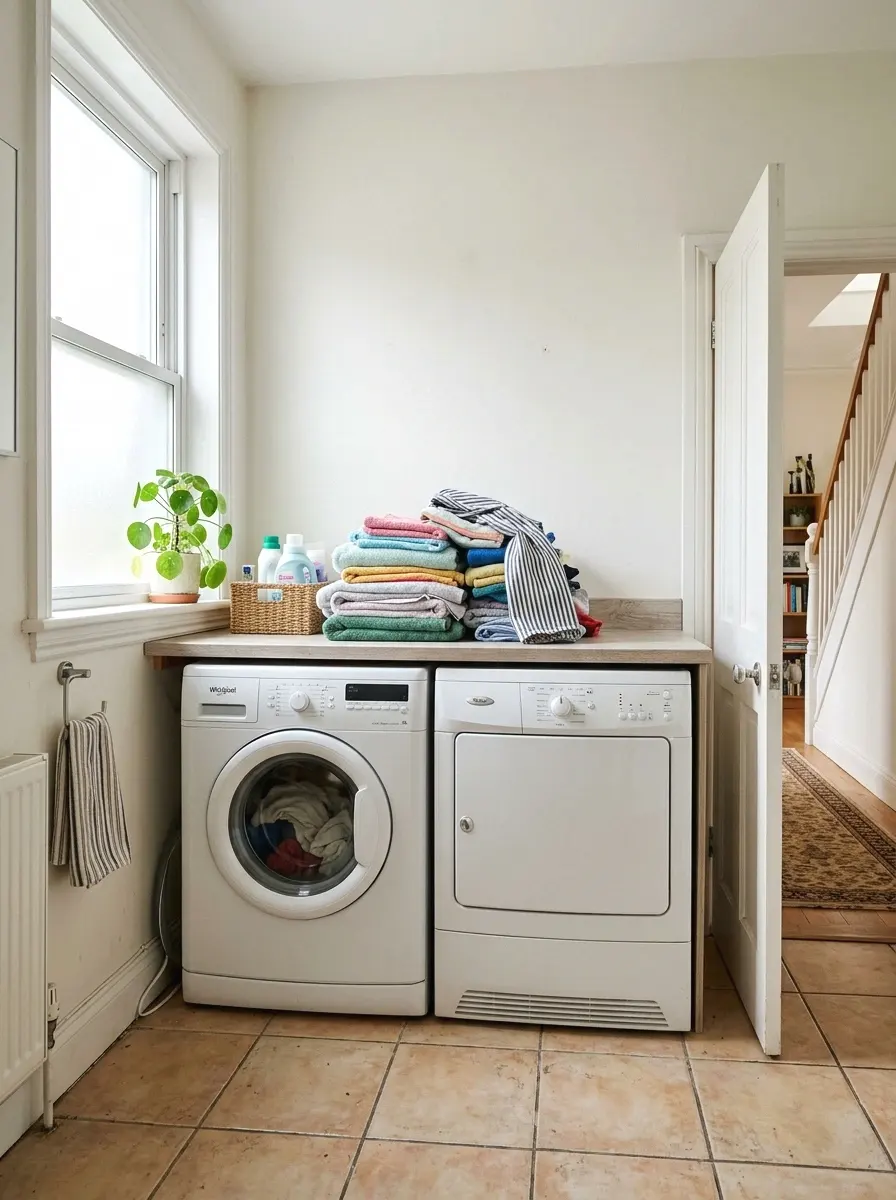
If your machines sit side by side and you’ve got the ceiling height, a countertop spanning both of them is one of the most useful things you can add. It gives you a folding surface right where the laundry comes out. No more carrying wet clothes to another room to sort them.
A laminate countertop cut to size runs about $40 to $80 depending on the length. You’ll need to secure it so it doesn’t slide. Some people use adhesive velcro on the corners, others use small L-brackets. Make sure the top is level first. The extra folding surface alone makes the whole laundry routine faster.
9. Use Baskets With Labels Instead of Laundry Bags
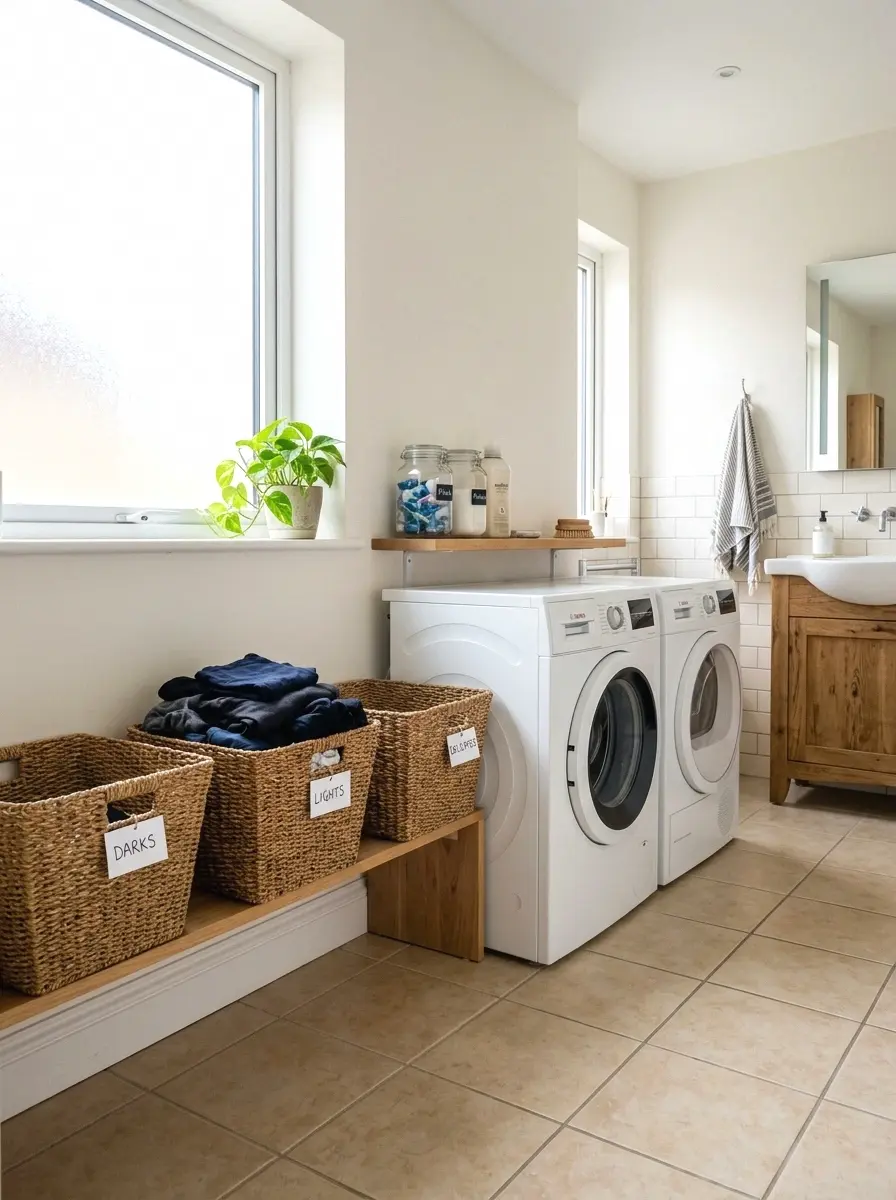
Loose laundry bags on the floor look messy no matter what. Two or three medium wicker or wire baskets with labels do the same sorting job and actually look like they belong in the room. Baskets stack, fit on shelves, and give you a visual system for darks, lights, and delicates.
Wire baskets run about $12 to $25 each. Wicker or seagrass ones are a little warmer looking and handle humidity reasonably well if they’re not sitting in standing water. Small adhesive labels or leather tags on the front keep the system clear even when you’re half asleep doing laundry on a Sunday morning.
10. Install a Retractable Clothesline for Air Drying

A retractable clothesline mounts to two walls and pulls out when you need it, then retracts flush when you don’t. In a bathroom with a washer and dryer, this is the perfect spot for anything you don’t want tumble dried. Wool sweaters, delicate tops, anything with a care label that says “lay flat or hang dry.”
These run about $20 to $40 for a single-line retractable version. Install it about 6 feet from the floor across the narrowest span of your bathroom, usually between two walls or from wall to door frame. When retracted, it’s basically invisible. This one is so underrated for keeping delicate clothes in good shape long-term.
More Ideas:
11. Add Moisture-Absorbing Wall Art Near the Machines

Bare walls near your machines collect grime and humidity stains over time. A framed print in a moisture-resistant frame, or even a small piece of sealed canvas art, breaks up the utilitarian look and gives the eye somewhere to land. You’re not decorating a laundry room. You’re making it feel less clinical.
Small framed prints from online print shops run $15 to $40. Pick something simple. A single botanical line drawing, a minimal geometric print, or even a black and white photo. Go with glass-fronted frames so you can wipe them clean. Hang it at eye level, not up near the ceiling where it’ll just collect steam and be forgotten.
12. Replace Standard Light Bulbs With Warm-Toned LEDs

The fluorescent or bright white light in most bathroom laundry setups makes the space feel harsh and industrial. Switching to warm white LEDs, around 2700K to 3000K on the color scale, changes the whole feeling of the room without touching anything structural.
A 4-pack of warm LED bulbs is about $8 to $15. If your fixture holds multiple bulbs, replace them all at once so the light is consistent. This is a 5-minute job with a noticeable result. And honestly, warm light makes laundry feel less like a chore, which sounds small but genuinely changes how often you avoid the room.
If you want to go further than just swapping bulbs, there are some lighting upgrades that change the whole feel of a laundry space.
13. Use Vertical Space With a Tall Slim Storage Unit

A narrow freestanding shelving unit, 12 to 15 inches deep and 6 feet tall, fits beside most stacked washer dryer setups and gives you multiple shelves of storage without any drilling. You can use it for detergent, spare towels, cleaning supplies, or whatever usually ends up on the floor.
These units run about $35 to $75 for a basic metal or wood frame version. Look for one with adjustable shelves so you can configure it around what you actually store. Make sure it’s stable enough to not tip with heavier items on top shelves. Some people anchor it lightly to the wall with a single bracket for peace of mind.
If you’re thinking about adding any built-in storage down the line, it helps to look at cabinet layout ideas for tight rooms before committing.
14. Hang a Full-Length Mirror on the Door or Wall

A full-length mirror does two things in a washer dryer bathroom. It makes the room feel bigger, which is always useful in a space with two large appliances in it. And it turns the bathroom into a room where you can actually check your outfit before heading out, which matters if this is the only bathroom you’ve got.
Full-length mirrors run from $25 to $80 depending on frame style and where you buy. The over-the-door version is easiest since it requires no drilling at all. If you’ve got wall space, a leaner mirror propped against the wall also works and looks more intentional. Either way, the room immediately reads bigger.
More Ideas:
15. Apply Peel-and-Stick Tile to the Floor in Front of the Machines

The floor in front of your washer and dryer takes a beating. Drips, spills, the vibration from the spin cycle. Peel-and-stick vinyl tiles in a simple pattern, like a small black and white check or a solid warm grey, cover up an old ugly floor and define the laundry zone visually within the bathroom.
Peel-and-stick tile is about $1 to $3 per square foot, so a 6-square-foot zone in front of your machines costs $10 to $20 total. Make sure the floor is clean and dry before applying or the edges peel up fast. This works especially well in rentals since peel-and-stick comes up without damaging the original floor.
If peel-and-stick isn’t the right fit for your floor, there’s a full look at flooring options that handle spills and moisture well.
16. Add a Small Plant on Top of the Machines
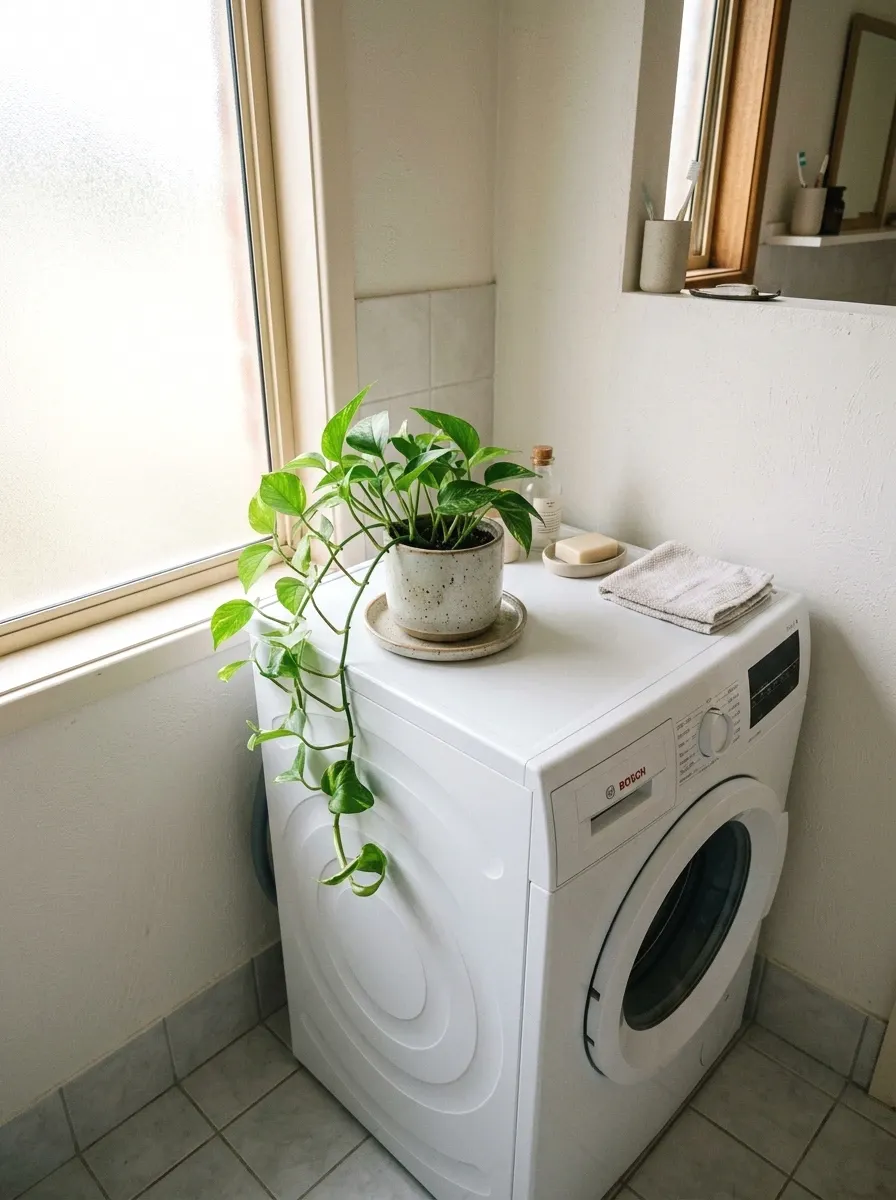
This sounds too simple to matter. It does matter. A small plant on top of your washer or dryer, something like a pothos, a snake plant, or a peace lily, adds organic life to what is otherwise a completely mechanical corner of your home. These plants handle humidity well, which is a bonus in a bathroom.
Small 4-inch pots run about $5 to $15 at most garden centers or big box stores. Put the pot in a small ceramic dish to catch water drips. Pothos is the most forgiving if you’re not a plant person. It grows slowly, tolerates low light, and only needs water every 10 to 14 days. Try it once. You’ll see.
17. Use a Hanging Organizer on the Dryer Door
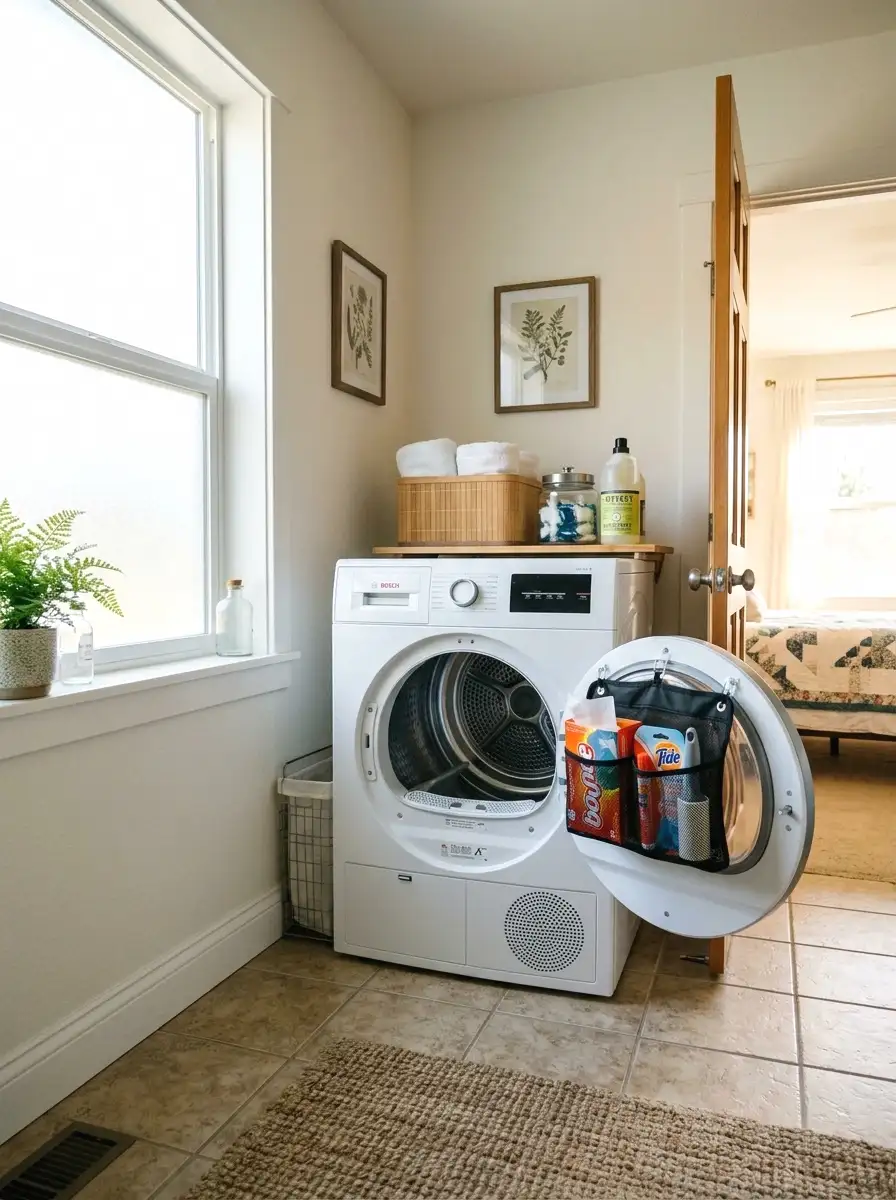
The front of your dryer is another surface people walk past without using. A magnetic hanging organizer, or a mesh caddy that hooks over the dryer door, gives you a spot for dryer sheets, clothespins, stain pens, and anything small you use every time you do laundry. It keeps the top of the machines clear.
Magnetic organizers run about $10 to $20. Make sure the back of your dryer door is metal before buying a magnetic version. If it’s plastic or glass, look for an over-door hook version instead. The goal is getting all your laundry supplies off the countertop and into one dedicated spot you don’t have to think about.
18. Install a Slim Floating Bench or Folding Step

If your bathroom has room for even a narrow bench, it’s worth it. A 12-inch deep floating bench along one wall gives you a spot to sit while putting on shoes, somewhere to set a laundry basket while sorting, and a surface that can double as extra storage underneath with baskets.
A floating wood bench bracket kit runs about $25 to $45, plus the cost of a wood board if you want to DIY it. Alternatively, a folding wall-mounted bench in birch or pine runs about $60 to $90 ready to install. Mount it at 18 inches from the floor, which is standard seating height. It’s a small thing that makes the room feel more complete.
More Ideas:
19. Add Hooks on Every Available Wall Patch

Empty wall patches between fixtures, beside the door frame, next to the mirror, are usually ignored. A row of three to five hooks in a simple brushed nickel or matte black finish gives you spots for robes, towels, mesh laundry bags, and anything you want off the floor. More hooks than you think you need. Always.
A set of three wall hooks runs about $8 to $20 depending on finish. For a bathroom with machines in it, you want hooks that can hold some weight. Look for ones rated for at least 10 pounds per hook. Install them into studs where you can. The matte black finish in particular works well with the utilitarian feel that most washer dryer bathrooms already have.
20. Use a Color-Matched Laundry Pedestal for Height and Storage

Laundry pedestals sit under front-load washers and raise them to a more comfortable height so you’re not bending all the way down to load wet clothes. They also have a built-in storage drawer that holds detergent, dryer sheets, or anything else you use regularly. Took me ages to figure this out after years of back pain from loading laundry.
Brand-specific pedestals run about $100 to $200 each, which is the higher end of this list. But if you’re doing laundry multiple times a week, the ergonomics alone make it worth considering. Some third-party pedestals work with multiple machine brands and come in around $80 to $120. Check the weight capacity before buying.
21. Create a Painted Arch or Frame Around the Machine Area

My favorite idea on this list. Painting a simple arch or rectangular frame directly on the wall around your machines turns the whole laundry setup into something that looks considered rather than crammed. It’s a designer trick that costs under $20 and takes an afternoon.
Use painter’s tape to mark out your arch or rectangle, paint it a shade two tones darker or lighter than your main wall color, and peel the tape when dry. The result is a framed “zone” that makes your washer and dryer look like they were always meant to be there. No hardware, no drilling. Just paint, tape, and a steady hand.
Final Thoughts on Washer Dryer Bathroom Ideas
What this list really comes down to is three things: using vertical space, creating visual order, and making the room feel like someone actually designed it. None of that requires a renovation. A floating shelf, a curtain panel, a painted arch around the machines. These are small moves that add up fast.
You don’t have to do all 21. Pick two or three that match your layout and your budget. Start with the one that solves your biggest frustration right now. If the floor feels chaotic, try the peel-and-stick tile. If the wall space is wasted, start with a floating shelf.
If you want more ideas like these for bathrooms, kitchens, and every other room that’s doing double duty, homelypop.com has a lot more where this came from.
This guide on small laundry setups in bathrooms is a good next read if you’re still working out the layout.