19 Kitchen Island Against Wall Ideas That Actually Work
Your kitchen doesn’t have enough floor space for a floating island. You’ve measured it three times. It’s not happening. So now you’re standing there staring at that blank wall wondering if you’re just stuck with a cramped, counterspace-starved kitchen forever.
This list covers 19 kitchen island against wall ideas pulled from real homeowner forums, contractor tips, and budget-conscious design communities. Each idea was chosen because it solves a specific problem: no space, no budget, or no idea where to start. You’ll find ideas from around $80 up to $400, plus free solutions that cost nothing but an afternoon.
This is for kitchens with real square footage problems, not showroom kitchens with ten feet to spare. If you’re looking for custom cabinetry or a full renovation, this isn’t that list. But if your budget is under $300 and you want results you can actually see this weekend, you’re in the right place.
By the end, you’ll know exactly which wall island setup fits your space, your budget, and how you cook.
If you’re also thinking about the bigger picture, there are some great ways to stretch a small kitchen without tearing everything apart.
What to Know Before You Start a Kitchen Island Against Wall
- A wall-mounted island needs studs or a ledger board. Drywall alone won’t hold it.
- Standard counter height is 36 inches. Match this if you want surfaces to feel connected.
- Most wall islands need at least 42 inches of clearance in front for safe walkability.
- Budget reality: a solid freestanding butcher block cart runs $120 to $200 at most home stores.
- Overlooked detail: outlets. A wall island without a nearby outlet becomes useless fast.
- Common mistake: going too wide. A 48-inch wall island in a 9-foot kitchen blocks traffic flow.
- Seal wood surfaces every 12 to 18 months to prevent water damage near the sink.
- Check local rental lease rules before wall-mounting anything permanently.
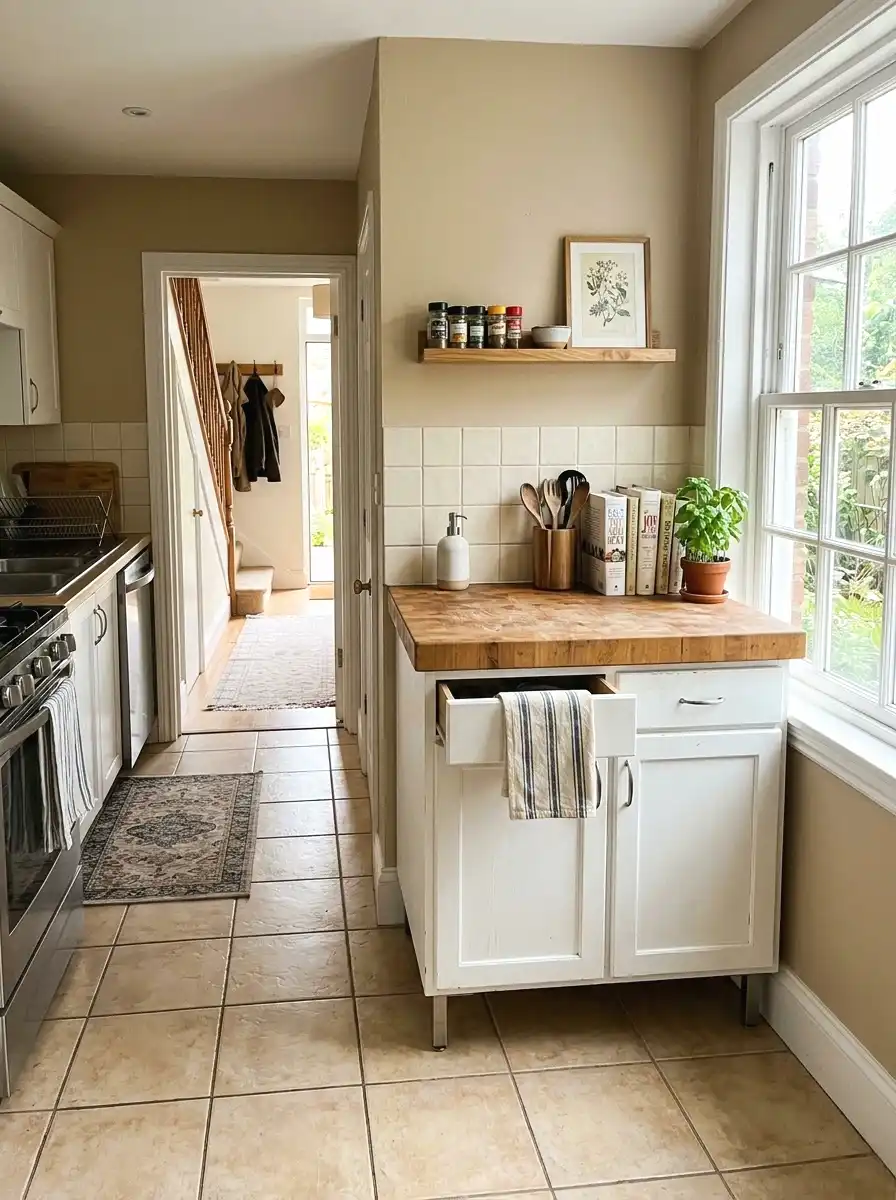
1. Freestanding Butcher Block Cart Pushed Against the Wall
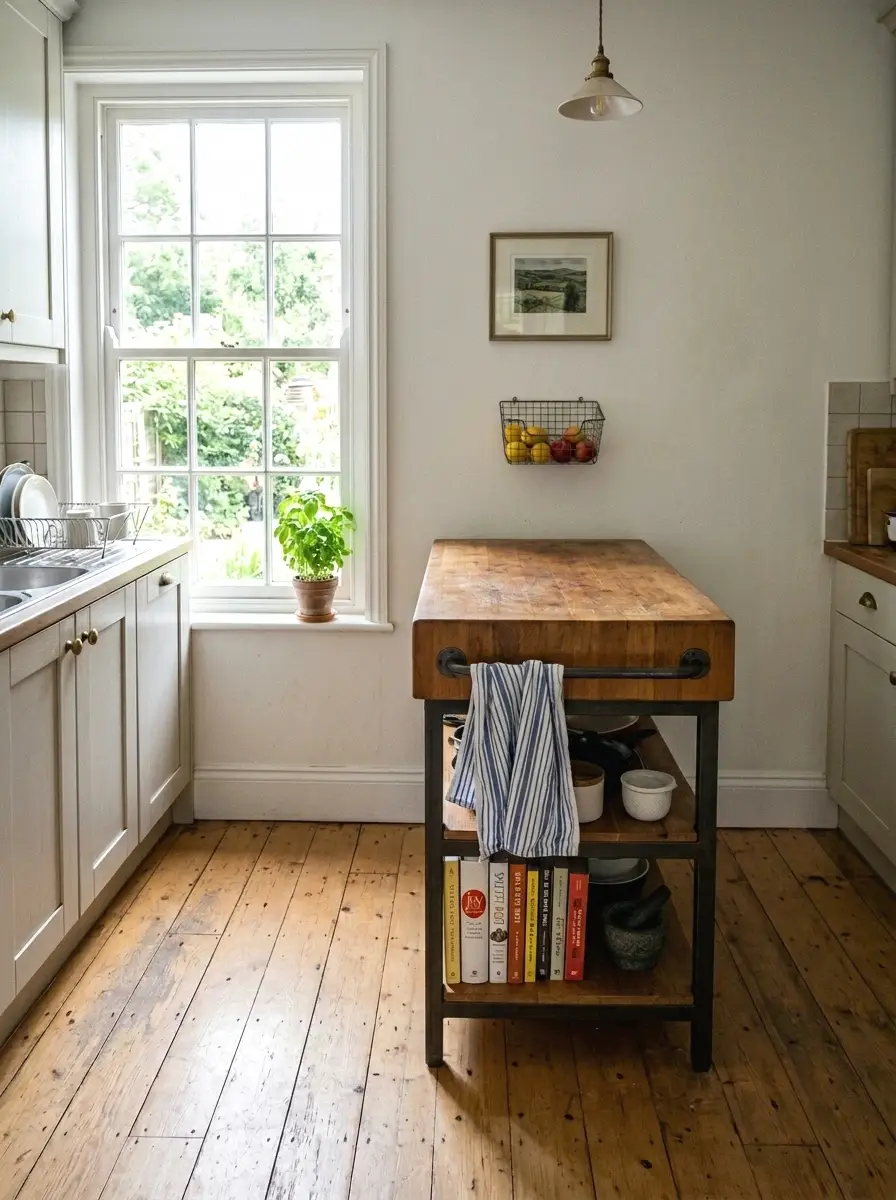
The simplest version of this whole idea is just a cart. You push a butcher block kitchen cart flush against the wall and suddenly you’ve got prep space, storage underneath, and a surface that feels intentional. It’s not a compromise. It works.
Most of these carts come in at around $130 to $180 at IKEA or Amazon, and they’re usually 36 inches tall, which lines up with most counters. The butcher block top handles knife work and heat reasonably well, and the shelf underneath is great for things like your stand mixer or extra cutting boards. I did this in my last apartment before I owned anything, and it bought me a full year of sanity in a tiny galley kitchen.
2. IKEA KALLAX Unit Repurposed as a Wall Island Base
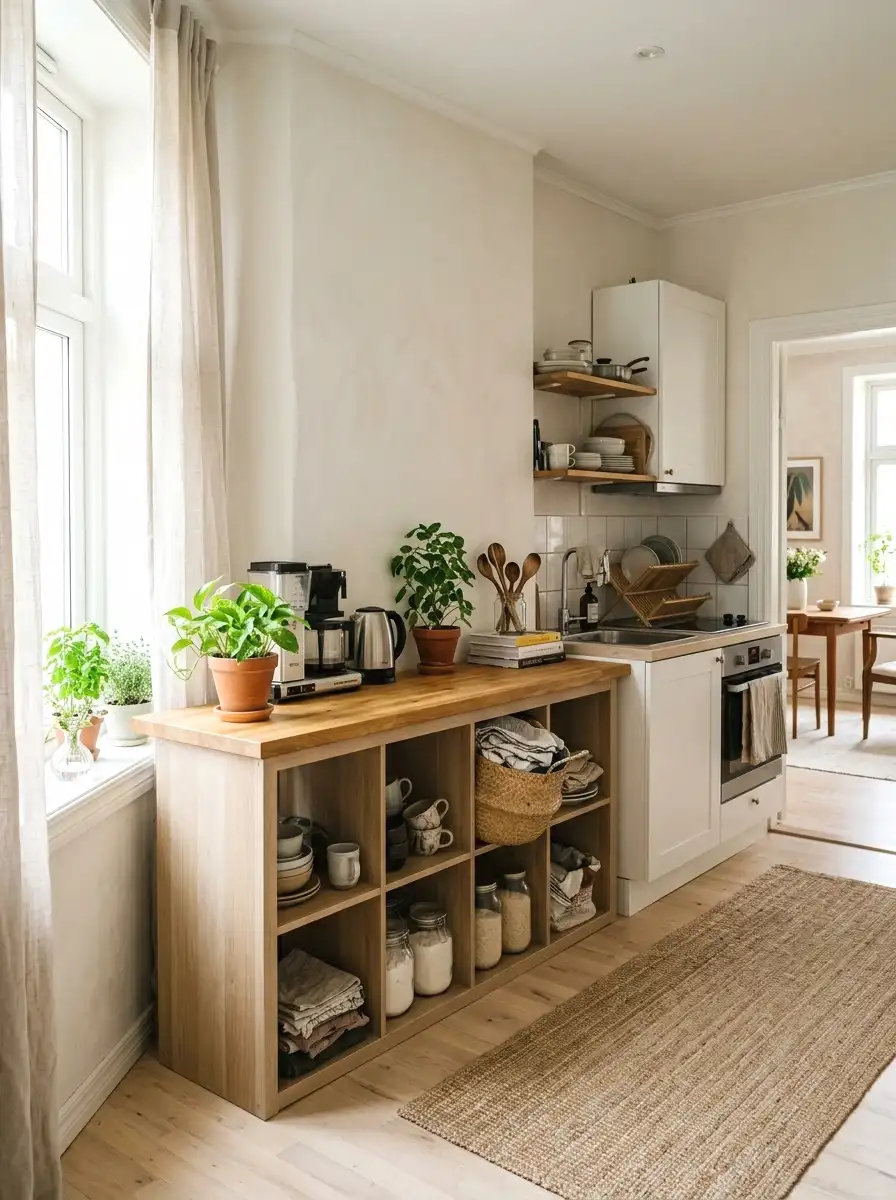
So here’s the thing about KALLAX shelves. Everyone uses them as bookshelves, but a horizontal KALLAX pushed against the kitchen wall with a butcher block or quartz slab on top becomes a genuinely functional island base. The cubbies hold baskets, bottles, or bins.
A 4×2 KALLAX runs about $80. Add a pine or oak countertop for another $40 to $80 and you’ve built a custom-looking wall island for under $160 total. The key is anchoring it to the wall with an L-bracket so it doesn’t tip when you lean on it. Two brackets at the top back edge is enough for most setups.
More Ideas:


3. Narrow Console Table Converted to Prep Station
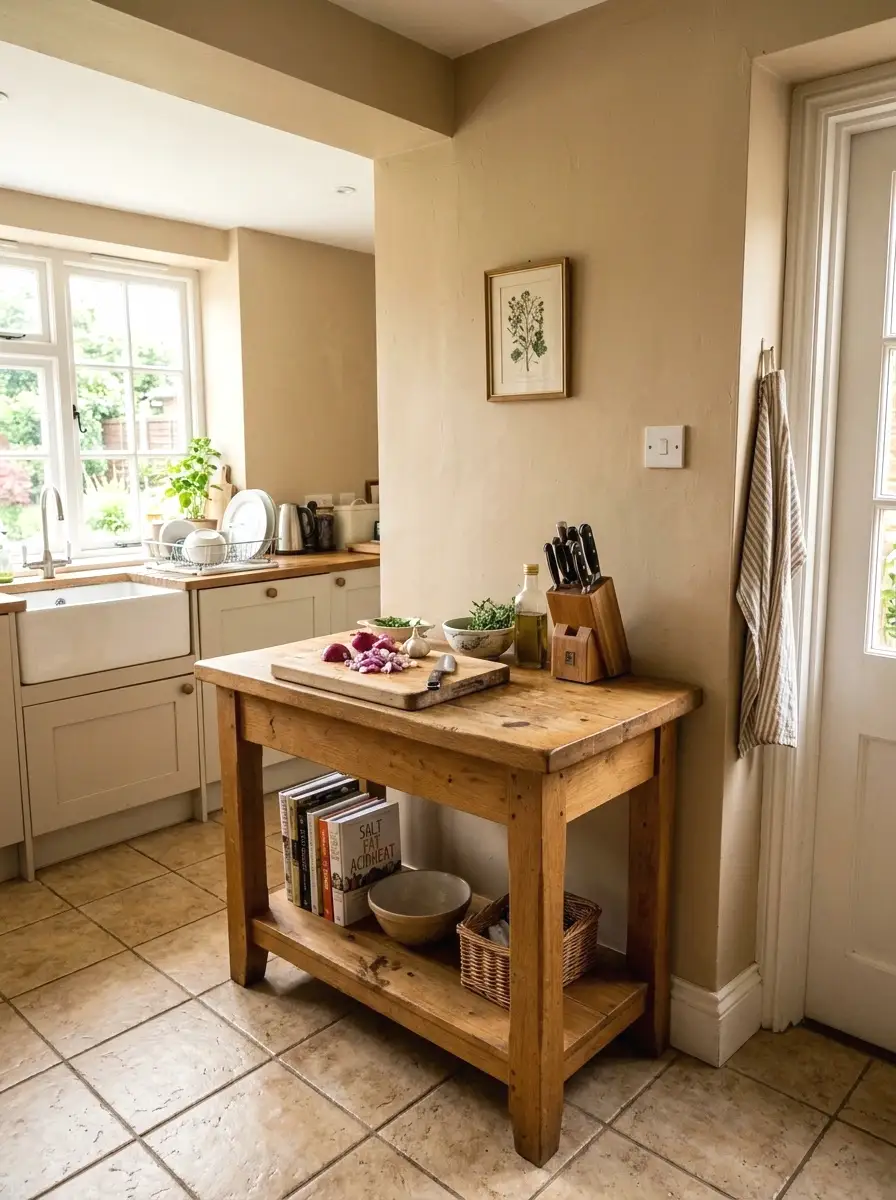
You wouldn’t think a console table belongs in a kitchen, but a solid wood console placed against the wall does real work. It’s usually around 12 to 15 inches deep, which is shallow enough not to crowd the room, but wide enough to hold a cutting board, a bowl, and a knife block side by side.
Look for solid wood consoles at thrift stores or Facebook Marketplace. I found a solid oak one for $35 and sanded and sealed it myself over a Saturday afternoon. It ended up looking like it belonged there. The legs add breathing room underneath, which helps with the visual weight. You don’t want a wall island that makes the kitchen feel heavier than it already is.
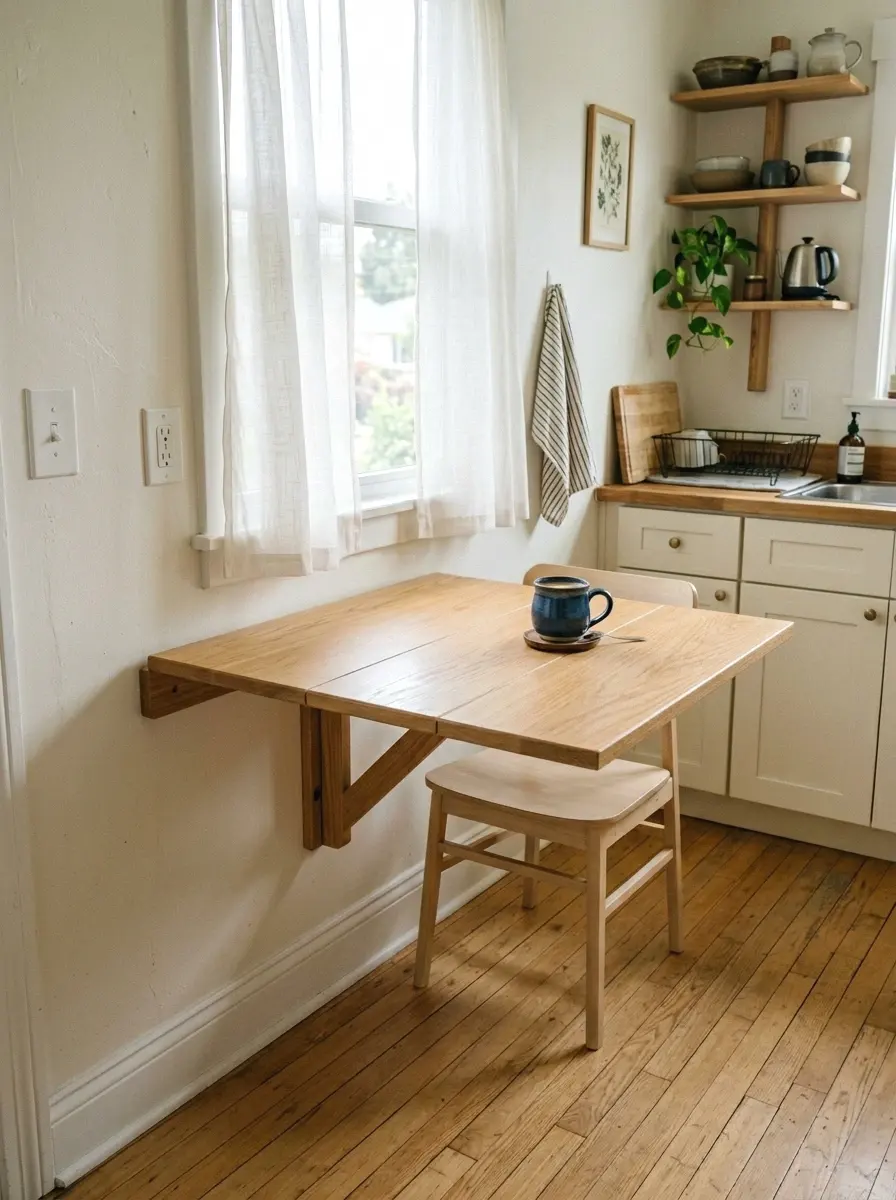
4. Wall-Mounted Fold-Down Table as a Flexible Island

Here’s what nobody tells you about fold-down tables: they’re one of the most useful things you can install in a kitchen. When it’s up, it’s an island. When it’s down, it disappears flat against the wall and you get the floor back completely.
These fold-down brackets run about $30 to $60 for a sturdy set, and you add your own wood on top. A 24×48 inch pine board cut at the hardware store for under $20 works perfectly. The whole thing costs under $80 to build and install. The only requirement is hitting studs with your screws. A stud finder costs $15 and pays for itself the first time you use it.
5. Repurposed Dresser as a Wall Island Base

A dresser sounds weird until you see one in a kitchen and it just makes sense. A wide, low dresser pushed against the wall gives you drawer storage that most kitchen islands don’t have. Silverware, dish towels, plastic wrap, batteries; all that random stuff finally has a home.
It’s the same thinking behind a dresser repurposed for everyday storage in tight living spaces.
You want a dresser that’s around 32 to 36 inches tall so it’s close to counter height. Sand it, paint it in a color that works with your cabinets, and seal the top with polyurethane or add a thin countertop slab. Total cost if you find one secondhand: $0 to $80. If you buy new, IKEA’s HEMNES 8-drawer dresser is around $180 and the proportions are right.
6. Mounted Pegboard Back Panel With Shelf Island
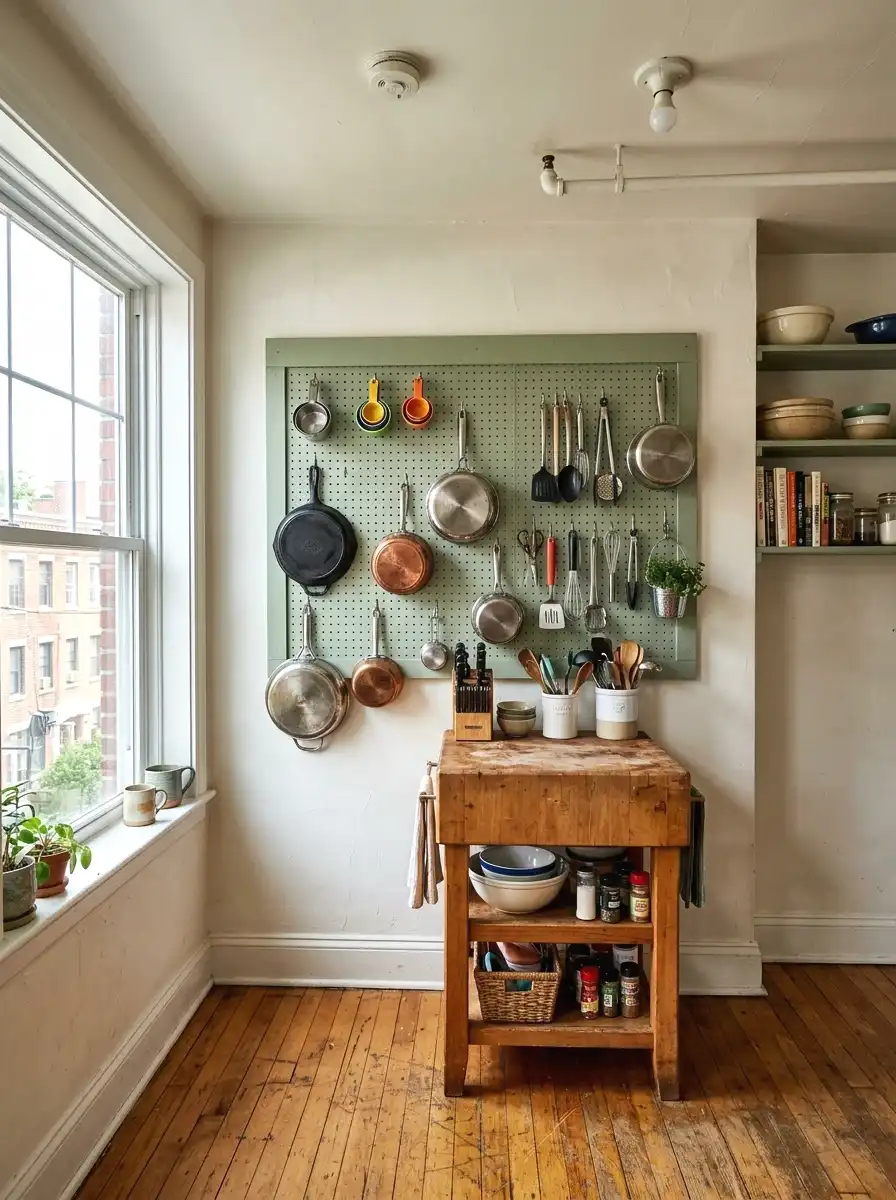
Add a pegboard panel to the wall above your island and suddenly every hook, shelf, and tool has a spot. This is the detail that separates a functional wall island from a real working kitchen station.
Pegboard sheets cost around $15 at the hardware store. A 2×4 foot panel gives you a lot of real estate for hanging pots, measuring cups, spice jars, and small shelves. Paint it the same color as your wall if you want it to blend in, or make it a contrast color if you want it to be a focal point. Either works. What doesn’t work is leaving that wall behind the island blank when it could be pulling its weight.
The same logic applies to pegboard and open shelf combinations in other working rooms of the house.
More Ideas:
7. Floating Shelf Island Combo With Corbel Support

Two wide floating shelves mounted side by side at counter height, supported by heavy corbels, can read as a wall island when styled right. It’s less surface than a freestanding cart, but it’s completely out of the way and gives the kitchen an open, airy look.
Corbels from a hardware store or Etsy run $20 to $40 each, and you’ll want four to hold a pair of 12-inch deep shelves securely. Use 3/4-inch pine or oak boards for the shelf surface, and sand them smooth before sealing. Total build cost: around $100 to $150 depending on materials. The look is more polished than you’d expect for the price.
8. Two-Tier Wall Island With Upper Open Shelving

Stack it. A lower surface for prep work and an upper shelf at about 54 to 60 inches for display or accessible storage doubles the usefulness of the same wall footprint. You’re working vertically instead of taking up more floor space.
The bottom tier can be a cart or mounted counter surface. The upper shelf mounts directly to the wall with brackets and holds things like cookbooks, olive oil, or a small plant. It makes the wall island feel like a built-in station rather than just a piece of furniture shoved against a wall. Keep the upper shelf no deeper than 10 inches so it doesn’t crowd the counter below.
9. Bar-Height Wall Counter for a Two-Level Kitchen Feel
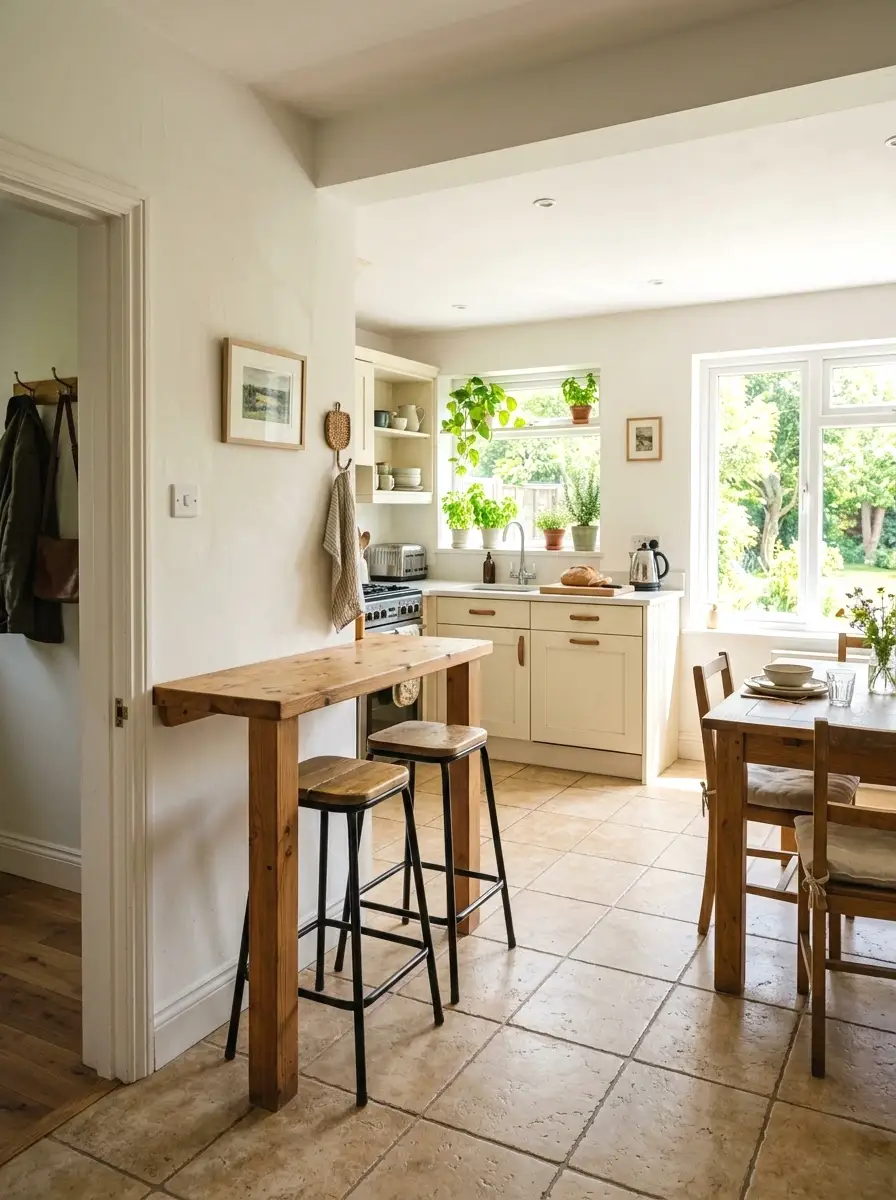
If your kitchen opens to a dining or living area, a bar-height counter at 42 inches mounted against the shared wall works as both an island and a seating surface. Stools tuck underneath, and suddenly you have a breakfast bar without any structural work.
For more on getting a bar-height counter with stools setup right, there are some solid examples worth looking at.
This requires mounting a countertop to a ledger board secured into studs. The ledger is just a 2×4 screwed flat against the wall, and the counter overhangs it by 12 to 15 inches to allow knee space for stools. A pine or oak laminate counter runs $50 to $80 for a standard section. Add two $30 counter stools and the whole thing comes in under $200.
10. Rolling Cart Island That Parks Against the Wall
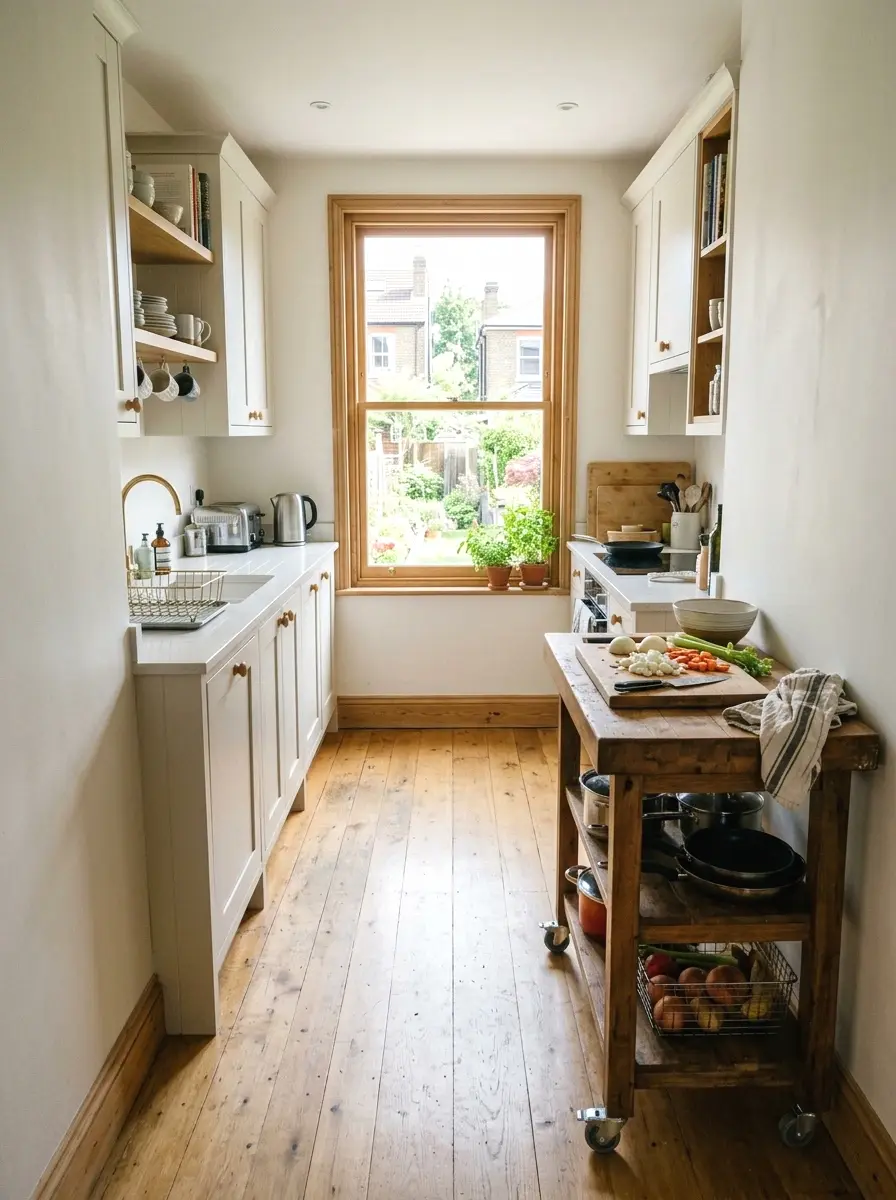
A rolling cart is not the same as a freestanding cart. Rolling means locking casters, which means you can pull it out into the middle of the kitchen when you’re cooking and push it back against the wall when you’re done. That flexibility changes how you use the space.
Look for a cart with locking wheels specifically. Non-locking wheels will drift on you mid-prep and that’s annoying. The BROR cart from IKEA is about $100 and has a steel frame with an adjustable shelf. For something warmer-looking, the Winsome Wood Obsidian cart at around $150 is solid and the wood top is easy to refinish if it gets beaten up.
More Ideas:
11. L-Shaped Wall Island Using Two Carts
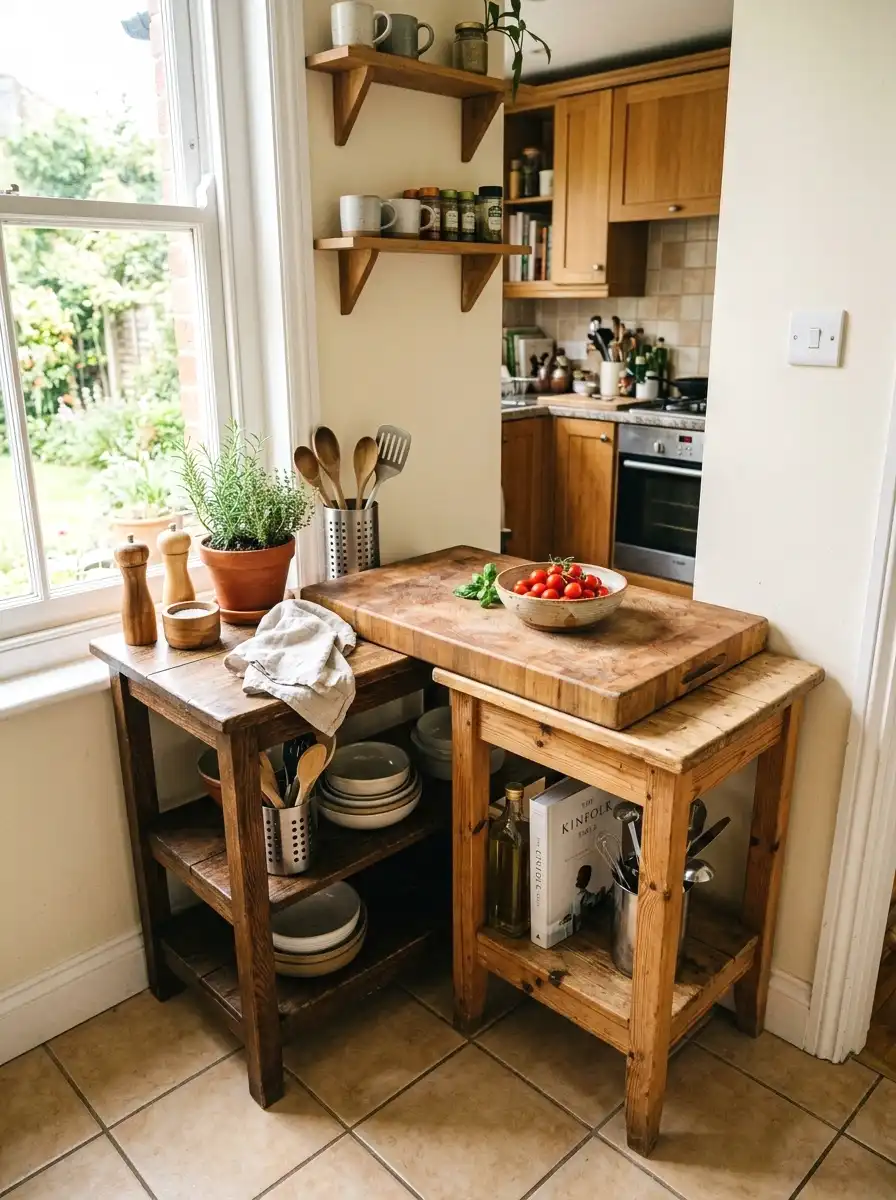
Push two carts into a corner at a right angle and you’ve got an L-shaped wall island that uses dead corner space productively. This is the move for a kitchen where two walls meet and neither one alone gives you enough surface.
The carts don’t have to match exactly, but they should be the same height. Most standard kitchen carts are 36 inches. If one is slightly taller, a cutting board laid across the gap levels them out. I was skeptical about this one, but a friend did it in her galley kitchen and it looked purposeful rather than cobbled together. The corner became the best prep station in the room.
If you want to take that corner setup further, look at how two carts meeting at a corner can anchor a full working station.
12. Vintage Sideboard as a Statement Wall Island
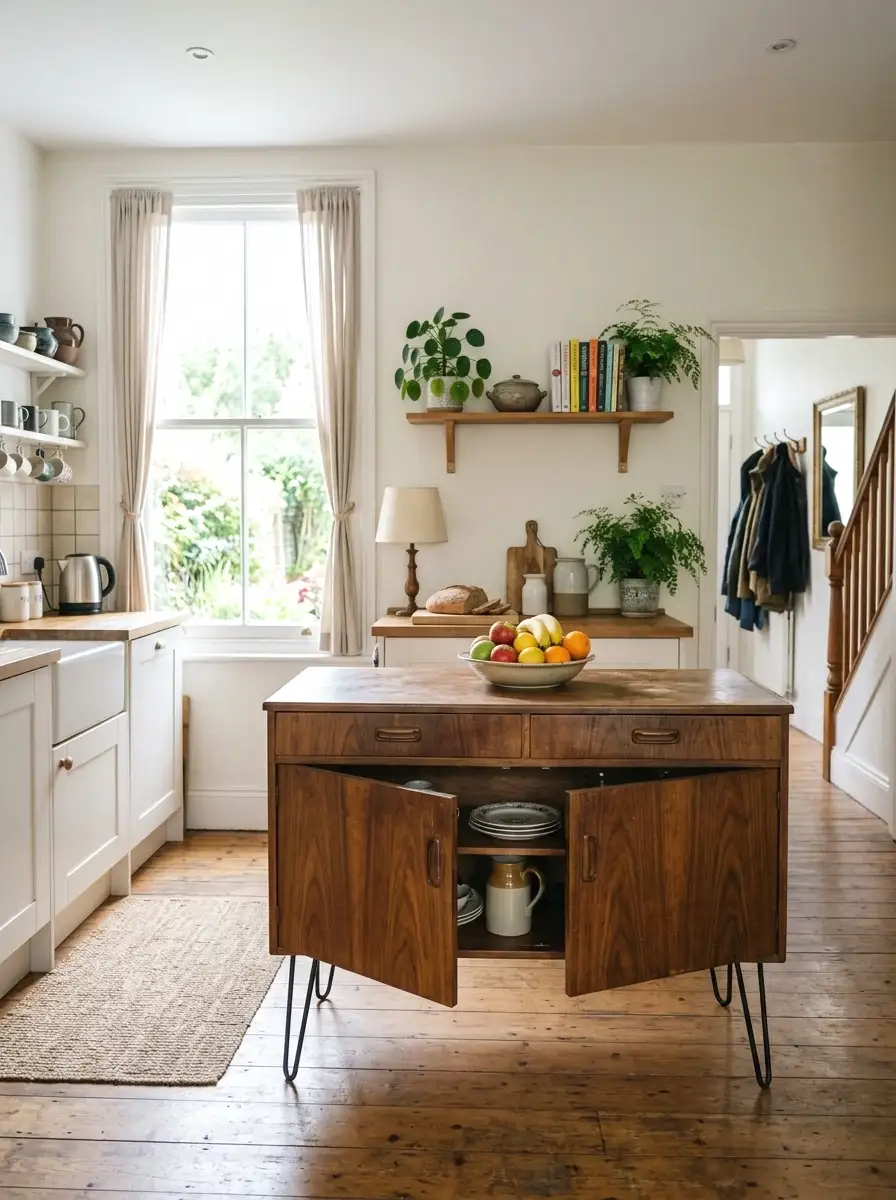
A vintage sideboard or buffet table from the 1950s or 1960s has legs, a wide surface, and usually one or two drawers plus cabinet doors. That’s exactly what a kitchen island needs. Find one in walnut or oak and it brings warmth to a kitchen full of white cabinets.
There’s a whole approach to warm wood tones in white kitchens that makes this pairing look intentional rather than accidental.
Sideboards at estate sales or Facebook Marketplace run anywhere from free to $150. The ones with hairpin legs and a walnut top are the most popular right now and they do look really nice in a kitchen. Seal the top surface with food-safe oil or polyurethane before using it for prep. The cabinet doors below are perfect for small appliances you don’t want on the counter.
13. Wall-Mounted Drop-Leaf Island With Hidden Storage
A drop-leaf table mounted to the wall has two leaves that fold down when not in use and flip up to expand the surface when you need them. It’s like a fold-down table but bigger, with more options for how much surface you expose.
These are harder to find pre-built, but DIY tutorials are everywhere and the build is approachable for someone with basic carpentry skills. The structure uses piano hinges and a few support legs or brackets. Budget around $60 to $100 in materials. When both leaves are up you get a 36×48 inch surface. When they’re both down the whole thing is about four inches off the wall.
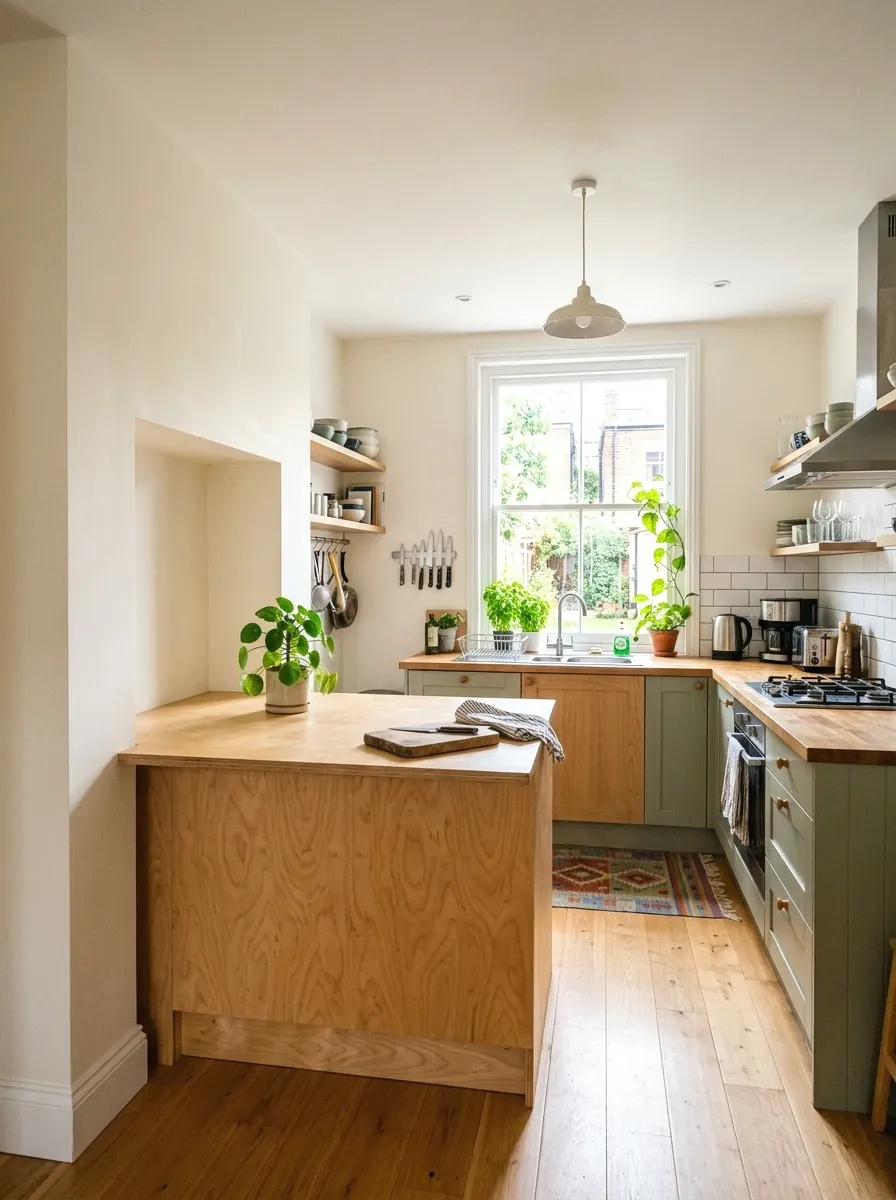
14. Painted Plywood Wall Island Box
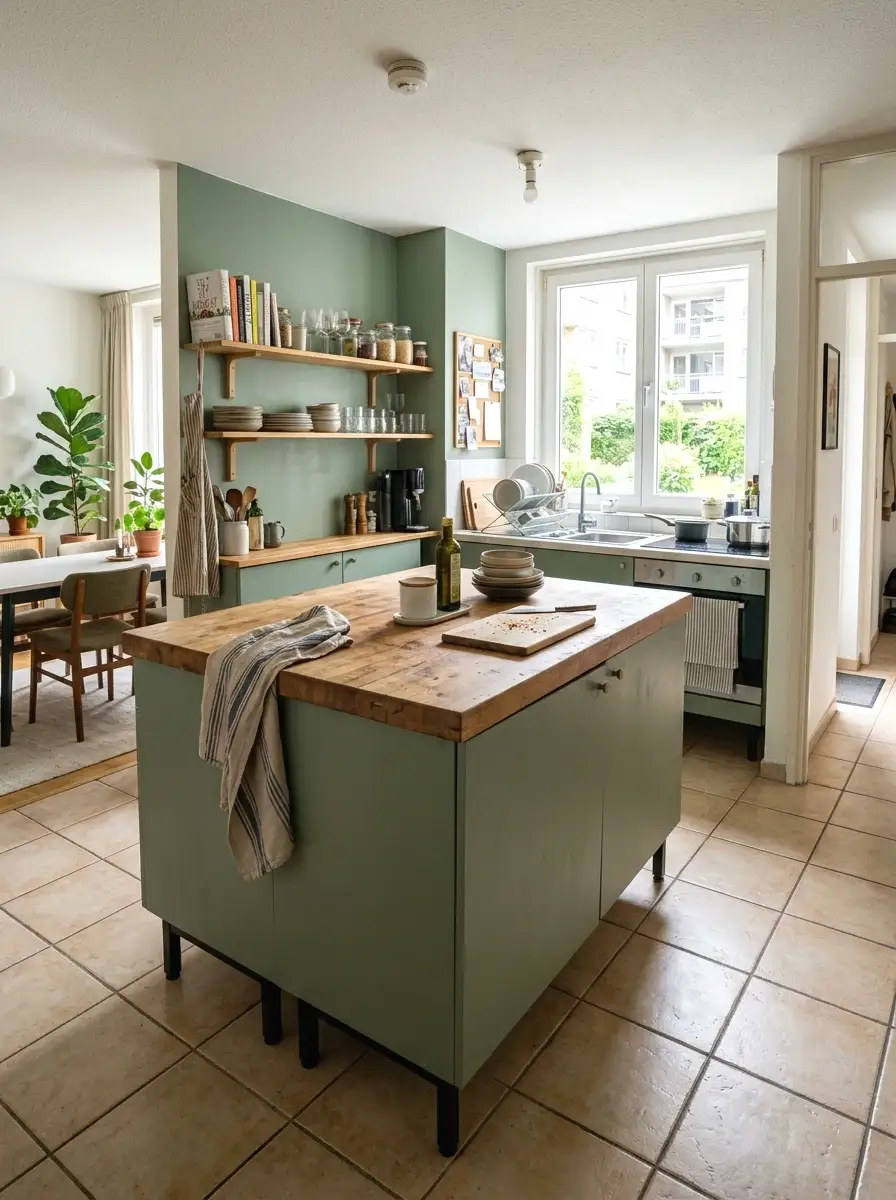
Build a simple plywood box, paint it, add legs, and you have a custom wall island that costs around $80. It’s not furniture-store quality, but it looks like it cost three times what it did, especially with the right paint color.
Use 3/4-inch plywood for the box structure, cut to your dimensions at the hardware store. Standard build is about 24 inches deep by 48 inches wide by 34 inches tall. Add furniture legs from IKEA’s CAPITA range at $15 for a set of four, paint the whole thing in a matte finish, and add a butcher block top from IKEA for $30 to $50. (This one is so underrated for how good it looks at the end.)
More Ideas:
15. Stainless Steel Metro Shelf Unit as Industrial Island
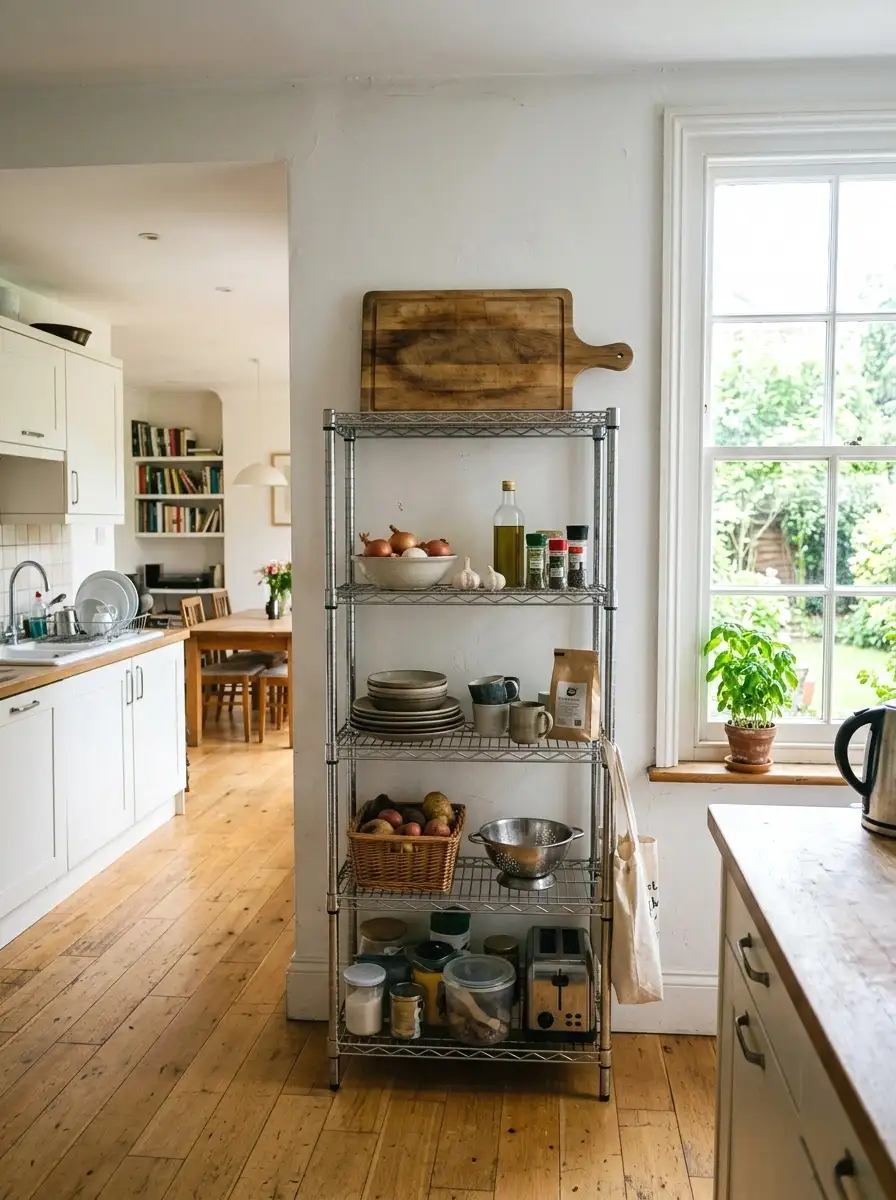
A Metro-style wire shelving unit pushed against the wall works as both a wall island and an open pantry. The industrial look actually plays really well in kitchens with subway tile or open shelving already in them.
Wire shelving units in the 24×48 inch footprint run about $60 to $90 at commercial restaurant supply stores or Costco. The shelves adjust, which means you can set one at counter height for prep and use the others for storage. Add a cutting board across the top shelf for a solid prep surface. The open design means air circulates and nothing gets musty underneath.
16. Secondhand Bar Cart Elevated Into a Kitchen Island
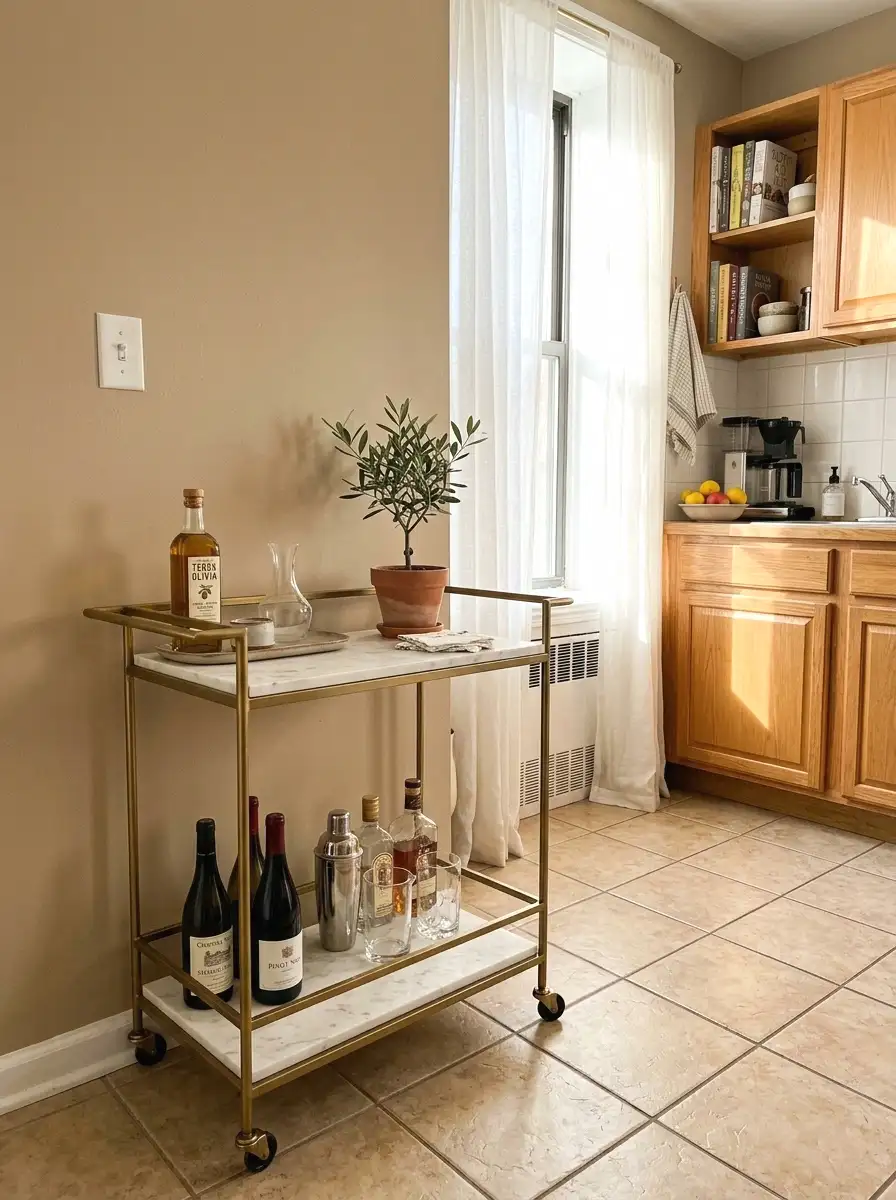
A bar cart isn’t just for drinks. A wide two-tier bar cart pushed against the kitchen wall has a marble or wood top, a lower shelf, and often a small drawer or rack. It’s compact, good-looking, and usually under $100 secondhand.
The top tier becomes your prep surface or a spot for frequently used items. The lower tier holds cookbooks, a bowl of fruit, or your cutting board collection. Bar carts with gold or brass frames have been everywhere since 2023 and the warm metal tones actually hold up well against wood cabinets. Wipe the top with a food-safe sealant if the existing finish feels rough.
17. Bead Board Backed Wall Island for a Farmhouse Feel

If your kitchen leans farmhouse or country, a wall island with a bead board panel on the front face pulls the whole style together. Bead board is that vertical paneling with thin ridges that you see on cottage furniture. It reads as intentional and built-in even when it’s not.
Add it to the front of a KALLAX base or a plywood box by cutting a sheet of bead board paneling to fit and attaching it with finishing nails or construction adhesive. A 4×8 sheet of bead board runs about $18 at the hardware store. Paint it white or soft cream, add some black hardware, and the island looks like it was there when the house was built.
Vertical paneling on kitchen cabinet fronts and backsplash areas can tie the whole look together if you want to carry the texture further.
18. Repurposed Kitchen Cabinet as Wall Island Body
Take a base cabinet off the wall and set it on legs. That’s the whole idea. Builders sometimes have leftover cabinets, and you can often find them at Habitat for Humanity ReStores for $20 to $60. Add furniture legs and a new top and you have a wall island that’s structurally identical to a real one.
Standard base cabinets are 24 inches deep and 34.5 inches tall before the countertop. Add a 1.5-inch butcher block top and you hit 36 inches. The cabinet doors and drawers already have hardware. If the finish is dated, paint it. A quart of cabinet paint costs $25 and the transformation is genuinely worth the effort. (Took me ages to figure this out, but it’s one of the best moves in this whole list.)
Once the paint is dry, it’s worth thinking through countertop choices that work with painted cabinets before committing to a top material.
More Ideas:
19. Built-In Wall Nook Island With Toe-Kick Storage
If you have a slight alcove or recess in your kitchen wall, even just 12 inches deep, you can build a fixed wall island into it. The structure sits inside the nook, which makes it feel truly built-in without touching the plumbing or electrical.
Frame the nook with 2×4 studs if the recess isn’t already defined. Add a plywood box or cabinet base. Include a toe-kick area at the base (about 3.5 inches recessed at floor level) so you can stand close without stubbing your toes. This is the detail most DIY kitchen islands miss and it’s what makes the difference between furniture and built-in. Budget around $150 to $250 in materials depending on the size of the nook.
Final Thoughts on Kitchen Island Against Wall Ideas
You’ve got nineteen ways to add real prep space and storage to a kitchen wall, and most of them cost under $200. The through-line in the best ones is that they work with your actual space instead of fighting it. A fold-down table doesn’t try to be a real island. It’s smarter than that.
Pick one idea that you can start on this weekend. The easiest move is the freestanding cart against the wall. It costs about $130, takes no tools to set up, and gives you immediate results. Start there. You’ll know within a week whether you want more surface, more storage, or both.
If storage is the bigger issue, looking at small kitchen layouts that actually function well can point you toward your next move.
If you want more ideas like this, homelypop.com has a lot more where this came from. Real homes, real budgets, nothing that requires a contractor.