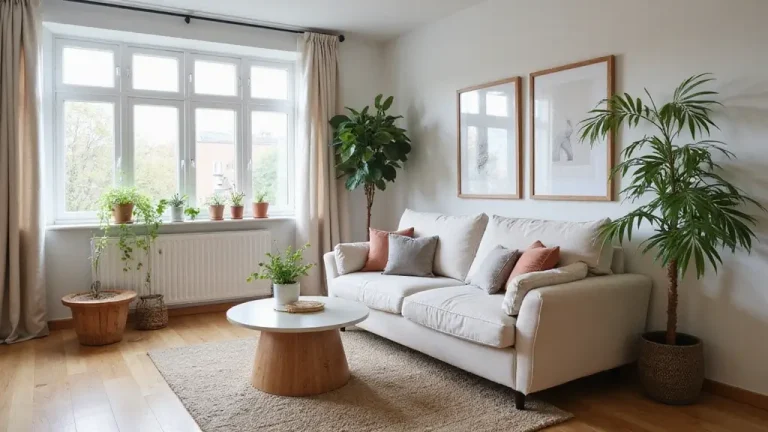
How to Style Coastal Bathroom Designs for a Breezy Beach Feel
Your bathroom is supposed to be a place to unwind, but right now it’s flat and functional at best and if you’ve been hunting for fresh ideas for compact bathrooms, you’re in the right place. Builder-grade fixtures, boring white walls, zero personality. You keep seeing those breezy beach bathroom photos online and thinking it’s out of reach, especially with a tight budget.
But here’s what nobody tells you: most of those looks cost well under $300 and take a single weekend. This guide uses real solutions, affordable products, and simple styling tricks that actually show results. By the time you finish, your coastal bathroom design will feel fresh, light, and like a little escape every single morning.
What You’ll Need
Grab these items and you’re set for under $300 total:
- One gallon of wall paint in soft neutral or pale blue ($30–$50)
- New shower curtain and liner ($15–$25)
- Set of three bath towels plus hand towels ($20–$40)
- Wicker or rattan baskets and trays ($10–$30 each)
- Basic mirror or framed beach print ($20–$50)
- Two small potted plants or faux succulents ($15 total)
Shop Target, Walmart, or Amazon. Reuse anything you already own to drop the cost even lower.
Step 1: Paint the Walls in Soft Coastal Hues

Pick a light, reflective color like Behr’s “Silver Strand” or Valspar’s “Pale Aqua,” both under $40 a gallon at Home Depot. Buy two sample pots first, paint 12-inch squares on your walls, and live with them for a full day. Once you pick one, clean the walls, tape off the trim, and roll on two coats with a 3/8-inch nap roller. Do the ceiling in bright white for extra lift.
Pale blues and soft whites bounce light around the room the same way the sky reflects off open water. If you want more help picking the right light-reflecting shade before you commit, this breakdown makes the decision a lot easier. And honestly, that shift alone is worth $40.
Budget tip: Skip the expensive designer brands. Big-box store paints hold up just as well in humid bathrooms. Common mistake to avoid: jumping straight to a full gallon of dark ocean blue. It’ll make the room feel smaller and cave-like. Stick to colors with LRV 70 or higher.
Step 2: Update Your Hardware with Simple Nautical Touches
Pull off the old towel bar, toilet paper holder, and faucet knobs. Replace them with brushed nickel or matte black versions from IKEA or Amazon, most costing $8–$15 each. Measure your existing holes first (usually 8 inches apart for towel bars) so new pieces line up without patching. Throw in a rope-style toilet paper holder for instant beach charm.
If your style leans slightly rustic, this guide on giving your space a cohesive farmhouse edge pairs really well with the same hardware swaps. The cool metal tones echo the kind of hardware you’d see on a boat, and everything suddenly looks like it belongs together.
Budget tip: Buy a matching set of three pieces for under $40 total instead of mixing finishes. Common mistake: leaving shiny brass builder hardware in place. It fights the soft, breezy look and dates the whole room fast.
More Ideas:

Step 3: Add Natural Textures with Wood and Wicke
Bring in warmth with a rattan wastebasket ($12 at Target) and a small wooden shelf above the toilet. Cut a 12×24-inch pine board for $9 and add cheap brackets. If your vanity feels cold and flat, drape a woven seagrass mat over the bottom or slide a narrow bamboo tray on top. Keep every piece under 18 inches wide so nothing crowds the space.
For even more inspiration on layering natural materials the boho way, this one is worth a look before you shop. Wicker and wood absorb moisture and echo driftwood and sand, which makes the whole room feel collected over time rather than grabbed off a shelf in one trip.
Budget tip: Check the dollar store for small woven baskets. They work perfectly and cost $3 each. Common mistake: piling on too many textures at once. Two or three pieces max keeps it breezy. Any more and it starts feeling busy.
Step 4: Layer in Breezy Textiles and Towels
Hang a lightweight shower curtain with subtle stripes or a seashell print. Look for 72×72-inch polyester ones at Walmart for $18. Fold two bath towels and one hand towel over the bar in soft layers: white, pale blue, and a sandy beige. If you want to take this further, these towel styling tricks from spa setups show exactly how to make every layer look intentional.
Textiles add softness and movement, exactly like beach towels catching a breeze. They also absorb sound and make the room feel warmer and more welcoming without adding any visual clutter.
Budget tip: Buy towels on sale. A three-pack at Target runs $25 and lasts for years. Common mistake: grabbing thick, fluffy hotel-style towels. They trap moisture and look heavy. Stick to lighter, quick-dry cotton or cotton-blend instead.
More Ideas:
Step 5: Style the Counters with Beachy Accessories
Clear the counters completely first if you need a visual reference for styling a counter that actually looks good, this walkthrough covers it step by step. Then add a small tray ($8) holding a bar of soap, a toothbrush holder made from a glass jar, and one or two shells you collected or picked up for $5. Place a $12 framed photo of waves or a simple starfish on the wall above the sink. Keep the surface 70% empty.
So here’s the thing: this step is what ties the whole coastal theme together without making it feel cluttered. Everyday items suddenly look like they were placed with a reason, and you’ll catch yourself thinking of the shore every time you brush your teeth.
Budget tip: Raid your kitchen cabinets for glass jars instead of buying fancy holders. Common mistake: lining up ten tiny knick-knacks. It looks messy fast. Three to four items total is the right number.
Step 6: Finish with Greenery, Lighting, and Final Touches
Add two low-maintenance plants, like a $10 snake plant or faux eucalyptus in a ceramic pot. Swap your old light fixture for a simple flush-mount dome light ($25 at Amazon) if it’s too harsh, or just add a $12 battery-operated sconce. There are some really nice rope and rattan mirror styles worth seeing if you want to find one that fits your space before buying.
Greenery and better lighting bring the outdoors in and soften harsh shadows. The room finally feels alive and relaxing rather than just clean and functional.
Budget tip: Faux plants work great if you tend to forget watering. No one will know. Common mistake: placing a huge floor plant in a tiny bathroom. Keep everything under 18 inches tall or it starts feeling cramped.
Pro Tips That Make a Real Difference

Mix three shades of blue instead of just one. Use a soft wall color, medium-blue towels, and a darker navy soap dish. The subtle variation adds depth without extra cost and stops the room from looking flat and one-note.
Roll towels instead of folding them. Seriously. It takes ten seconds and gives that high-end resort look instantly. Place the rolled ones in a basket on the floor or vanity and guests will always notice.
And if you’re adding that small driftwood shelf, here’s a full guide on shelf styling that keeps things feeling airy without overcrowding the wall. A small piece of driftwood on a shelf or a single blue glass bottle with a candle inside breaks the predictable beach formula and makes your bathroom feel personal rather than copied from a catalog.
Use mirrors to multiply light. Hang or lean a second inexpensive mirror opposite the window. It doubles the natural brightness and makes even windowless bathrooms feel open.
More Ideas:
Common Mistakes to Avoid
I once painted my rental bathroom a deep teal thinking it would feel dramatic and ocean-y. It felt like a cave. Repainted it two weeks later. Lesson learned. Stick to light colors unless you have large windows pulling in real natural light.
And honestly, buying plastic everything because it’s cheap is another one. That shiny shower curtain and fake wicker look dated within a month. Spend a few extra dollars on natural materials and they’ll hold up for years.
The last big one: ignoring scale in small bathrooms. I crammed in oversized baskets that blocked the door. Measure twice before buying. Anything wider than 15 inches usually fights the flow in tight spaces.
You’re Done: Go Enjoy It

You put in the work, so take a minute to enjoy it. Your bathroom now feels like a quick escape instead of just another room to get through. And the best part is that these changes cost less than one nice dinner out and only took a weekend.
Once you’re happy with the bathroom, there are plenty of other budget-friendly room refreshes to try that follow the same low-cost, high-impact approach. Play with it, tweak as you go, and make it yours.