How to Make Budget-Friendly Laundry Room Signs That Look Expensive
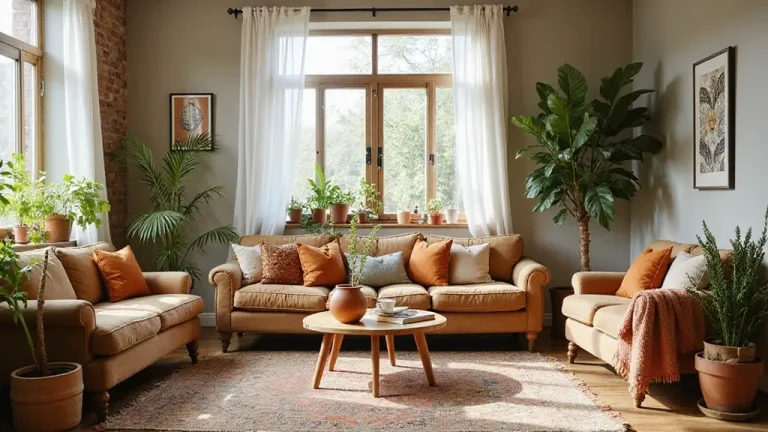
Most laundry room signs stay plain and forgotten, even though you spend hours there each week. A single well-placed sign changes that fast. It adds personality, keeps the space organized, and makes the room feel finished without major work.
These ten methods use basic supplies you already own or find easily. Each one looks custom and high-end, yet stays simple enough for beginners. Follow the steps, pick your favorites, and watch a boring corner turn into a spot you actually enjoy.
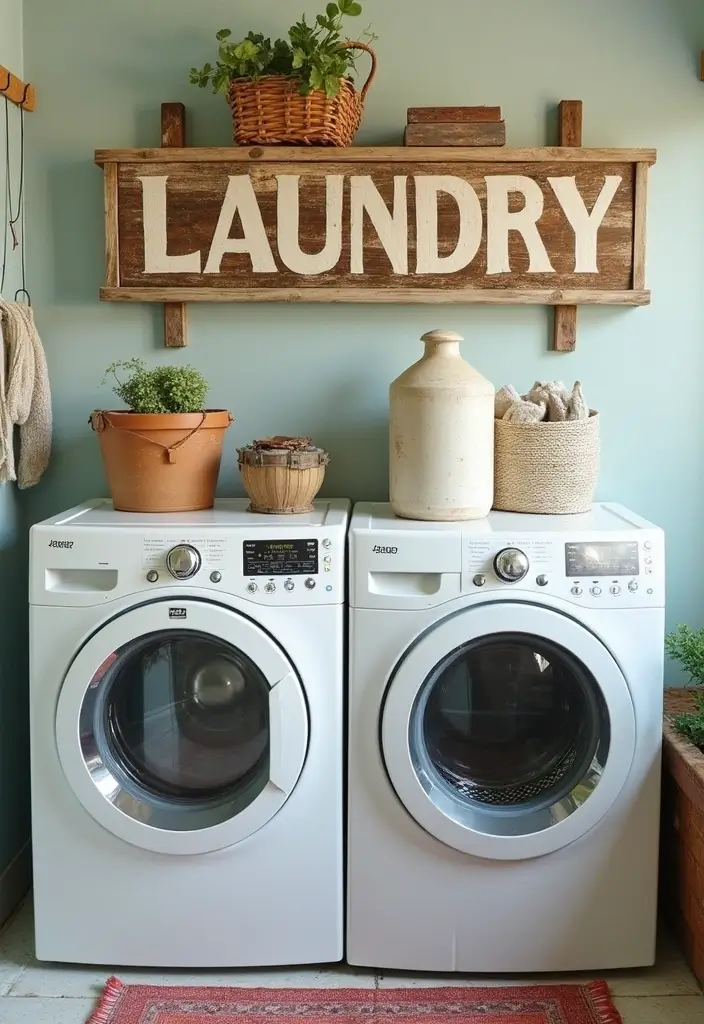
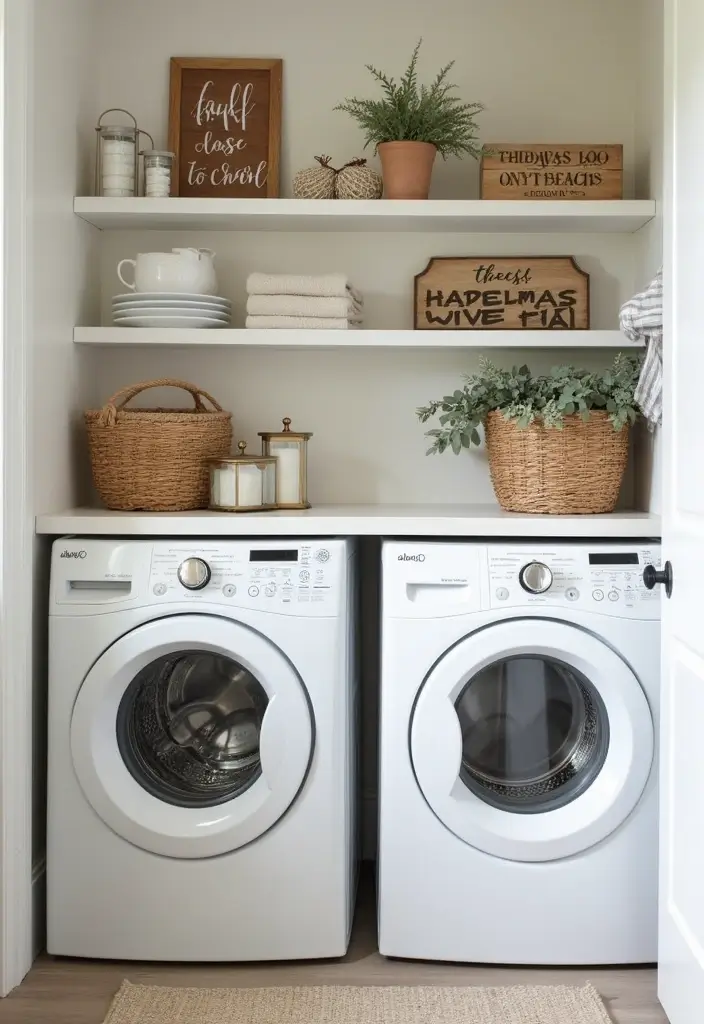
1. Wooden Block Signs
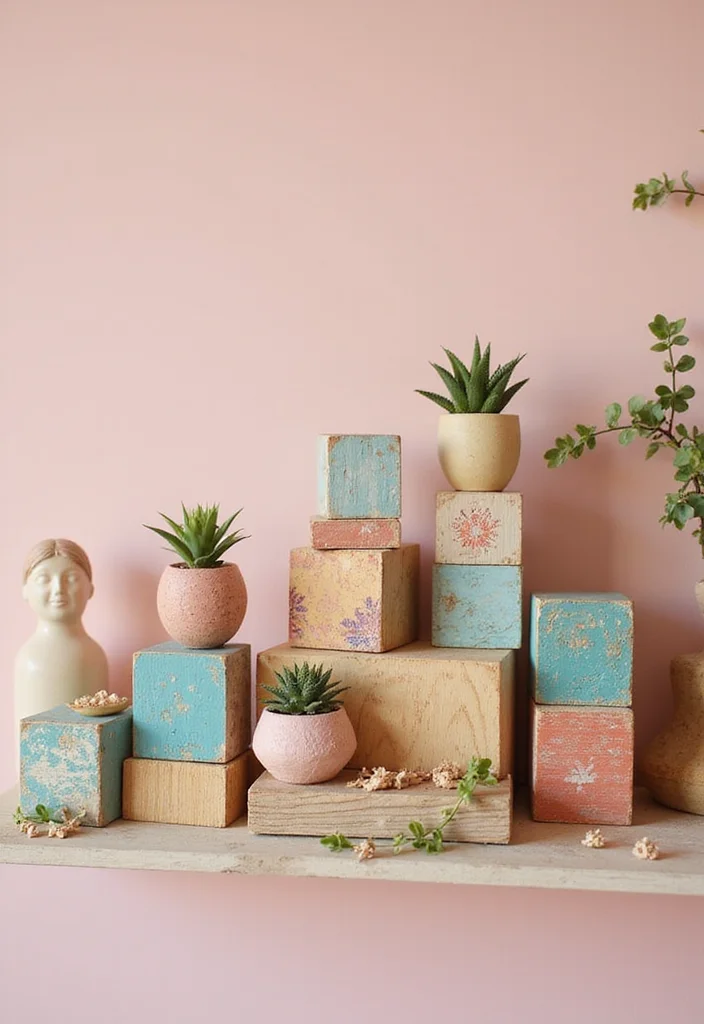
Wood blocks stacked or lined up give a clean, modern farmhouse look that feels solid and intentional. The slight thickness and visible grain make the signs stand out more than flat paper prints.
Cut scrap wood into equal pieces, paint or stain them, then add crisp lettering. A light sanding on the edges softens the finish and hides any small mistakes.
Removable adhesive strips hold them in place without damaging walls.
- Cut blocks the same height for even rows.
- Paint two quick coats for full coverage.
- Use vinyl letters or a stencil and paint pen.
- Distress corners lightly with fine sandpaper.
- Stack or lean instead of hanging for easy changes.
Clean lines and real wood make this style feel expensive.
2. Canvas Wall Art
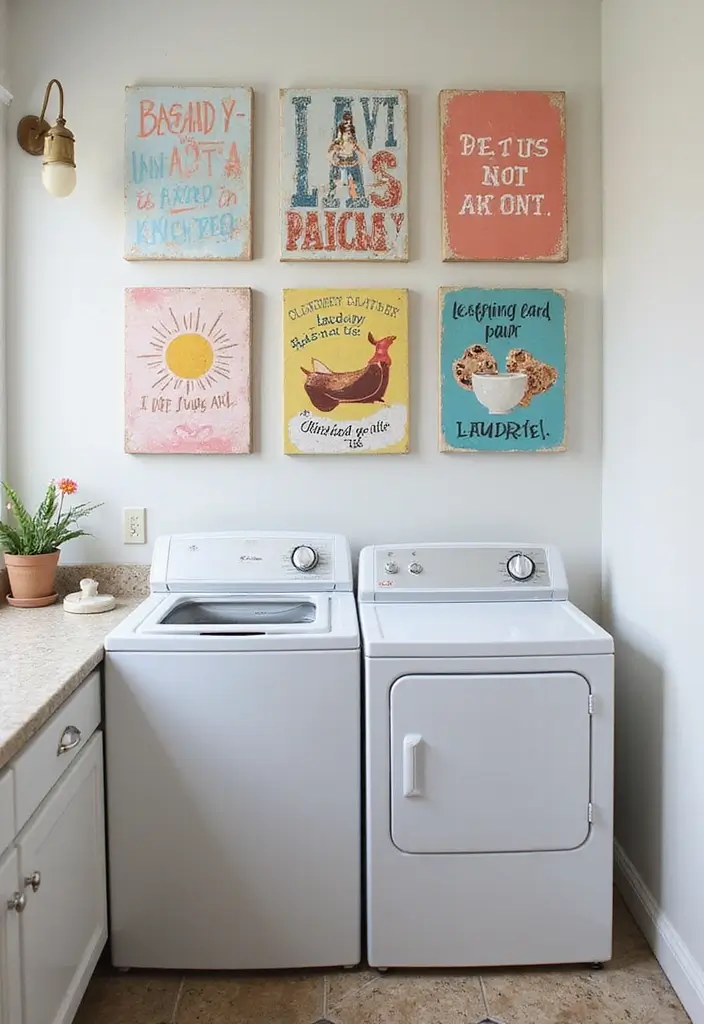
Reverse canvas tricks the eye into seeing a thick, gallery-wrapped piece instead of a cheap store canvas. The raw edges and painted frame create depth that flat prints lack.
Remove the canvas, flip it, and staple the blank side out. Paint the front black or another dark color, add white lettering, then return it to the frame. The result looks like a designer print from a home boutique.
- Work on a protected surface to avoid drips.
- Use a staple gun for secure hold.
- Choose matte paint to cut glare under lights.
- Iron-on vinyl works well on the painted surface.
- Paint the wooden frame to match your room.
Thick edges give instant high-end appeal.
More Ideas:

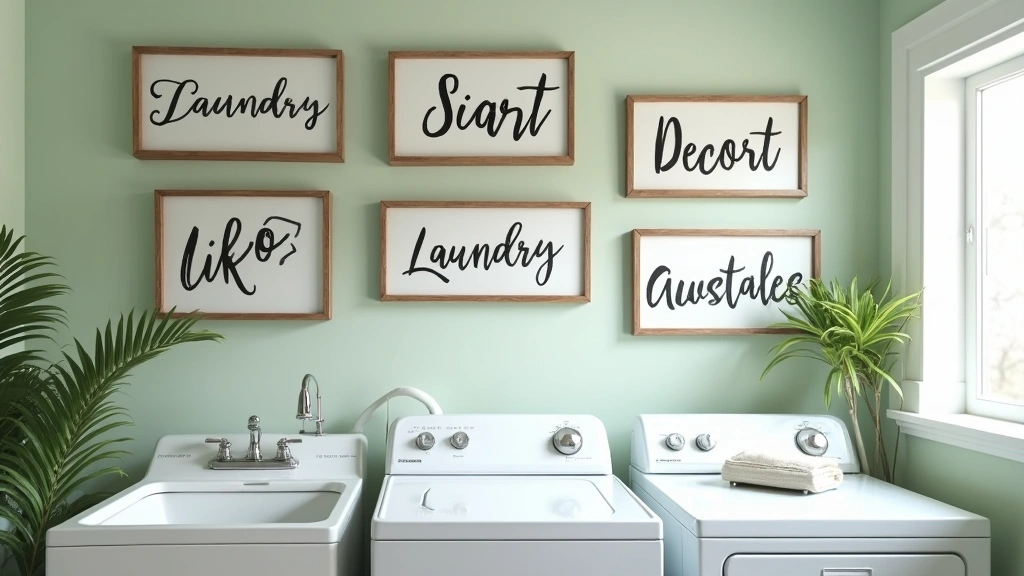
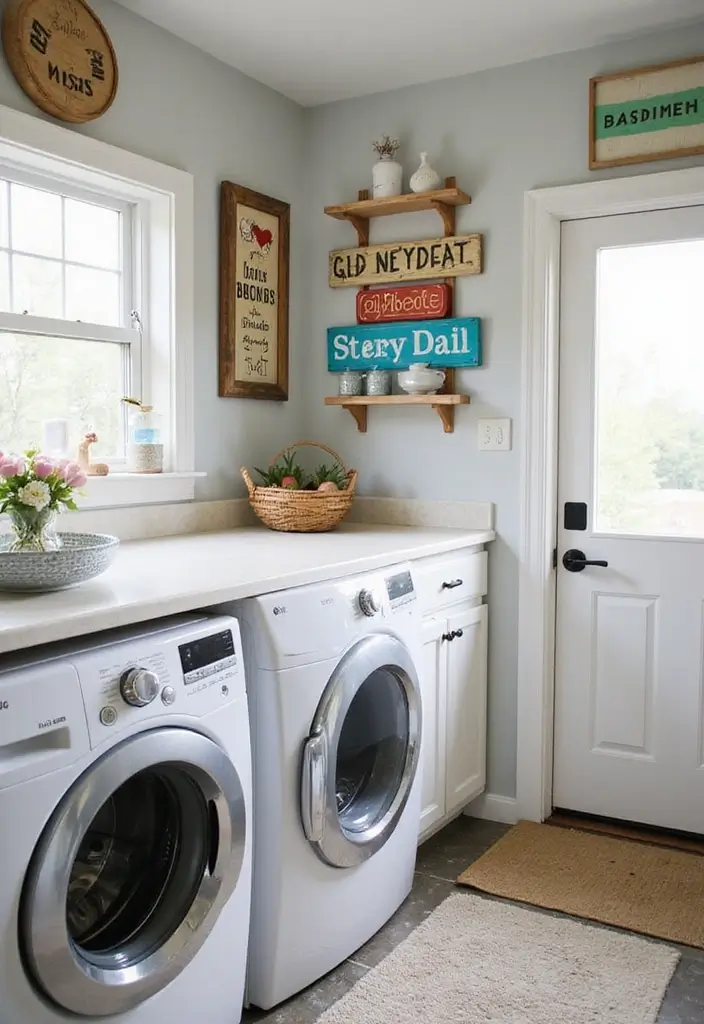
3. Vintage Frames with Quotes
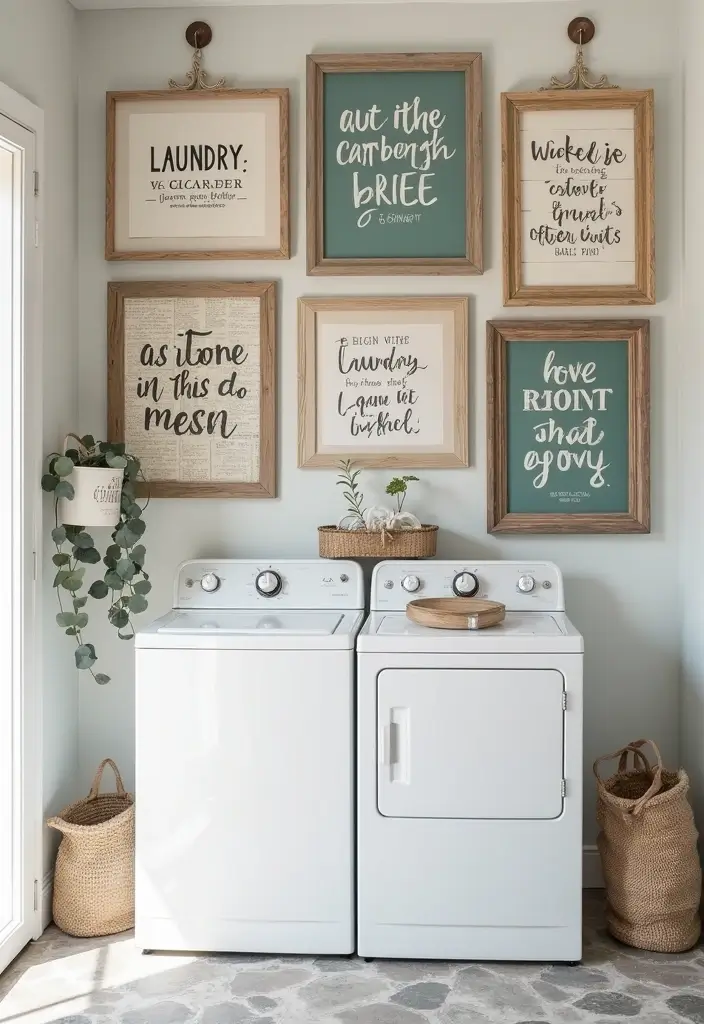
Old ornate frames bring instant character and make any printed quote look like a collected antique. A quick coat of spray paint updates them to fit today’s colors.
Find frames at thrift stores or your own attic. Paint the frame, print a quote on heavy paper, and reassemble with the glass for protection. The glass adds shine and keeps dust off the paper.
- Spray light, even coats outdoors.
- Tea-stain paper for an older look if desired.
- Use command strips on the back for rental walls.
- Mix frame sizes for a gallery feel.
- Keep quotes short for easy reading.
One pretty frame turns simple words into art.
4. Chalkboard Signs
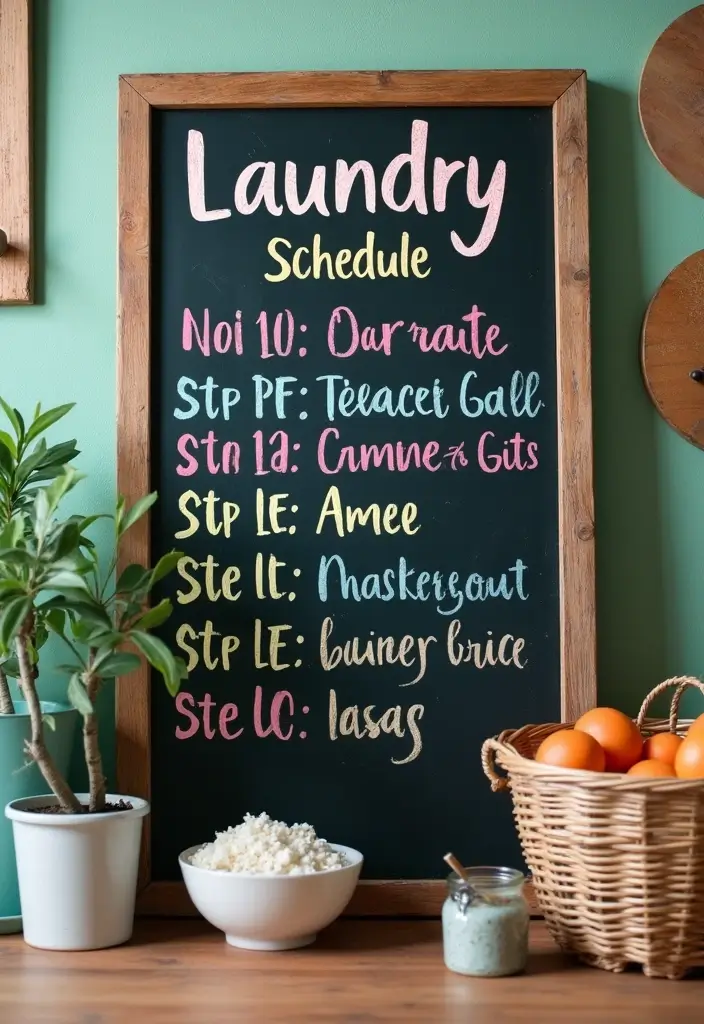
A chalkboard lets you change messages whenever you want, from funny notes to chore reminders. The dark surface stands out against light walls and looks sharp year after year.
Paint the glass from an old frame with chalkboard paint or buy a ready board. Season the surface first, then write with chalk markers for bold lines that stay put.
- Apply two or three thin coats of paint.
- Season by rubbing chalk over the whole board.
- Use white chalk markers for contrast.
- Wipe clean with a damp cloth.
- Frame it for a finished edge.
Change the writing as often as you like.
5. Decal Stickers
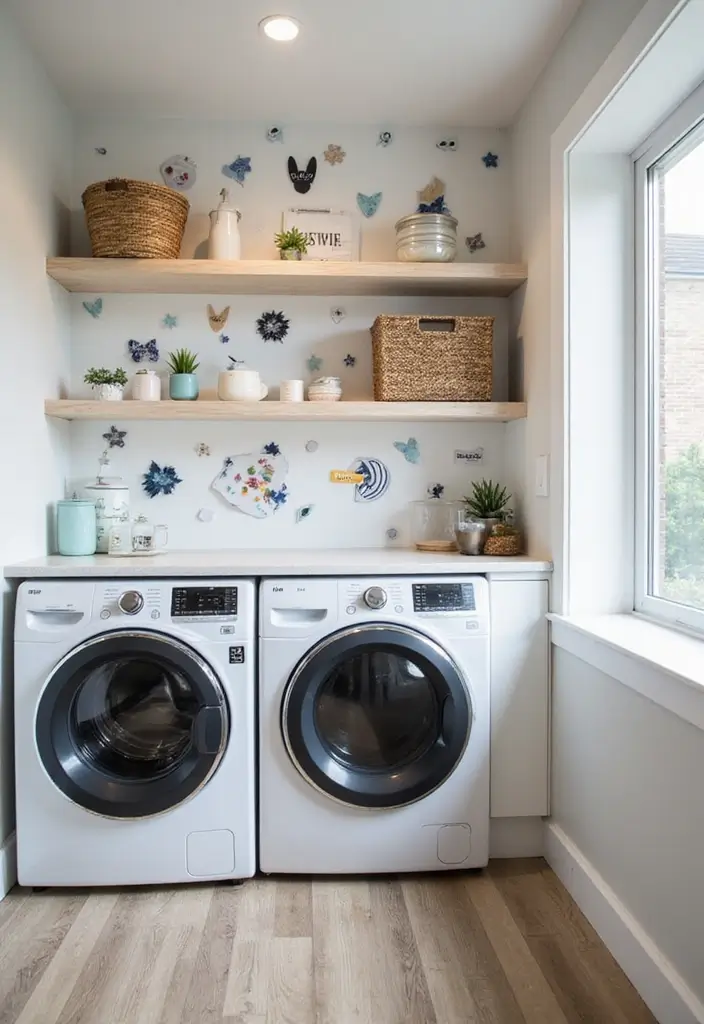
Vinyl decals apply in minutes and remove cleanly, perfect for renters or anyone who changes their mind often. Matte finish looks painted on instead of sticky.
Clean the surface well, peel and stick, then smooth out bubbles. Larger designs work above machines; smaller ones label bins or doors.
- Clean walls with rubbing alcohol first.
- Start from the center and work outward.
- Use a credit card to press firmly.
- Warm gently with a hairdryer if repositioning.
- Choose removable matte vinyl for best results.
Instant lettering with zero mess.
6. Upcycled Materials
Old items gain new purpose and bring texture nothing store-bought can match. Imperfections add charm instead of looking cheap.
Look for pizza pans, cabinet doors, washboards, or trays. Paint, letter, and hang. The history in each piece tells its own story.
- Sand rusty spots before painting.
- Use outdoor paint for metal pieces.
- Add clothespins for function on lost-sock boards.
- Seal with clear coat in humid rooms.
- Mix materials for more interest.
Old things become your favorite details.
More Ideas:
7. Fabric Banners
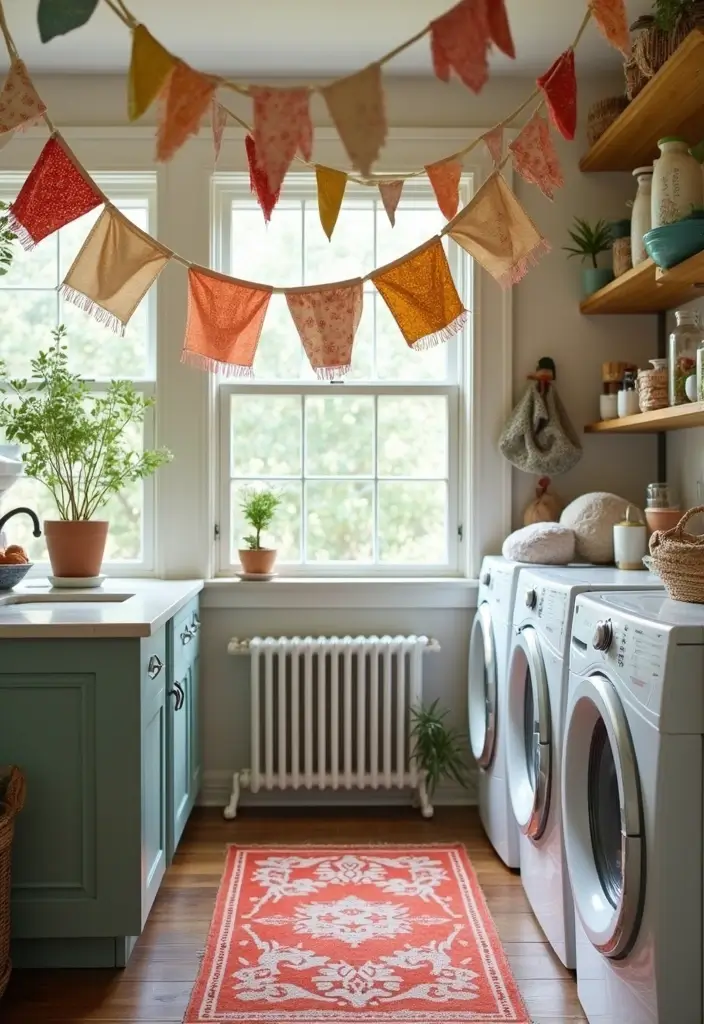
Fabric adds softness and warmth to hard laundry rooms filled with metal and tile. Banners move slightly with air and feel welcoming.
Cut triangles from scraps, add iron-on letters, and string on twine. Hang across a wall or above the folding area.
- Pre-wash fabric to prevent shrinking.
- Fold top edge over twine before gluing.
- Use fabric glue or stitch for strength.
- Mix patterns carefully for calm look.
- Hang with small nails or adhesive hooks.
Soft texture balances the room.
8. Quotes in Glass Jars
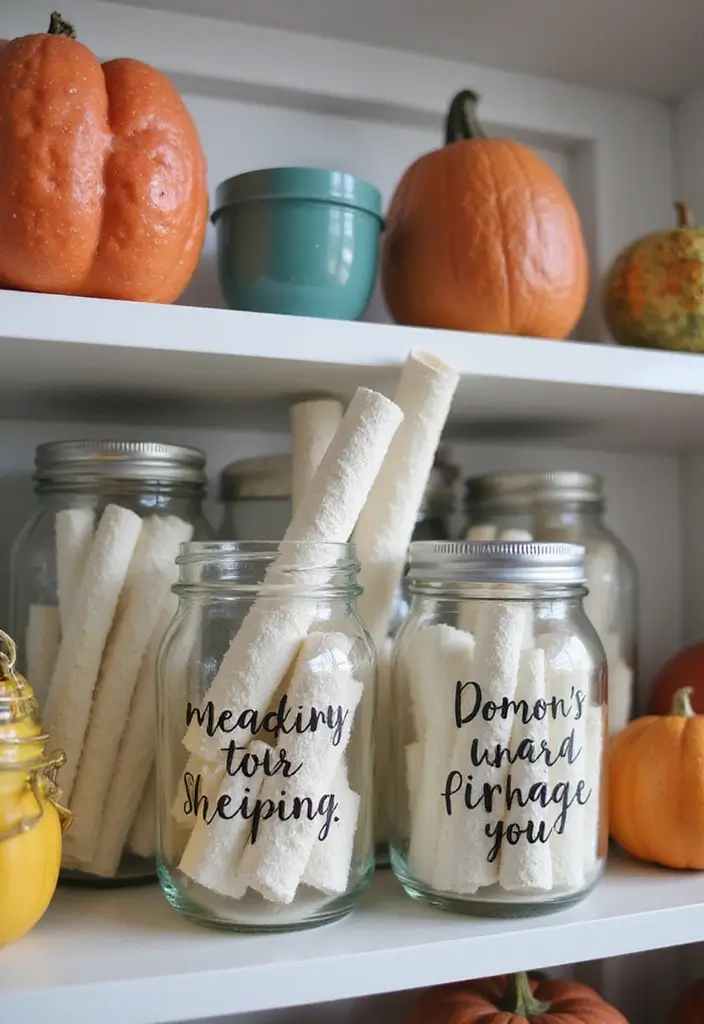
Clear jars lined up on a shelf combine storage and display in one simple move. Labels turn everyday containers into decor.
Stick vinyl labels on clean jars, fill with clothespins or detergent pods, and arrange in a row. The glass catches light and keeps things tidy.
- Use outdoor vinyl for moisture resistance.
- Line jars up straight for clean look.
- Fill to the same level for balance.
- Add a tray underneath to catch drips.
- Change labels when you redecorate.
Storage that also looks pretty.
9. Embroidery Hoop Art
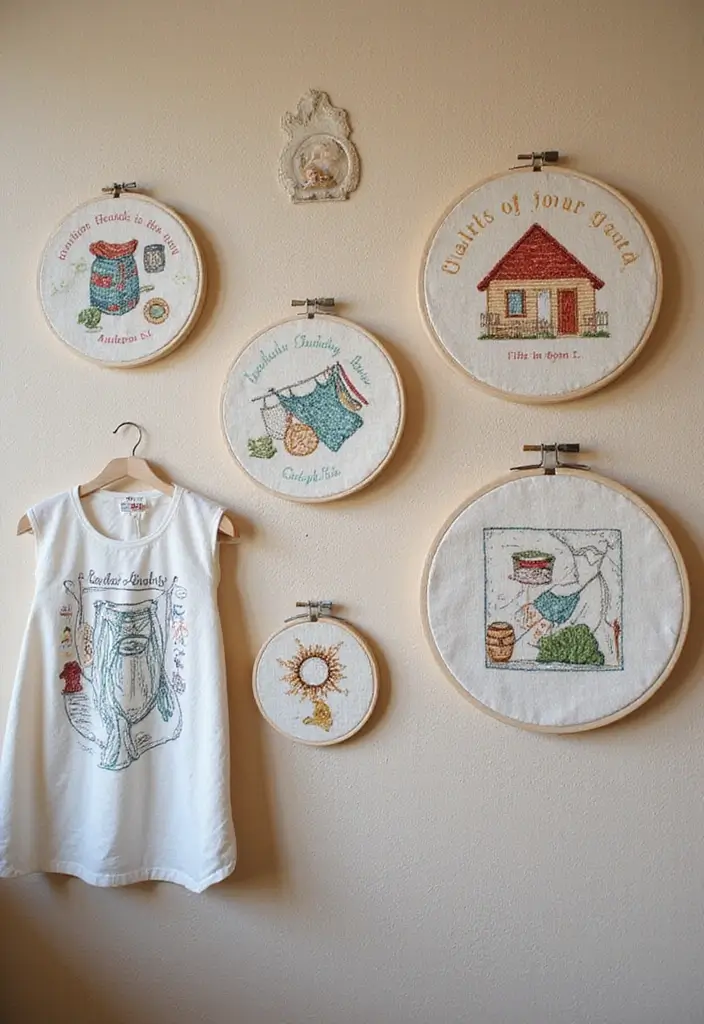
Hoops turn ordinary fabric into framed art pieces that hang lightly on the wall. Group several for big impact from small effort.
Stretch fabric tight in the hoop, add lettering, and trim excess. Hang alone or in clusters for a collected style.
- Choose linen or cotton for clean look.
- Iron fabric smooth before lettering.
- Use fabric paint or iron-on letters.
- Hang with small nails through the metal screw.
- Vary hoop sizes for interest.
Fabric art feels personal and light.
10. Seasonal Decor Swaps
One main sign stays up all year while small add-ons change with holidays or seasons. The room stays fresh without clutter.
Keep a neutral base like a chalkboard or wood block. Attach seasonal items with tape, pins, or magnets that remove easily.
- Pick add-ons that store flat.
- Use command hooks for wreaths or garlands.
- Change only one or two items at a time.
- Keep extras in a labeled bin.
- Plan swaps around laundry days for ease.
Easy updates keep the space current.
Conclusion
Ten simple methods turn a plain laundry room into a space that feels put-together and personal. Each sign uses everyday materials and basic steps, yet delivers a clean, custom look that stands up to daily use.
Start with the one that fits your style or the supplies you have on hand. Add another when you feel ready. Before long, the room shifts from forgotten corner to a spot you smile at every time you walk in.
Small touches like these make the biggest difference. Enjoy the process and the finished room.